The WeMo light switch has been pretty popular in the market as one of the most robust options. You will be able to easily integrate this system into your smart home without having to rely on an expert for installation.
Moreover, the price point is not that substantial for these accessories.
So you’ll be able to stick to a reasonable budget while still adding these units into your system. However, even the best units can run into some issues from time to time.
Would you be at a loss for what to do if your WeMo suddenly stopped working and started blinking red lights?
Despite this, it seems that there is no possible explanation for this. While you were attempting to reset it, a flashing red light emerged on the screen.
You could press the button an infinite number of times, but nothing would happen. If the WeMo light blinks red, then it is necessary for you to carry out the following procedures:
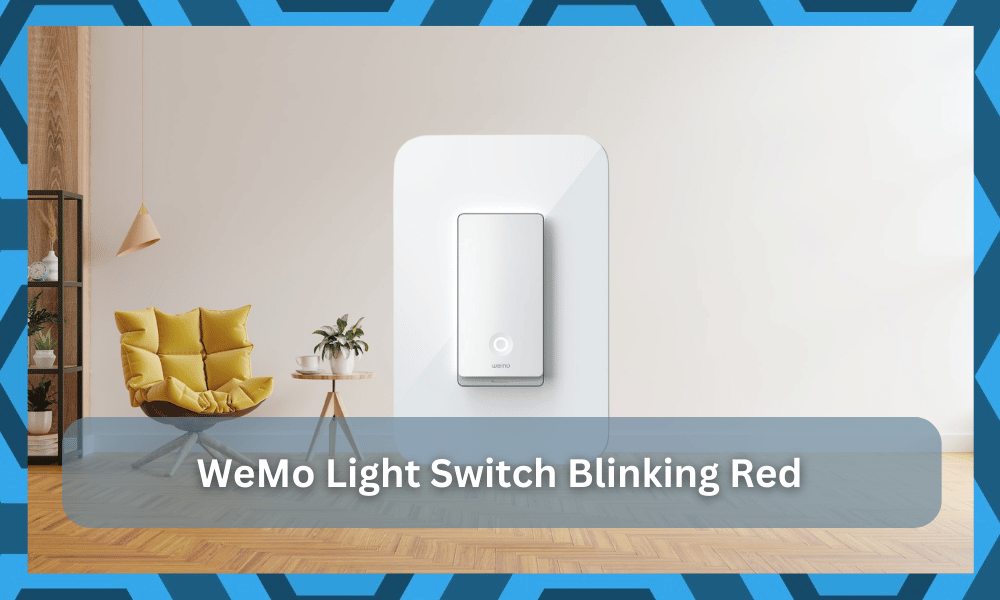
Troubleshooting WeMo Light Switch Blinking Red
Why Does Red Light Blinking?
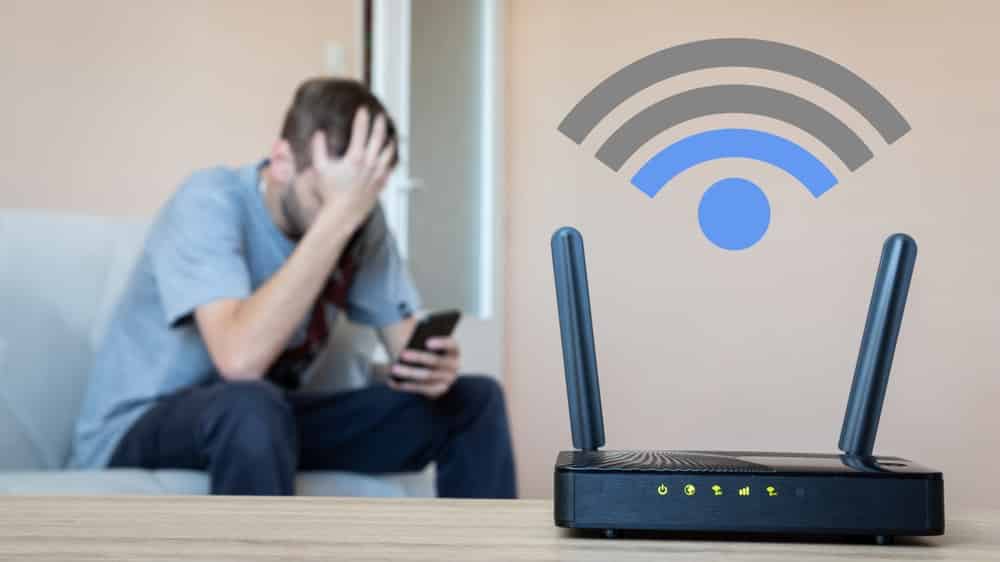
If the red light on your WeMo device is blinking, this indicates that your device cannot connect to the Wi-Fi network successfully.
So, you’ll have to isolate the issue with the router and then proceed to limit the interference from other networks to get a better grasp of the situation.
So, if you’re in the same boat, just keep these pointers in mind, and your WeMo system will start working perfectly.
1. Reboot The Router
Rebooting the router might sound like a basic fix, but that doesn’t mean that it is ineffective.
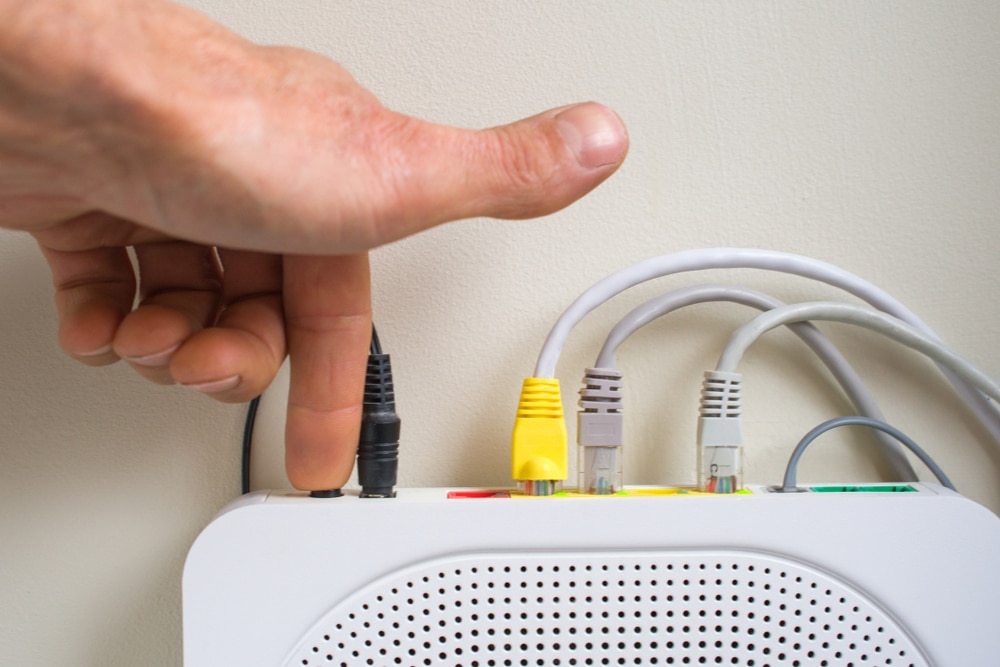
All that you will need to do here is to remove the power from the router and then power it up one more time. That will be more than enough to refresh the network, and you will be able to secure a response.
It all comes down to how you’re planning on addressing the situation with the connection. Most of the time, a quick reboot will be all that you need.
However, this method assumes that there is nothing wrong with the configurations and the router was working perfectly up to this point.
So, if you’re in the same boat with the router and can’t seem to get through the issue, then simply removing the power and starting the router again one more time will do the job.
Hopefully, your problems will be addressed right here, and you will not have to deal with more errors.
2. Limit Interferences
The presence of too many smart units in the same room is never good.
Even if you’re using a decent router, like any model from ASUS, it will run into issues when connecting to the smart unit. The same is true for the smart device, as it will struggle to secure a connection.

A good way to isolate these errors is to remove all of the smart units from the same room and then test out the connection one more time.
If you’re lucky, the issue will be fixed, and you will be sure that the excessive wireless accessories and smart devices are to blame here.
You can then keep these accessories removed or install an extension to avoid more errors in the future. It all comes down to how you’re planning on addressing the situation.
A bit of input on your end will save you from hours, if not days, of trouble.
So, try to limit the interferences and then test out the light switch one more time.
Nine times out of ten, the issue with the router will be fixed, and you will be able to get a good response from the system. Hopefully, you will not have to get through more fixes after removing the interference.
3. Improve Signal Strength
Another pretty great and tested method that can help you get a better connection between the smart light switch and the router is reducing the distance between these devices.
If the light switch is installed near a metal object or thick walls, then you need to reduce its distance from the router.
Most of the time, you will have to find a new spot for the router, and there are no other methods here.
So, be sure to browse around as you try to find a good spot for the router to be placed. Make sure that the router is within the 20 ft. range and it is placed in a direct line of sight from the router.
That will most likely be enough, and you will not have to worry about any more errors.
So, be sure to keep that in mind and keep testing out these methods to improve signal strength. Ideally, the issue will be fixed as soon as you adjust the router configurations.
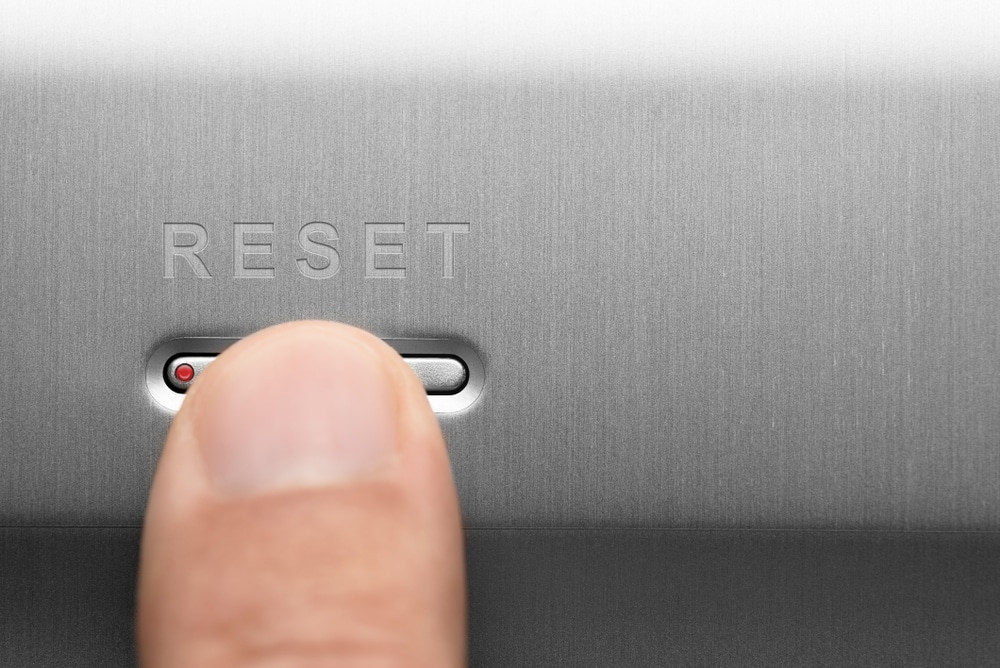
4. Resetting a WeMo Plug
Please wait a few minutes before re-engaging the switch once it has been deactivated (for example, you might turn off the breaker for the circuit that the switch is on or disconnect the button).
Consequently, there are currently no issues to be concerned about.
Resetting a WeMo Smart Plug is an easy process that may be done by following the directions that are provided below.
Users of the WeMo Mini Plug and the WeMo Smart Outdoor Plug can follow these instructions with equal success. Despite the fact that different WeMo plugs use other physical devices, the app that each one uses is the same.
- Go to the WeMo app store and download it.
- Select Edit from the Edit menu.
- To reset a WeMo Smart Plug, first identify the device.
- To start over, select Reset from the Options menu.
- Select the option you desire by tapping it. There are three options: Delete All Personal Information, Modify Wi-Fi, and Perform a System Restore.
- Due to the fact that there are three distinct alternatives, a reset can be utilized in a diverse selection of contexts.
It is possible to clear out personal information without having to reset the plug, including the name of the plug and any restrictions associated with it.
This is the best choice if you intend to relocate the pin or use it with a different device than what it was initially designed for.
Remove the Wi-Fi settings, and then choose Change Wi-Fi to join another available Wi-Fi network. If you are switching Wi-Fi routers, you should use this.
Through the use of Factory Restore, the plug will be returned to its initial condition. Start at the bottom and work your way up to the plug using this procedure.
Before giving the plug as a gift or selling it, it is also recommended that the Factory Reset function be performed on it.
How to Reset a WeMo Plug without Using the App
It will not be possible to reset the WeMo Plug via the app if it has previously been configured. If you purchased a used plug or did not have access to the account previously associated with it, the plug will need to be reset manually.
Holding the power button while the WeMo Plug is plugged in will allow you to reset it to its original factory settings.
If you step away from your work for a moment, the white LED on the plug will begin to blink many times.
The LED will display a pattern that consists of flashes of both white and orange. This indicates that the pin can now be placed into its designated spot after being unable to do so.
The “Factory Restore” option should be able to fix the problem. If you want to reset a WeMo Plug, you can do so without utilizing the app by following the steps detailed above.
The WeMo Plug can now be configured the same way it was in the past, just as if it were a brand-new piece of hardware.
Wrapping Up
Setting up the WeMo light switch is not that hard, but you can’t expect any smart unit to work without a proper router connection.
The same can be said about the WeMo system, as owners keep struggling to make use of this router and run into issues with the WeMo light switch blinking red.
If you’re in the same boat with the WeMo system, the best thing that you can do is to adjust the response from the router and make sure that there are no issues with the signals or the configurations.
That might sound like an easy step, but you will have to spend a hot minute trying to figure it out.
All you’re trying to do here is make sure that the device can easily establish a connection with the router and vice versa. There are no complex steps involved here if you know what you’re doing and the router is adjusted properly.
Lastly, the customer care team and the dealer can also help you get through these issues.
You don’t have to go through the troubleshooting routine alone, and seeking help from professionals is the better idea. So, be sure to reach out and these experts will help you get a better understanding of the issue.