SmartThings was an idea conceived by Alex Hawkinson when a water leak left his unoccupied home submerged. That cost him a fortune to rebuild.
He decided to build a prototype of what is now known as the SmartThings Hub and, at large, the SmartThings company currently owned by Samsung.
Over the years, the SmartThings unit has gained a decent bit of popularity, and you will not find a better system on the market.
This unit is just superior to any other option that you might find on the market within the same price range.
It’s a very helpful set of services and devices for the home that make the home alive and aware, so disasters like those with Hawkinson can be averted.
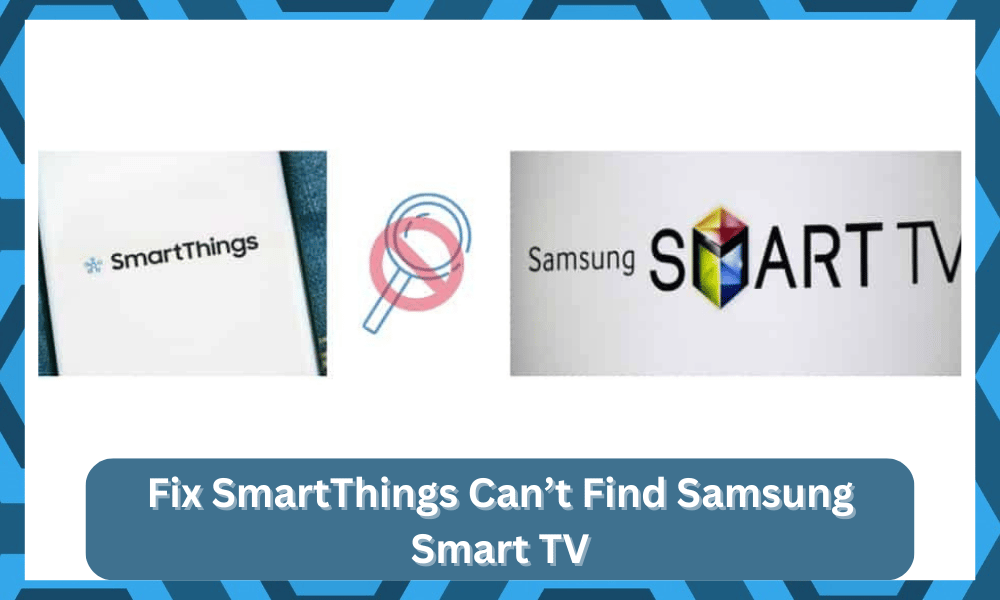
SmartThings Can’t Find Samsung Smart TV
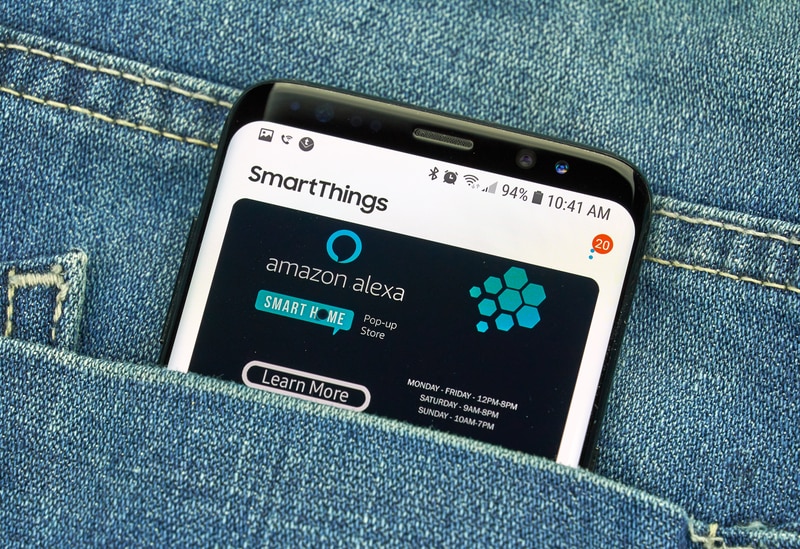
SmartThings is primarily a cloud service that can either be controlled by the Hub device or directly from the SmartThings app.
With that said, the configuration can be a bit challenging to manage if you’re a first-time owner.
Setting up this hub will require a bit of expert knowledge as you navigate the intricate details of the different setup cycles.
However, there are times when the service has connectivity issues with various devices. One such problem arises when SmartThings is unable to connect with the Samsung Smart TV.
There can be a number of issues associated with it, and we have compiled the following list for purposes of troubleshooting.
- Check for Updates

The number one culprit for such sort of services is getting out of date. Be it your Samsung TV or your SmartThings app on your mobile, and they would both need updating.
The update process on the phone is simple, and you just have to go to the app store and update the app from the update section.
For the TV, it’s a bit lengthy. Make sure it is connected to the Wi-Fi, and then from the settings, look for the update menu.
Once it’s found, update the firmware of your TV, and hopefully, the connectivity issues will go away.
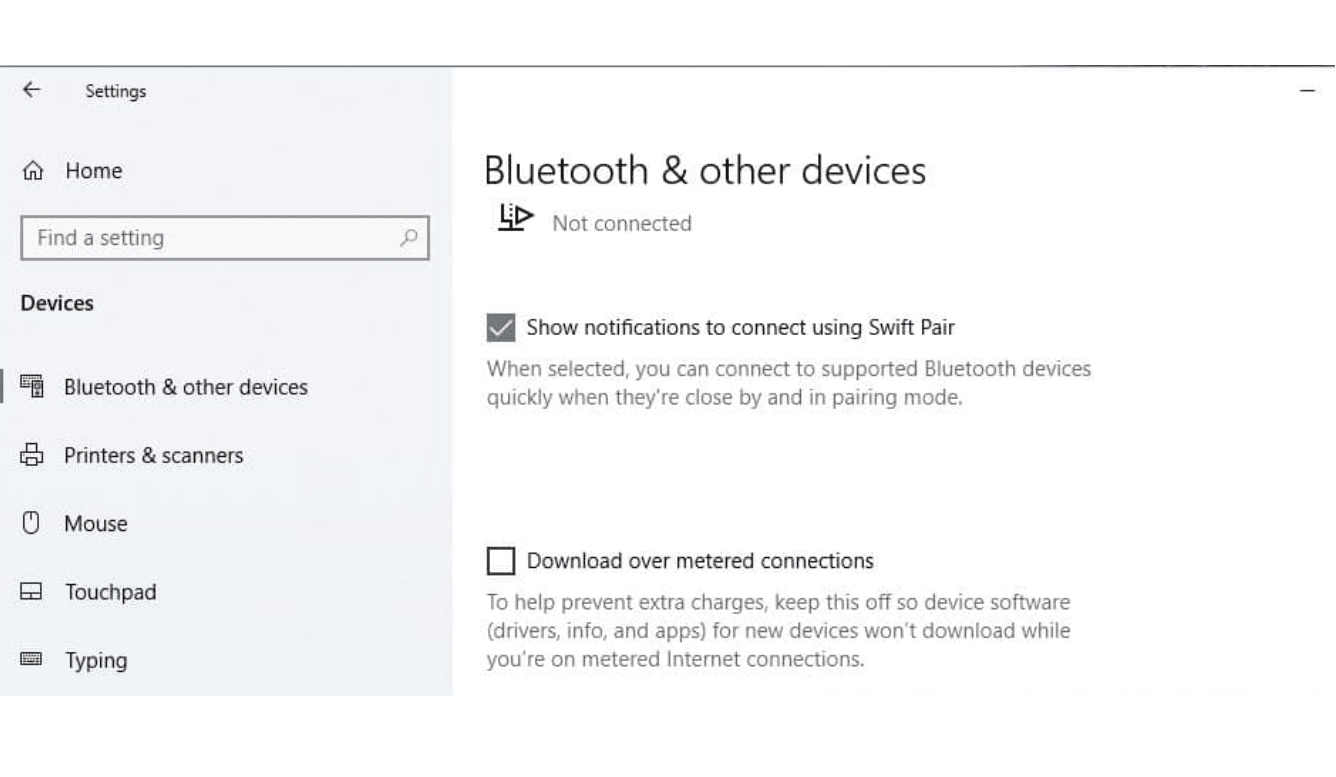
- Check the Bluetooth Status

This is usually a gremlin that goes unnoticed. Remember that the connectivity process isn’t limited to a Wi-Fi connection only. You also need to have Bluetooth turned on your phone and Smart TV.
Usually, entering the phone or the TV in power-saving mode turns the Bluetooth capability off. Make sure Bluetooth is turned on on both devices.
- Check the Range of the Device

Another culprit is usually the lack of range of connectivity. You should be within 30 feet of the smart TV.
Moreover, there could be obstacles, such as walls or the ceiling, that might be hindering the connectivity. Make sure that you are within reach and within range.
- Restart the Devices

When such problems don’t get solved, one sure way is to clean the caches or bad settings by restarting your phone and your TV.
Both devices will start acting saner after you’ve managed to do this. The connectivity issue by now would have been fixed.
- Pair the Device
The last fix if the problem still persists is to reconnect the Smart TV with your mobile device. Bluetooth still tends to be the most unreliable connectivity standard.
Go to your mobile settings and unpair the Smart TV from the Bluetooth devices list.
Once you’ve done that, relink the mobile phone with Smart TV. Once you have been able to connect, head over to the SmartThings app, and you’ll hopefully be able to find your Smart TV listed among the devices found.
- Check For Interferences
At this point, you need to check for interferences to isolate this issue with the system not responding to any input.
It is just too common for new users to cluster up the room with a ton of smart units. While this might seem like a good idea, it will only lead to performance issues.
So, if you’re in the same boat and can’t seem to secure a connection because of interference, then you will have two options here.
One, you can completely remove or turn off the extra wireless accessories or smart units to fix this problem.
Second, you can install a router extension in a different section of the house and the apartment and then use that extension to help with the extra devices.

It will not be as heavy on your budget, and you will be able to get through the setup routine for new devices as well.
However, before you go with purchasing new units, just turn off all the extra units and remove metal objects around the hub to test the connection one more time.
This will help you develop a clear understanding of whether or not you need a fresh system to help with the setup.
- Try A Different Router
Sometimes, you will have to rely on a different router to get through the pairing routine. If you’re still stuck in the same issue, get a new router and then connect the hub and the TV with this router.
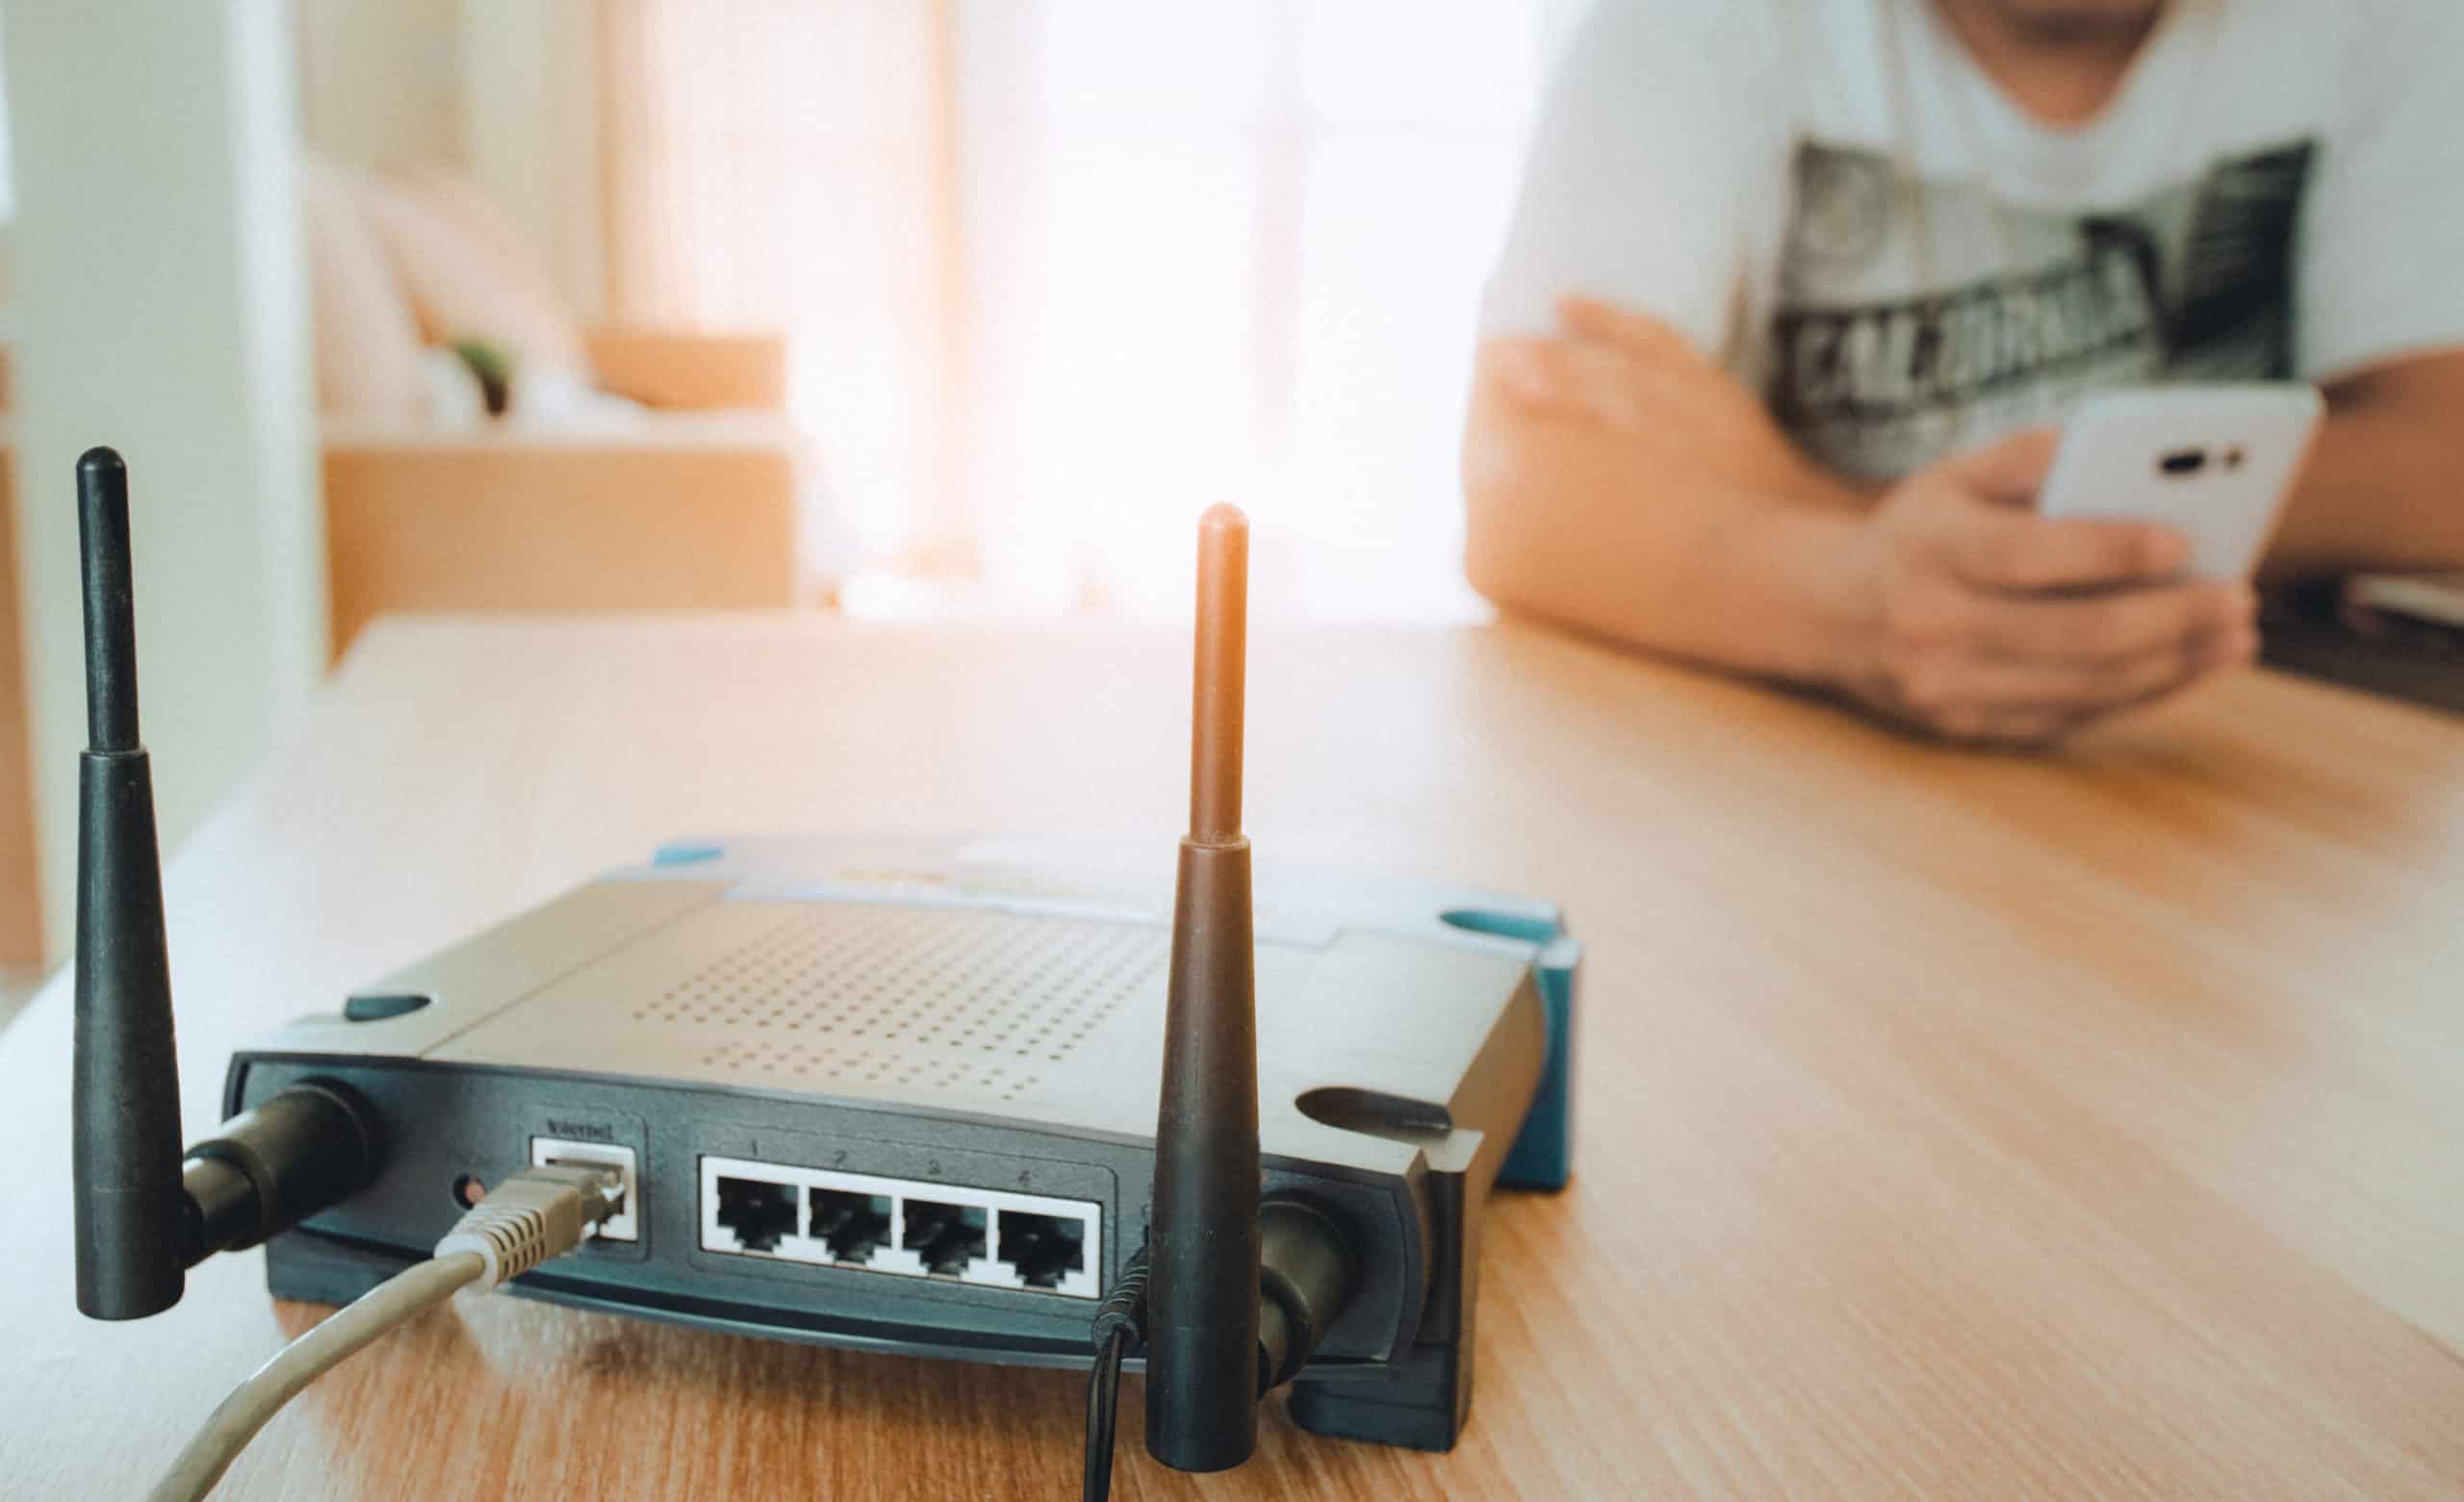
You need to make sure that the units are on the same network and have the same bandwidth.
Many owners make the mistake of using the same credentials for the 5.0 GHz and the 2.4 GHz networks.
This is never a good idea, and you might also be in the same situation. For this reason, you need to change the credentials for the 5.0 GHz network or turn it off entirely.
From there, you can make sure that both of the devices are connecting to the 2.4 GHz network and that there are no issues with the proxy settings.
Sometimes, a quick power cycle on the router can also help, and you should do that before you try to connect the router again.
If you’re lucky, the issue will be fixed right here, and you will not have to bother with any fixes down the road.

However, if you’re not that sure about the hardware side of things, then you might need to test out a reset method.
Resetting the smart unit will get rid of all of the minor configuration bugs, and you will be able to get through he whole routine from scratch.
So, if you’re stuck in the same boat, be sure to reset both devices and test out the connection one last time.
This will help you determine whether or not there are hardware issues with the system, and then you can proceed with the setup accordingly.
- Seek Official Support

If you’re sure that the issue is with the hardware side of things, then your hands are pretty much tied.
There is not much that you can do about this situation, and you will have to seek help from a professional to fix these issues.
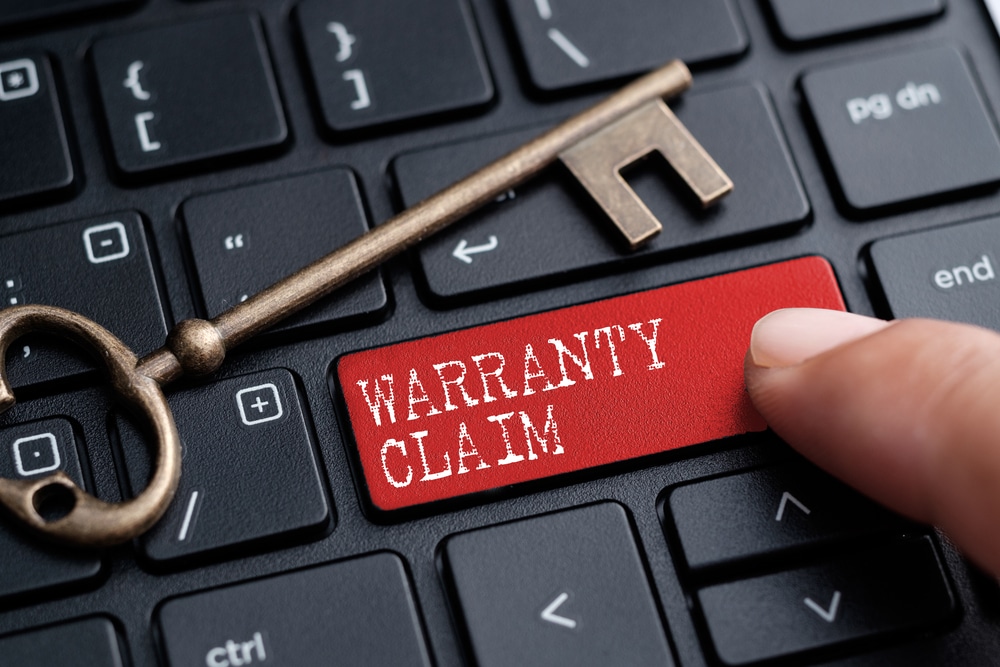
The upside here is that the warranty deal on this unit is not that bad. As long as you’re in possession of a valid warranty deal, the dealer will help you with a fresh unit.
However, if you want to avoid the hassle and the waiting period, you can explain the issue to the dealer.
He will guide you through some fixes relevant to your specific case, and you will be able to get the performance back.
There are no extensive setup routines here, and you will just have to go through the detailed instructions offered by the dealer.
On the other hand, if the condition is pretty rough, then the logical thing to do here is to get a replacement.
There is simply no gain in trying to fix a damaged SmartThings unit yourself. So, be sure to explain that to the dealer and he will start the verification.
Once the verification is through and you’ve provided a valid proof of purchase, he will dispatch a new unit within the same week.
From there, you can set up this new system in your smart home to avoid more errors down the road. Hopefully, all errors will be addressed right here.
Wrapping Up

This troubleshooting guide lists easy-to-implement methods for owners that can’t seem to connect their SmartThings Hub to the TV.
If you’re in the same boat and can’t seem to get a response from the smart unit, then follow through with all of these methods.
Most of the time, you will have an effortless experience with the device, and it will pair up perfectly.
However, if you’re not that sure about the hardware status and the hub is in poor condition, the fix can be a bit challenging to get through.
You will have to engage the dealer to get a new piece by claiming the warranty. Similarly, you can try checking for updates and resetting the unit itself to get rid of the programming errors.
A reset will wipe all of the stored configurations along with minor connectivity errors. From there, you can proceed with the unit setup accordingly without worrying about any long-term issues.
On the other hand, if you’ve not been successful with any of the fixes here, then you will have to call the official support team to get a fresh piece.