When it comes to Samsung accessories, you can expect reliability and performance.
These devices might be a tad bit more expensive when compared with some of the other brands, but you can expect ideal performance and efficiency here.
So, it is not that bad of an idea to spend a bit extra here.
One of the more popular accessories that can potentially save you a ton of cash without being a burden on your budget is the SmartThings water leak sensor.
This device won’t cost you much and will save you from spending hundreds of dollars on the water bill.
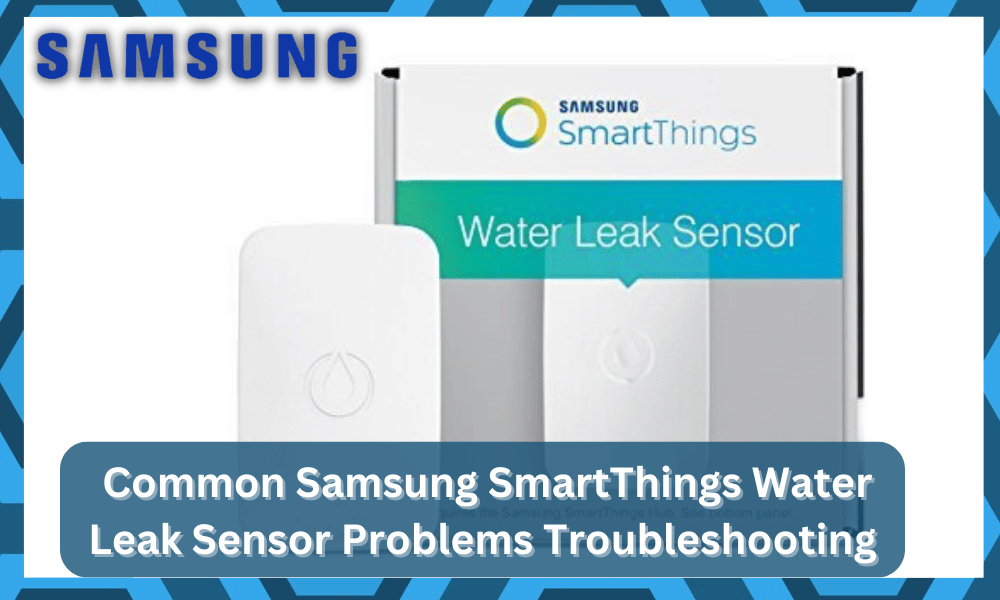
Common Samsung SmartThings Water Leak Sensor Problems Troubleshooting
However, the installation of this unit can be a bit tough. For this reason, you will find some owners hiring a professional for the installation of this unit.
From there, they don’t have to worry about securing a consistent response from this device.
On the other hand, if you’re not really sold on hiring an expert, then there are a few problems that you can face down the road.
The majority of these issues are easy to fix and won’t be a burden. So, be sure to go through this list to get a better perspective of the situation.
- Sensors Won’t Connect
One of the first things that you need to consider here is the sensor connectivity error. It is one of the more common issues and can often be linked to the tab connected to the system.

If you’ve just got the unit out of the box, then you need to get rid of the “Remove to Pair” tab.
It will be pretty easy to remove, and you can just pull on it before going through the connection routine.
From there, you can click on the connect button and keep it pressed for around 10 seconds as you install the battery.
This will help you secure a response from the LED, and the unit will keep working perfectly.
So, all you have to do here is to remove the tab and make sure that the unit is within the effective range of the system. Most of the time, the issue with your unit will be fixed right here.
- Battery Issues
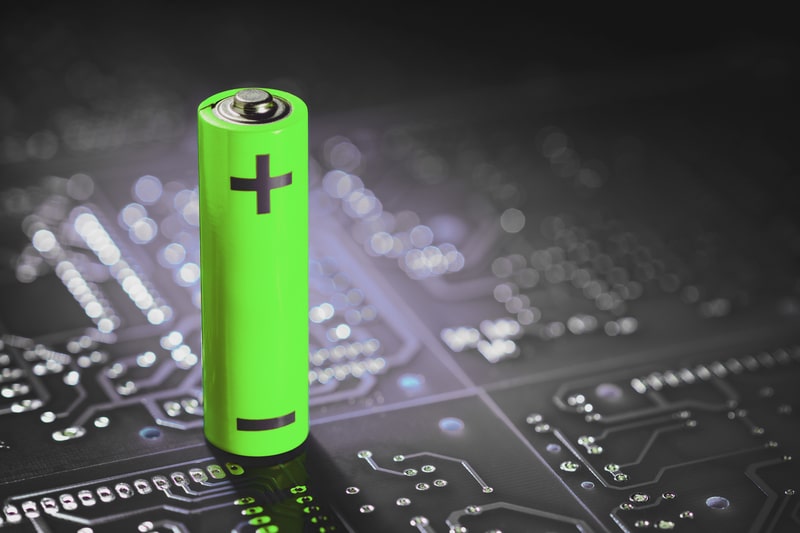
Battery issues with the system are also not that rare and can be linked to extensive use of the sensor.
However, if you’ve just installed the battery, then the issue might be with the placement of the battery.
You need to check the orientation here and make sure that the connections are clean.
It will only take a few moments as you try to adjust the connection points. From there, it is not that difficult to address the errors with the SmartThings Water Leak Sensor battery not working.

Once you get rid of the debris or gunk in the battery compartment, the battery should work perfectly.
On the other hand, if you’ve been using the sensor for a few years now, it is time to get a replacement.
This unit won’t last you for long as you try to optimize the performance of the system.
So, be sure to go through dealer support if you can’t seem to find a compatible fit for your device.
- False Alerts
False alerts from the unit are more commonly linked with the placement of the unit.

If you’re sure that the unit was installed correctly, then the device is defective, and you will have to get a new one.
However, if your device seems to be in good shape, then you need to check the placement.
There should be no extra moisture or any puddle of water as you try to adjust the issues with the water system.

Moreover, you need to isolate the situation with the drippage to get ahead of these errors.
We suggest that you don’t waste any more time here and just reach out to a professional.
He will guide you on how you can maneuver through this issue without dealing with more errors.
So, be sure to reach out to the experts, and they will help you find the ideal spot for these leakage sensors.
- Reporting Errors

Reporting error is the next thing that you need to consider when dealing with this unit.
These errors are not that serious and only require you to go through a basic troubleshooting routine to get through the situation.
All you need to do here is to check the range between the hub and the sensors. Nine times out of ten, owners were able to address this issue by moving the system back in the range.
So, if you’re making the same errors, it will take only a bit of effort on your end. From there, you can just find a better spot for the hub that covers all the devices.
Similarly, there shouldn’t be any thick walls or interferences from other devices as you try to isolate these errors with the unit.
- Stuck On Wet
Sometimes, the unit will get stuck on one status, either wet or dry, and you won’t be able to address these errors.
So, if you’re in the same boat and can’t seem to address this issue, then there might be water damage to the unit. You won’t be able to address this error right away.
You will have to leave the unit out to dry for a few hours if you see water damage and discoloration of certain segments.
There are no quick methods here, and you have a decent shot at fixing these errors by drying out the unit.

However, if the damage is too much and the unit was sitting in a puddle of water for a few hours, then you’re out of luck.
You will have to go through a warranty claim and get a new unit. Otherwise, it is next to impossible for owners to address these issues.
- Application Won’t Respond
Sometimes, the application can also create some issues for the owners. These issues are not that hard to fix and will only relate to the current version of the application.
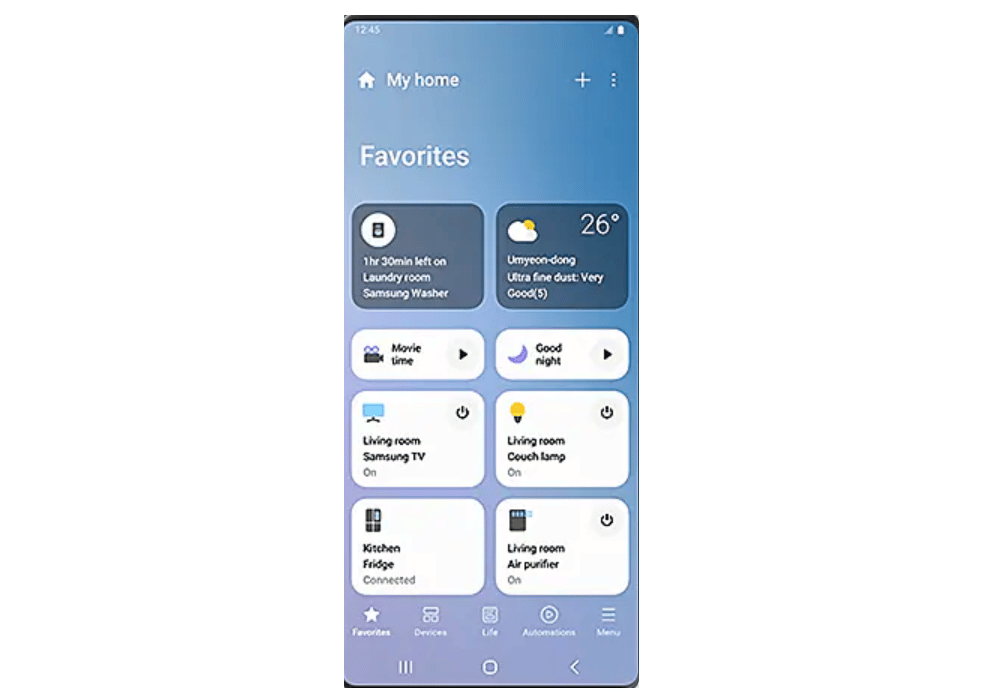
So, if you’re in the same boat and can’t seem to get a consistent response from the application, then try to reset the app.
It will only take a few seconds as you go through the reset routine. So, all you have to do here is to remove all the data and stored cache and then proceed with the setup one more time.
If you’re lucky, the issue will be fixed right here, and you won’t have to bother with any more fixes.
However, it is still a good idea to update the application as you’ll avoid many bugs down the road.
- LED Light Won’t Work
This issue with the unit is more related to the battery status as well as the hardware issues.
If you’re not too sure about the unit and it won’t turn on even after putting in the new batteries, then you are dealing with a defective device. There is not much that you can do here.
Your best bet is to reach out to the dealer and have him provide you with a fresh piece.
The warranty deal on this unit is pretty great, and you won’t have to waste much time as you try to get a new piece.

It all comes down to verifying the purchase by showing a receipt. From there, you will simply have to wait for five to six business days as you try to get the new unit.
There is no point in sticking with a damaged system, and you should be able to get a new one by reaching out to the dealer.
Hopefully, you won’t have to go through any hassle and the issue will be fixed in no time.
Wrapping Up
This list of the Common Samsung SmartThings Water Leak Sensor Problems Troubleshooting underscores the pointers that you need to be wary of while setting up the system.
If you’re not hiring an expert to help with the installation, you might run into some of these errors.
If you’re lucky, then the fix will be fairly simple, and you will have to check the battery status as well as the hardware situation of the unit.
Most of the time, the issue will be fixed right here, and you won’t have to bother with any more errors.
However, if you are not that sure about the device and it seems to be damaged, then claiming the warranty is the only real move you have.

You will have to reach out to the dealer, and he will provide you with a fresh piece (provided that the unit got damaged during delivery).
Most of the dealers will verify everything on their end, and you will be able to secure the new unit within the same week.
So, be sure to inform the dealer about these issues. He will take over the situation, and you can hire an expert to help you install this steam.
Hopefully, you’ll have a smoother experience with this new unit!