The reputation of established brands like Liftmaster can be attributed to their extensive portfolio of garage door openers. This brand has maintained the top spot for years, and it is considered one of the most consistent options in the market.
However, even Liftmaster devices can sometimes malfunction, and you will struggle to connect them to Wi-Fi. Even though these issues are pretty rare, you will still be annoyed with managing the performance of your garage door opener.
So, here are some of the troubleshooting steps that can help you connect the Liftmaster unit back to the Wi-Fi. Hopefully, you won’t have to worry about connectivity issues after testing out some of these methods.
Liftmaster Not Connecting To Wi-Fi
- Check Wi-Fi Strength
If the LED light on the Liftmaster unit is blinking blue and you don’t hear any beeps coming from the system, then you’re dealing with Wi-Fi Strength issues.
Both your router and the Liftmaster unit are in good condition, and you just have to move the router closer to the main device to get it connected to the network.

So, check the Wi-Fi strength, and then try to link your unit with Liftmaster again. That should help you get ahead of this connectivity problem.
- Clear Wi-Fi Settings On myQ
If your garage door opener was working perfectly with the Wi-Fi, and you’ve just recently updated the credentials on the router, then you have to go through the setup again.
The Liftmaster unit won’t connect to the Wi-Fi until you clear the previous settings from the phone and add new settings to your unit.
So, access the myQ application and clear up the older settings, and go through the setup process again. That will fix the issue with Liftmaster not connecting to Wi-Fi.
- Power Cycle Liftmaster
If the LED indicator on the Liftmaster unit is not flashing blue, and you see a solid light coming from the system, then power cycling the Liftmaster is your best bet.

All you have to do is to remove power from the Liftmaster device for around 30 seconds and then start the unit again.
Now, you can enter the Wi-Fi setup mode on the unit and go through the configurations to link the router with the Liftmaster device again. Keep in mind that you will also have to remove the battery pack to completely power cycle the unit.
- Disable Wi-Fi Assist
Sometimes the connection issues with the Liftmaster not linking up with the router can be related to the mobile configurations.
The Wi-Fi assist and the smart network switch features on mobile devices can play a role in creating this problem with the Liftmaster not connecting to Wi-Fi.
So, you’ll have to disable these features from the phone settings and then try to pair the Liftmaster garage door opener to connect it to Wi-Fi. That should be enough to eliminate the problems with Liftmaster not connecting to Wi-Fi.

- Check Account Credentials
If the LED indicator on the Liftmaster is solid green, then that points towards account issues when you’re unable to connect with the Wi-Fi. There is a good chance that you’re not using the linked email to connect the Liftmaster unit.
So, check the account configurations and use the email that is linked with the garage door opener to set up the device in your home. Otherwise, you won’t be able to get any response from the Liftmaster opener.
- Reset Router
Resetting the router should be your last option, as that will remove all the configurations from your smart system.
However, if the router is indeed defective and you’ve messed with the default configurations, then resetting the router is the only real option.
Even though you will have to reconnect all the smart devices to the unit, it is still better than dealing with a ton of connectivity issues down the road.
In most situations, the issue with Liftmaster not connecting to the Wi-Fi was linked to the signal strength.
So, there is a good chance that you won’t have to test out all of these methods, and the issue will be fixed once you reduce the distance between the router and the Liftmaster garage door opener.
Make sure to also contact the customer support department to help with the issue.
- Limit 5.0 GHz Channel
Having a dual-band router might sound great at first, but you will run into a few snags here and there as you try to adjust the system.
There are a ton of configuration issues and minor errors that you might have to deal with down the road. So, be sure to keep that in mind when using a dual-band router.
The most effective fix that helped countless owners get through the situation was to remove the 5.0 GHz network entirely from their router.
Similarly, some owners also said that the fix was as simple as creating a different password and username for the 5.0 GHz channel.
So, if your router is still on default settings and you have yet to change the system, updating or removing the 5.0 GHz channel will do you good.
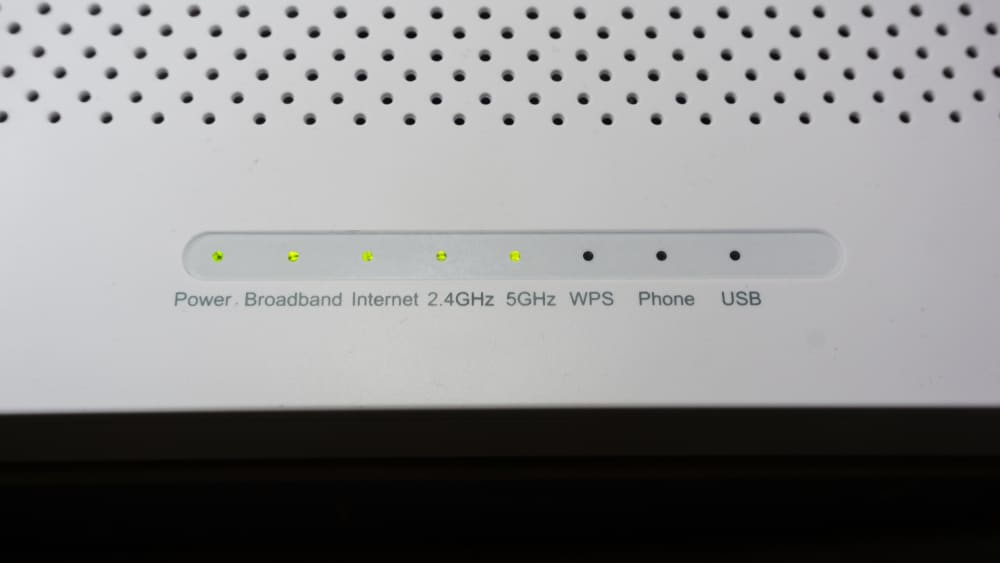
All that you’re trying to do here is make sure that the device only connects to the 2.4 GHz channel. That will help you avoid a lot of snags down the road.
Moreover, you can also ask the service provider about how to remove the channel or limit its presence while still maintaining support for other devices on the same router.
Hopefully, you won’t mess up the whole smart system, and the Liftmaster unit will start working at this point.
- Check For Hardware Issues
Sometimes, you just have to check for cracks or water damage to the unit. Handling smart devices is no easy task, and there is a plethora of things that can go wrong with smart units. This is especially true when the unit is not packed up properly.
So, be sure to check for hardware issues and reach out to the dealer if you do find faults in the system. You’re not responsible for any damages to the unit and can reach out to the dealer for a fresh piece.
This is especially true if you’re sure that the unit got damaged during delivery.
All you have to do is to forward a claim here along with the proof of purchase, and the dealer will take care of the rest. You will be provided with a fresh piece within the same week. So, be sure to ask the dealer, and he will guide you on the issue.
- Ask Official Support
Even if you’re not sitting on a valid warranty, you can grab a fresh piece by reaching out to the customer care team. The customer care department managed by this brand is one of the best, if not the best, on the planet.
These experts will go the extra mile to help you figure out the issue.
So, if you’re still confused and can’t seem to find a direction, just call up the support team. Within a few days, you’ll be able to reach out to the experts that will inquire more about the situation.
From there, you can follow the instructions of these experts to fix the issue.
Wrapping Up
These pointers on the connection issues with the Liftmaster unit should be more than enough to help you along with the fix. Most of the time, you will have an effortless experience with the machine.
However, if you do run into issues, it can take a hot minute to isolate these problems.
If you’re lucky, the issue will be fixed in no time. However, if the error persists, then you can go to the dealer or the customer care team to help you with the issue.
From there, you will just have to follow the instructions of these excerpts to isolate the problems.