There is no denying that smart home technology has successfully helped us in improving various aspects of our lives.
Thanks to it, we can live a life that is much more convenient and easier than ever before. Roomba is one such similar device that has made cleaning a house very simple.
This is especially true for busy individuals and entrepreneurs who don’t have enough time to get through the cleaning cycle.
You will not have to spend any time after the initial setup, and the cleaning robot will easily go about the home maintenance.
However, that doesn’t mean that you can completely ignore the robot for an indefinite period.
There are still a few pointers that you need to keep in mind to get an optimal response from the system.
How to Fix a Roomba Will Not Move Forward?
These include cleaning the dustbin, removing hair from the brushes, checking contact points, and much more.
Plenty of users have been facing problems while trying to operate their Roomba devices.
They have mentioned how their Roomba device will not move forward. As a result, they are unable to properly use the device and clean their house.
If you are facing a similar issue and want to learn how you can fix the issue, then we highly suggest that you keep on reading the article.
So, without wasting any time further, let’s get started!
- Thoroughly Clean the Robot
One of the very first reasons why you could be experiencing the problem could be due to the fact that your robot is simply dirty.
Over time, as the vacuum cleaner basically sucks all the debris for you, it might get dirty. This is why it is important to clean the robot every now and then.
It is possible that due to the debris accumulated inside the robot, sensors are not working properly.
In either case, you will have to thoroughly clean the robot and ensure that you clear any debris or dirt inside it.
Similarly, there is also a chance that your Roomba might have any kind of obstruction on its path, or the bumper might be stuck.
If that is so, then all you have to do is to move away from the Roomba and check the bumper from underneath.
- Possible Power Issues
What most users don’t know is that power issues could also lead to the Roomba facing issues.
These include the power supply not being connected to a functional outlet or a broken pin inside the cable connected to the power supply.
It is also important to check the battery of the Roomba device as it could either be uncharged or dead.
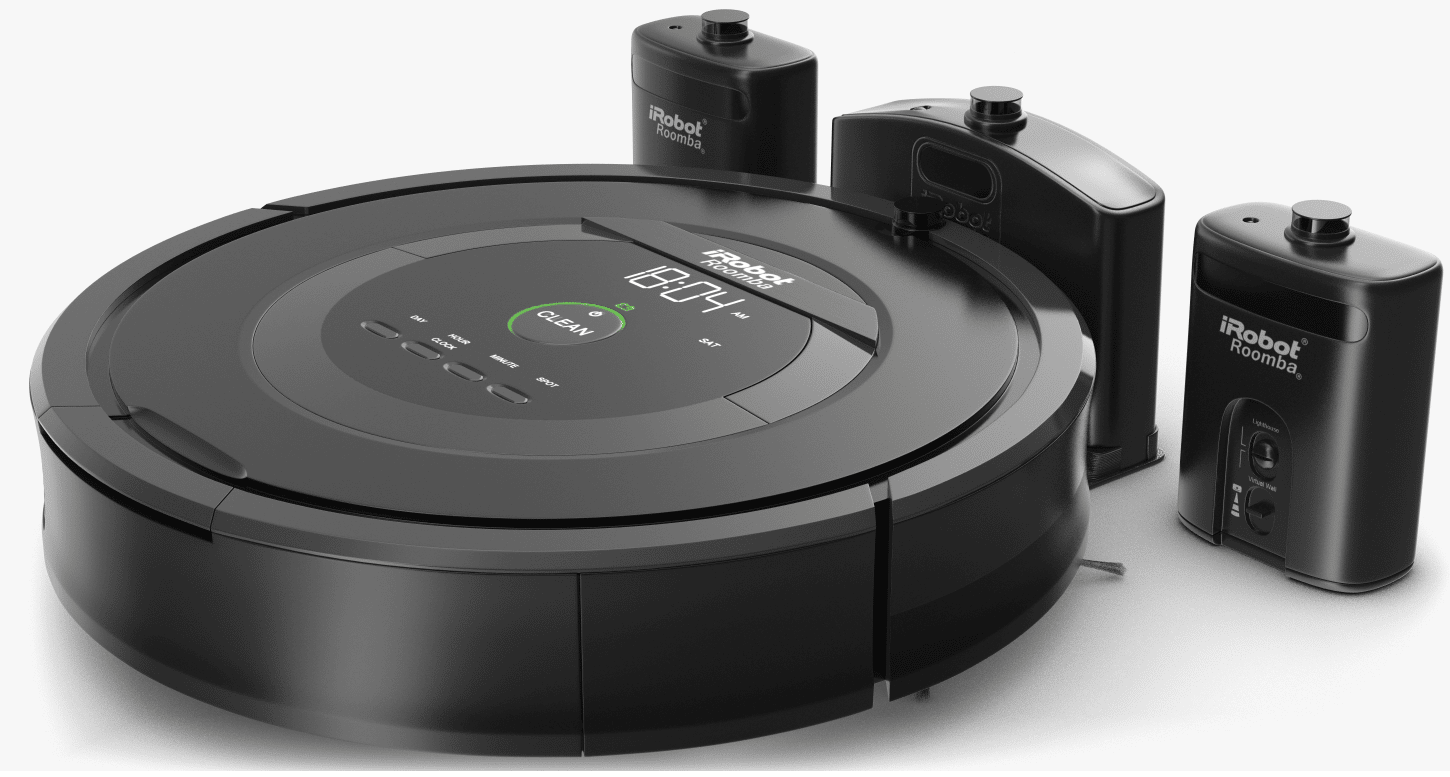
- Fully Charge Robot
After checking up on the battery status itself, you need to just check the docking station and make sure that there is nothing wrong with the charging base itself.
It will barely take you a few minutes to check up on the system, and freeing up the contact points will help you here.
All that you need to ensure is that there is a proper connection between the cleaning unit and the contact points with the docking station.
Any gunk or debris here will only create more issues with the power supply, and the unit will not work properly.
This is also true if you’ve recently bought a new robot, as you’ll have to charge it for a few hours at minimum before engaging in the cleaning cycle.
Hopefully, fixing the charging status will come easy to you, and you will not have to deal with more errors down the road.
It all comes down to securing the proper flow of power between the system and the docking station.
You can also rely on a multimeter to check the output from the contact points. That will give you more perspective on the situation, and you will be able to go about the cleaning cycle accordingly.
- A Reset Might Be in Order

If you’re not that sure about the issue and it seems to be more related to the programming side of things, then you will have to reset the system.
There is no point in going through basic fixes like power cycling the system when you find the software to be bugged.
The only logical and consistent method of fixing this issue is to reset the system. In most conditions, you will barely need to spend a few seconds to fix this system.
However, setting up the unit after the reset can be a bit complicated.
You will have to refresh the device configurations and go through the whole setup from scratch. It might seem like an extensive task, but you’re not left with other choices.
From there, you can go about fixing the device without dealing with more errors down the road.
Ideally, all programming errors will be fixed at this point, and you can then check up on the motor as well as the pathway to figure out further causes.
Hopefully, you will be able to get a better response from the system after going through these specifics.
- Inspect Motor
Issues with the motor can also lead to the same situation. You will not be able to get the wheels to move when the motor itself is damaged.
So, all that you need to do is to inspect the motor by opening up the base of the cleaning robot.
However, if you’re sitting on a valid warranty, then we will advise against it. Messing with the internal circuitry will void the warranty on the spot.
So, you shouldn’t take these risks and leave this job to the professionals. That way, you will be able to save quite a bit of your time without further complications.
On the other hand, if you’re not sitting on any valid warranty, then you need to check up on the wiring connected to the motor.
You can’t expect the wheels to move when the motor is malfunctioning, and using a multimeter on the wiring connection will do you good.
It all comes down to the movement of the wheels, and keeping track of the power and motor response will do you well.
Hopefully, all errors will be fixed right here, and you will not have to deal with more errors.
- Check For Obstructions
Sometimes, the issue is not that serious, and you will have to check up on the path as well as the sensors to figure out the issue.
If there is excessive gunk on the unit and you’re not able to check up on the system, then these missed configurations will lead to more errors.
There is no point in checking up on the performance when the sensors are covered with gunk.
So, you should always start by cleaning up the system and then check the path. Make sure that the mapping is correct and the path is clear.
From there, you can engage in the cleaning cycle one more time. All errors will be fixed at this stage, but if that is not the case, then your robot is defective.
There are no quick methods to fix a damaged robot, and the only reasonable fix is to reach out to the dealer.

You can either engage the official support team or engage the dealer to check up on the warranty status.
Either way, you need involvement from an expert and don’t try to engage in the cleaning cycle yourself. That will increase your chances of fixing the error.
- Contacting Support
In case you find none of the steps to be working for you, then your best option would be to make contact with the support team.
Let them know about the issue that you are currently facing.
After taking a look at your case, they should let you know about the procedure, which could lead to you fixing your issue for good.
The Bottom Line

Are you facing an issue where your Roomba device will not move forward? If that is so, then all you have to do is to follow these guidelines, as they should help you be able to resolve the problem.
The fix will be fairly simple if you’ve been keeping track of the unit’s maintenance.
On the other hand, if you’re not that sure about the maintenance and the hardware is rough, then you will need to seek help from an official.
There is no point in going through with any of these fixes if you’re not even sure about the hardware.
You will have to check for cracks, frayed sections, and damaged chunks. If you do find hardware issues, then you will need to engage the dealer for a new one.
The warranty deal across all Roomba units is nothing short of phenomenal, and you will enjoy an amazing performance from this system.
It all comes down to how you’re planning on addressing this situation. We will always recommend that you seek help from a professional and don’t try fixing it yourself.
Otherwise, you will end up voiding the warrant and will lose your shot at getting a fresh piece.
My I robot i3 won’t move forward it keeps saying drop off detect then won’t move and there is no drop off ?? And I might add this Is brand new and fully charged
Same. It’s fully charged, cleaned and kissed , but it will not move a lick.
I’ve cleaned it thoroughly. He’s fully charged. App indicates that he’s working but he’s not. He’s just sitting there.
Irobot will not move forward. No beeps no error messages just does not move. I’ve taken it apart and cleaned it thoroughly still no movement.
My roomba won’t move. It has power and will empty bag.