Cleaning can be quite troublesome and take a lot of your time. The time you spend cleaning can be used much more productively, but the thing is, you can’t live in a dirty house. So what’s the solution then?
Cleaning robots, of course, also known as Roomba, can help you clean your home quite easily. All you have to do is clean its dirt compartment once a day, and you are all set.
Some Roomba even comes with a self-cleaning compartment which provides you with that extra convenience. They are not as expensive and save a lot of your time.
How to Fix Roomba Not Cleaning All Rooms?
Once you have let the Roomba map out your home, it can be quite easy for the Roomba to clean whichever area you want it to. Just use the app to command it, and it will get to work. They are pretty good at avoiding things and can do a very good job daily.
If you take care of them and clean some parts on a regular basis, they can save a ton of your time. Some people, however, are having issues with Roomba not cleaning all rooms. Here are a few fixes you can follow.
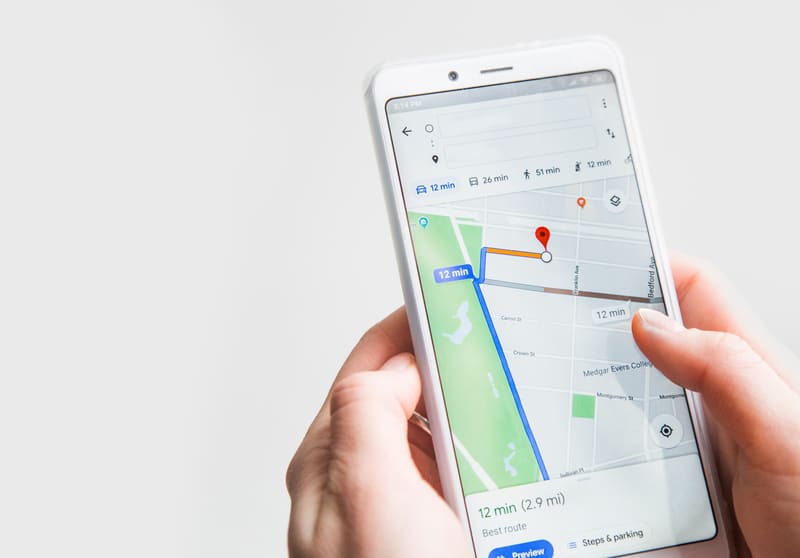
- Check App settings

Make sure that you have set the Roomba to clean all rooms and not specified ones. Most of the time, people forget that they have set the Roomba to only clean one or two rooms. Just go into the app and set the cleaning area to the whole house. Roomba will start cleaning all the rooms in the mapped area.
- Make Sure the Room Has Sufficient Light
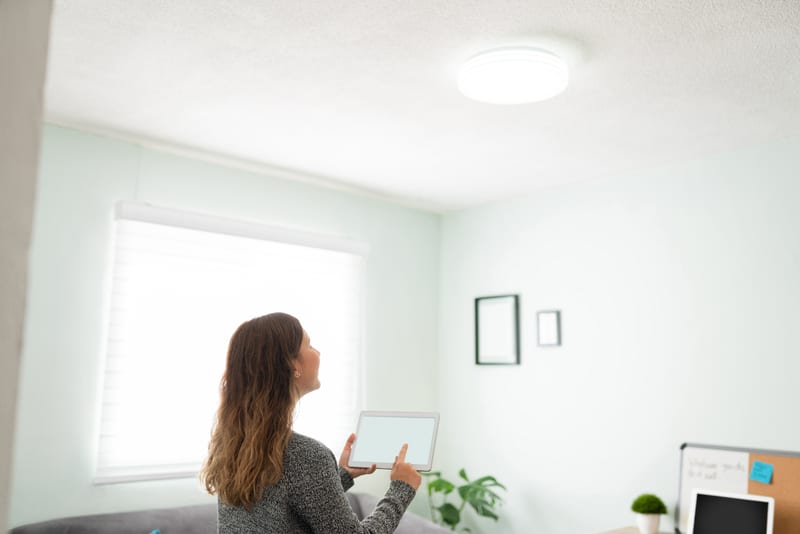
Roomba cannot navigate properly in a dark room. As the camera installed can cause problems with the navigation of the Roomba across all rooms. So, make sure there is adequate lighting available for the Roomba, and it will start working properly.
- Check Dustbin Status
One of the most prominent reasons why you’re not getting any response from the unit is a full bin. Keep in mind that you need to clean the bin at least once every day. If your home is huge, it is better to clean the bin after every cycle.
Some of the older Roomba models are not that great when it comes to compacting dust. The bin will get full pretty quickly. Once the bin is full, the robot will stop further cleaning cycles.
So, you need to increase the frequency of emptying out the bin. That will mostly improve the overall cleaning performance along with the errors with Roomba not cleaning all rooms.
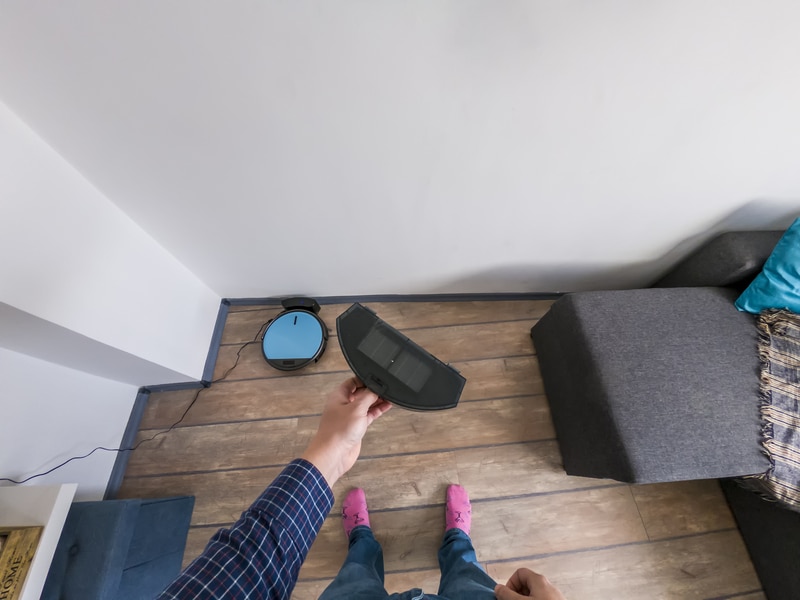
- Remove Obstructions
The obstructions in some rooms can limit access to the whole section. You need to make sure that there are no extra items placed in the room before you leave the house.
These items might seem pretty small, but the sensor will halt robot movement in that direction. So, all you have to do here is to glance at every room and remove any obstructions that might block the robot.
- It Might Be Time To Service Your Device
The Roomba unit should be cleaned on a weekly basis. There is no point in ignoring these maintenance cycles. Your main focus should be on keeping the wheels and the brushes in good shape. Furthermore, there should be nothing stuck to the base.
Sometimes, all it takes is a few minutes of your time. So, consistency follows through with the weekly maintenance of the unit, and that would be it. You won’t have to deal with the same cleaning cycle errors again.
- Power Cycle Your Unit

Here, just remove the power from your device. This includes removing the battery from your unit for a few hours and allowing it to cool down. Make sure that there is no debris or gunk inside this compartment.
Depending on the life of the robot, this compartment can get clogged. Excessive heat is only bad for the battery and the unit. You need to limit the heat output and then streamline the power connections.
Make sure to clean the compartment, and that would be it when it comes to power cycling errors. From there, just fix these errors and then check the response from your device. Ideally, you won’t have to worry about the same cleaning cycle issues here.
- Check Battery Status
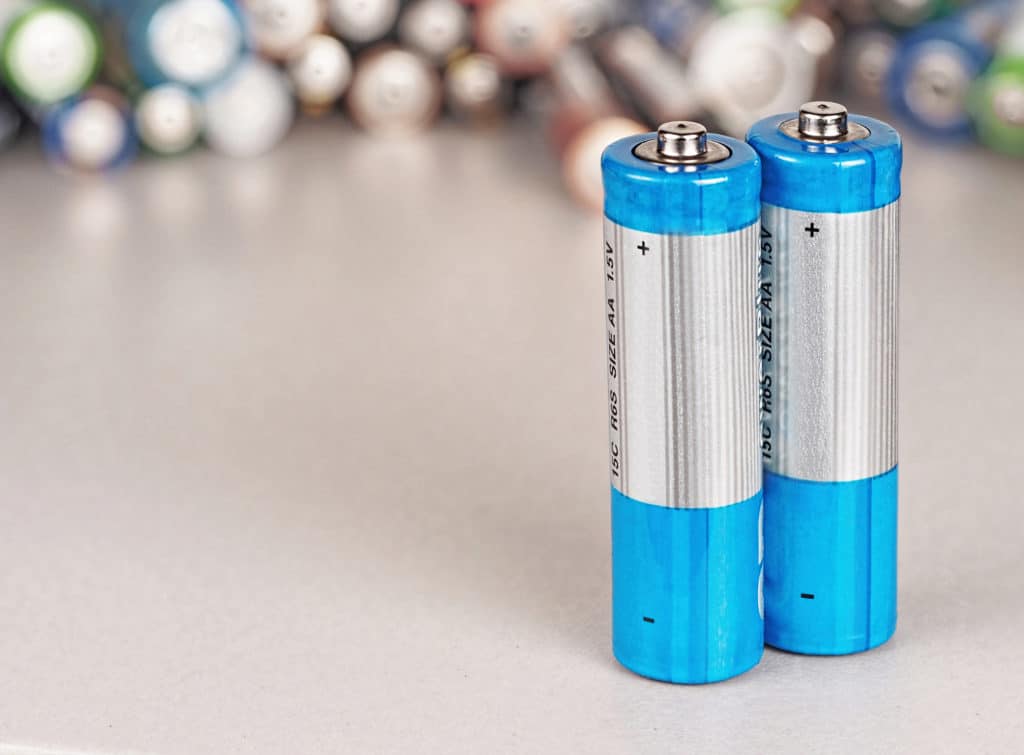
The battery status might also be at fault here. If you’ve been using the Roomba for years, then the problem might be with the battery. The lifespan of the battery is not more than 18 months for most units.
Luckily, a new battery won’t be that heavy on your budget. Just browse through the official store, and order a compatible replacement. From there, it is not that hard to install the replacement on the robot.
You just have to remove the top panel and then access the battery compartment by loosening up the main screw. The procedure can vary depending upon the model you’ve bought for your home. So, go through the manual one more time to address these errors.
- Make Sure Unit Is Not Damaged
Sometimes, the unit is just damaged, and the problem is not with the programming. So, you should also check the condition of the robot. If there are any cracks or damaged sections, just call the dealer.
If the warranty is valid, you should avoid opening up the unit yourself. On the other hand, if the warranty is void, you will have to reach out to a local repair centre. They will guide you accordingly after inspecting the unit.
- Remove Virtual Wall Features
The virtual wall features sound pretty convenient, but they are very inconsistent. You won’t get any response from the virtual wall features when the region is isolated. So, you have to remove these features through the smart app.
A factory reset is not a bad option if you are comfortable with the idea of mapping the apartment again. However, turning these features off will address the problem most of the time.
- Let The Roomba Charge For A Few More Hours
If you’re sure that the battery status is not that bad, charging the unit for a few more hours will address this situation. Your main focus should be on limiting the issue with the charging timing.
The Roomba should get charged fully within 3 to 5 hours. Any less than that, and the device will die in the middle of a cleaning cycle. So, let the Roomba charge for a few more hours.
Ideally, that will fix all power-related errors. However, you can further adjust the power supply from the main source, fix the docking alignment, and clean the contact points.
- Clean the Sensor
As mentioned before, you must take care of the Roomba. That means that at least clean it once daily. It won’t even take you 5 minutes and save you hours of headache. Just turn the Roomba over and start cleaning the brushes and the sensors. That would most probably fix the issue, and the sensors will start working properly.
- Reset Map Configurations
If following the above fixes doesn’t work, then your Roomba probably has a faulty map. You should start the mapping process from scratch and make sure that the whole area gets mapped correctly.
Remove the obstacles from their way and let them configure the dimensions of your whole house. Afterwards, you can customize everything according to your liking. The mapping process can take around 1-3 hours, depending upon the size of your home.
Wrapping Up
Most of the time, the situation with Roomba not cleaning all rooms is related to the programming side of things. Either the battery is to blame, or the configuration is not managed accordingly. You will have to isolate the issue before implementing the method mentioned here.
Ideally, a quick power cycle along with a reset will address all programming-related issues. Installing a new battery will fix power-related issues. Servicing the unit will address sensor-related issues. Finally, removing the obstructions will correct mapping errors.
It all comes down to the operating conditions. Roomba is one of the best cleaning robots on the market, and these problems don’t present themselves frequently. So, keep that in mind as you try to get through this method.
If you’re unable to fix the device or want to save time, be sure to reach out to the dealer. He will give you more perspective on the issue. You can also call a local expert to take a look at your unit.
Spending a few bucks on repairing fees will save you hundreds of dollars in the long run. So, if the warranty has expired, leave this job to the professionals. That will be it when it comes to Roomba-related issues.
My Roomba will do a part of a room then go and do a part of another room and then come back and work more on the first room. This might happen several times before the job is done. Why does it not clean one room at a time?
Last month I moved to a new home my Roomba cleaned the most of designed areas only once after a couple days mapping. Then it cleans a part of areas every day. It is 7 months. In old house it cleaned most areas. How can I make it remap the new house?
My Roomba i7 refused to go into a room that was previously mapped and divided. It had worked fine for 2 years then decided no more. I gave the area a new name and moved the divider around, saved it, then reverted back the original and now it seems to be fine. No idea why that worked!
I bought mine in October 2021 The first time I used it it cleaned the whole house. The second time it cleaned two rooms and docked . I have only used it twice .
Mine, too