A base station or a dock is an important element of your smart vacuum device. Once these devices are done cleaning the house, they will automatically return to their original dock location on their own. Here, they should also be able to get charged.
Though users have been found asking the question of what happens when you change the dock location of a Roborock vacuum device? In order to find out, we will be taking a better look at it.
So, if you wish to learn more about this as well, then here is everything explained below:
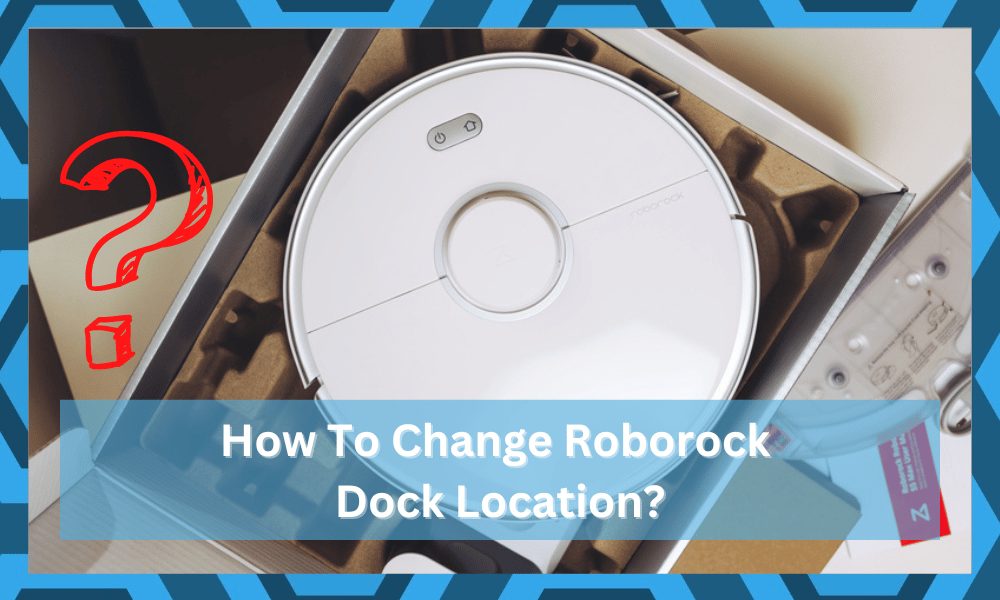
How to Change Roborock Dock Location?
If you wish to change the dock position of your device, then all you need to do is to follow these steps:
- Start by setting a pin and sending off the vacuum to any other location than the base station.
- Now, move your base station to any other location where you wish to put it.
- Using the smart app, call your device back.
- You should notice the vacuum device to return to its old location. However, as the dock’s location has been changed, you will notice the device just wiggle in place. Soon, the device should notice that the dock’s location has been changed.
- Your device will now move in circles and try finding the new location of the dock.
- After a couple of minutes, the device should automatically go to the new dock location.
- Even though your map might not be fully updated yet, once you start a cleaning routine from the new docking location, it should update on its own.
- Once the cleaning is done, your device will not return to your new location.
It seems that the device is also capable of pulling some sort of signals through which it can find the new spot for the dock.
However, this is more of a workaround, and an easier way of changing your device’s dock location, as the traditional method of doing so, is quite hard to follow.
One thing that you will have to keep in mind is that you shouldn’t move the robot on your own, as this will end up confusing the device.
Even if it does take its time, let the robot move on its own, as it should be able to find the correct location on its own.
What Is the Best Spot For Roborock Dock?
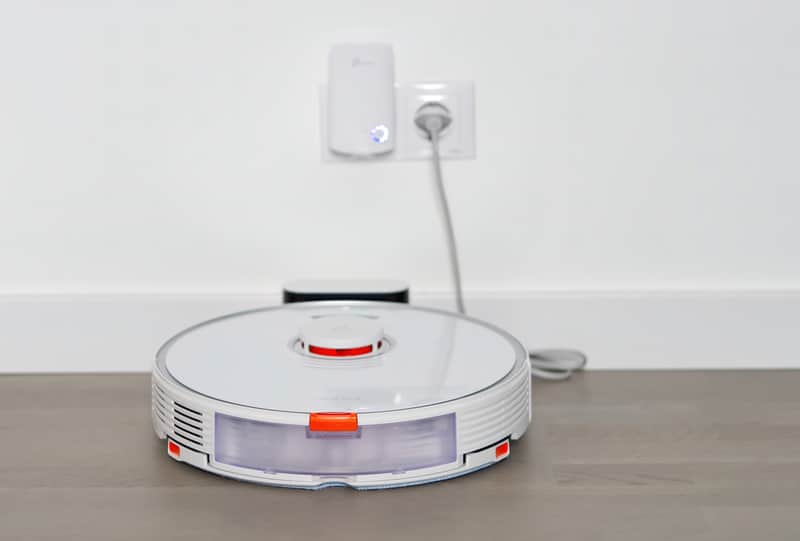
The best spot for the Roborock dock is near a wall that is not surrounded by obstructions. Even if you follow all steps correctly and the unit has recognized the new location of the robot, it might be a better idea to find a spot that is clear on both sides.
There is no point in moving the dock to a blocked location where the sides are completely covered. That way, the Roborock system will keep presenting errors, and you won’t be able to charge your device.
So, you need to find a space where the back of the docking station is against a wall and both sides of the station are clear. That will allow the Roborock system to dock properly without having to worry about sensor-related or dock-related issues from the sides.
Furthermore, you should also focus on finding a spot that is in direct sunlight for the majority of the day. The wear will show itself on the docking station as the color will start to fade away.
You can keep your unit in a shaded region and then check the response from the Roborock system one more time.
How To Refresh Map Location?
Refreshing the map location is pretty easy, as you’ll most probably run into errors with the new dock location. So, there is no need to get alarmed, and you can refresh the map location by switching to a multi-floor plan and then creating a new plan.
From there, just wait a few moments for the mapping to start and then cancel it immediately. You can then forward the command to your Roborock unit to go to the charging station. It should go to the new spot after processing it for a while.
Similarly, you can edit your current map if you don’t want to go through the hassle of creating a new one. Just proceed to the settings icon and select manage maps. From there, click on the edit option and then update the location of your dock.
These methods will only work if you’ve placed the dock in a good spot. You won’t get any response from the device if the dock is isolated, and the Roborock unit will remain in one spot when it can’t get to the dock.
So, make sure to adjust the location of the docking station beforehand.
Why Is My Roborock Unit Not Charging After Changing Dock Location?
The charging station is the most crucial part of your cleaning system, and you need to keep it in perfect shape.
Otherwise, you’ll have to deal with a ton of errors, from a drained battery to low suction power from the cleaning robot. Here are some reasons why your Roborock system might not be charging and how you can fix that quickly.
Dirty Contact Points — You should always start the troubleshooting process by cleaning the dirty contact points. It will only take a few seconds, and you need to make sure that there is no build-up left on these points.
Otherwise, the power flow to the unit will be restricted, and you won’t get any charging done. So, grab a clean cloth and wipe away the gunk from these connection points.
Damaged Cable — It is not that uncommon for owners to damage the cable while moving the dock to a new spot. So, you should check for cable damage and replace it immediately if it seems to be damaged.
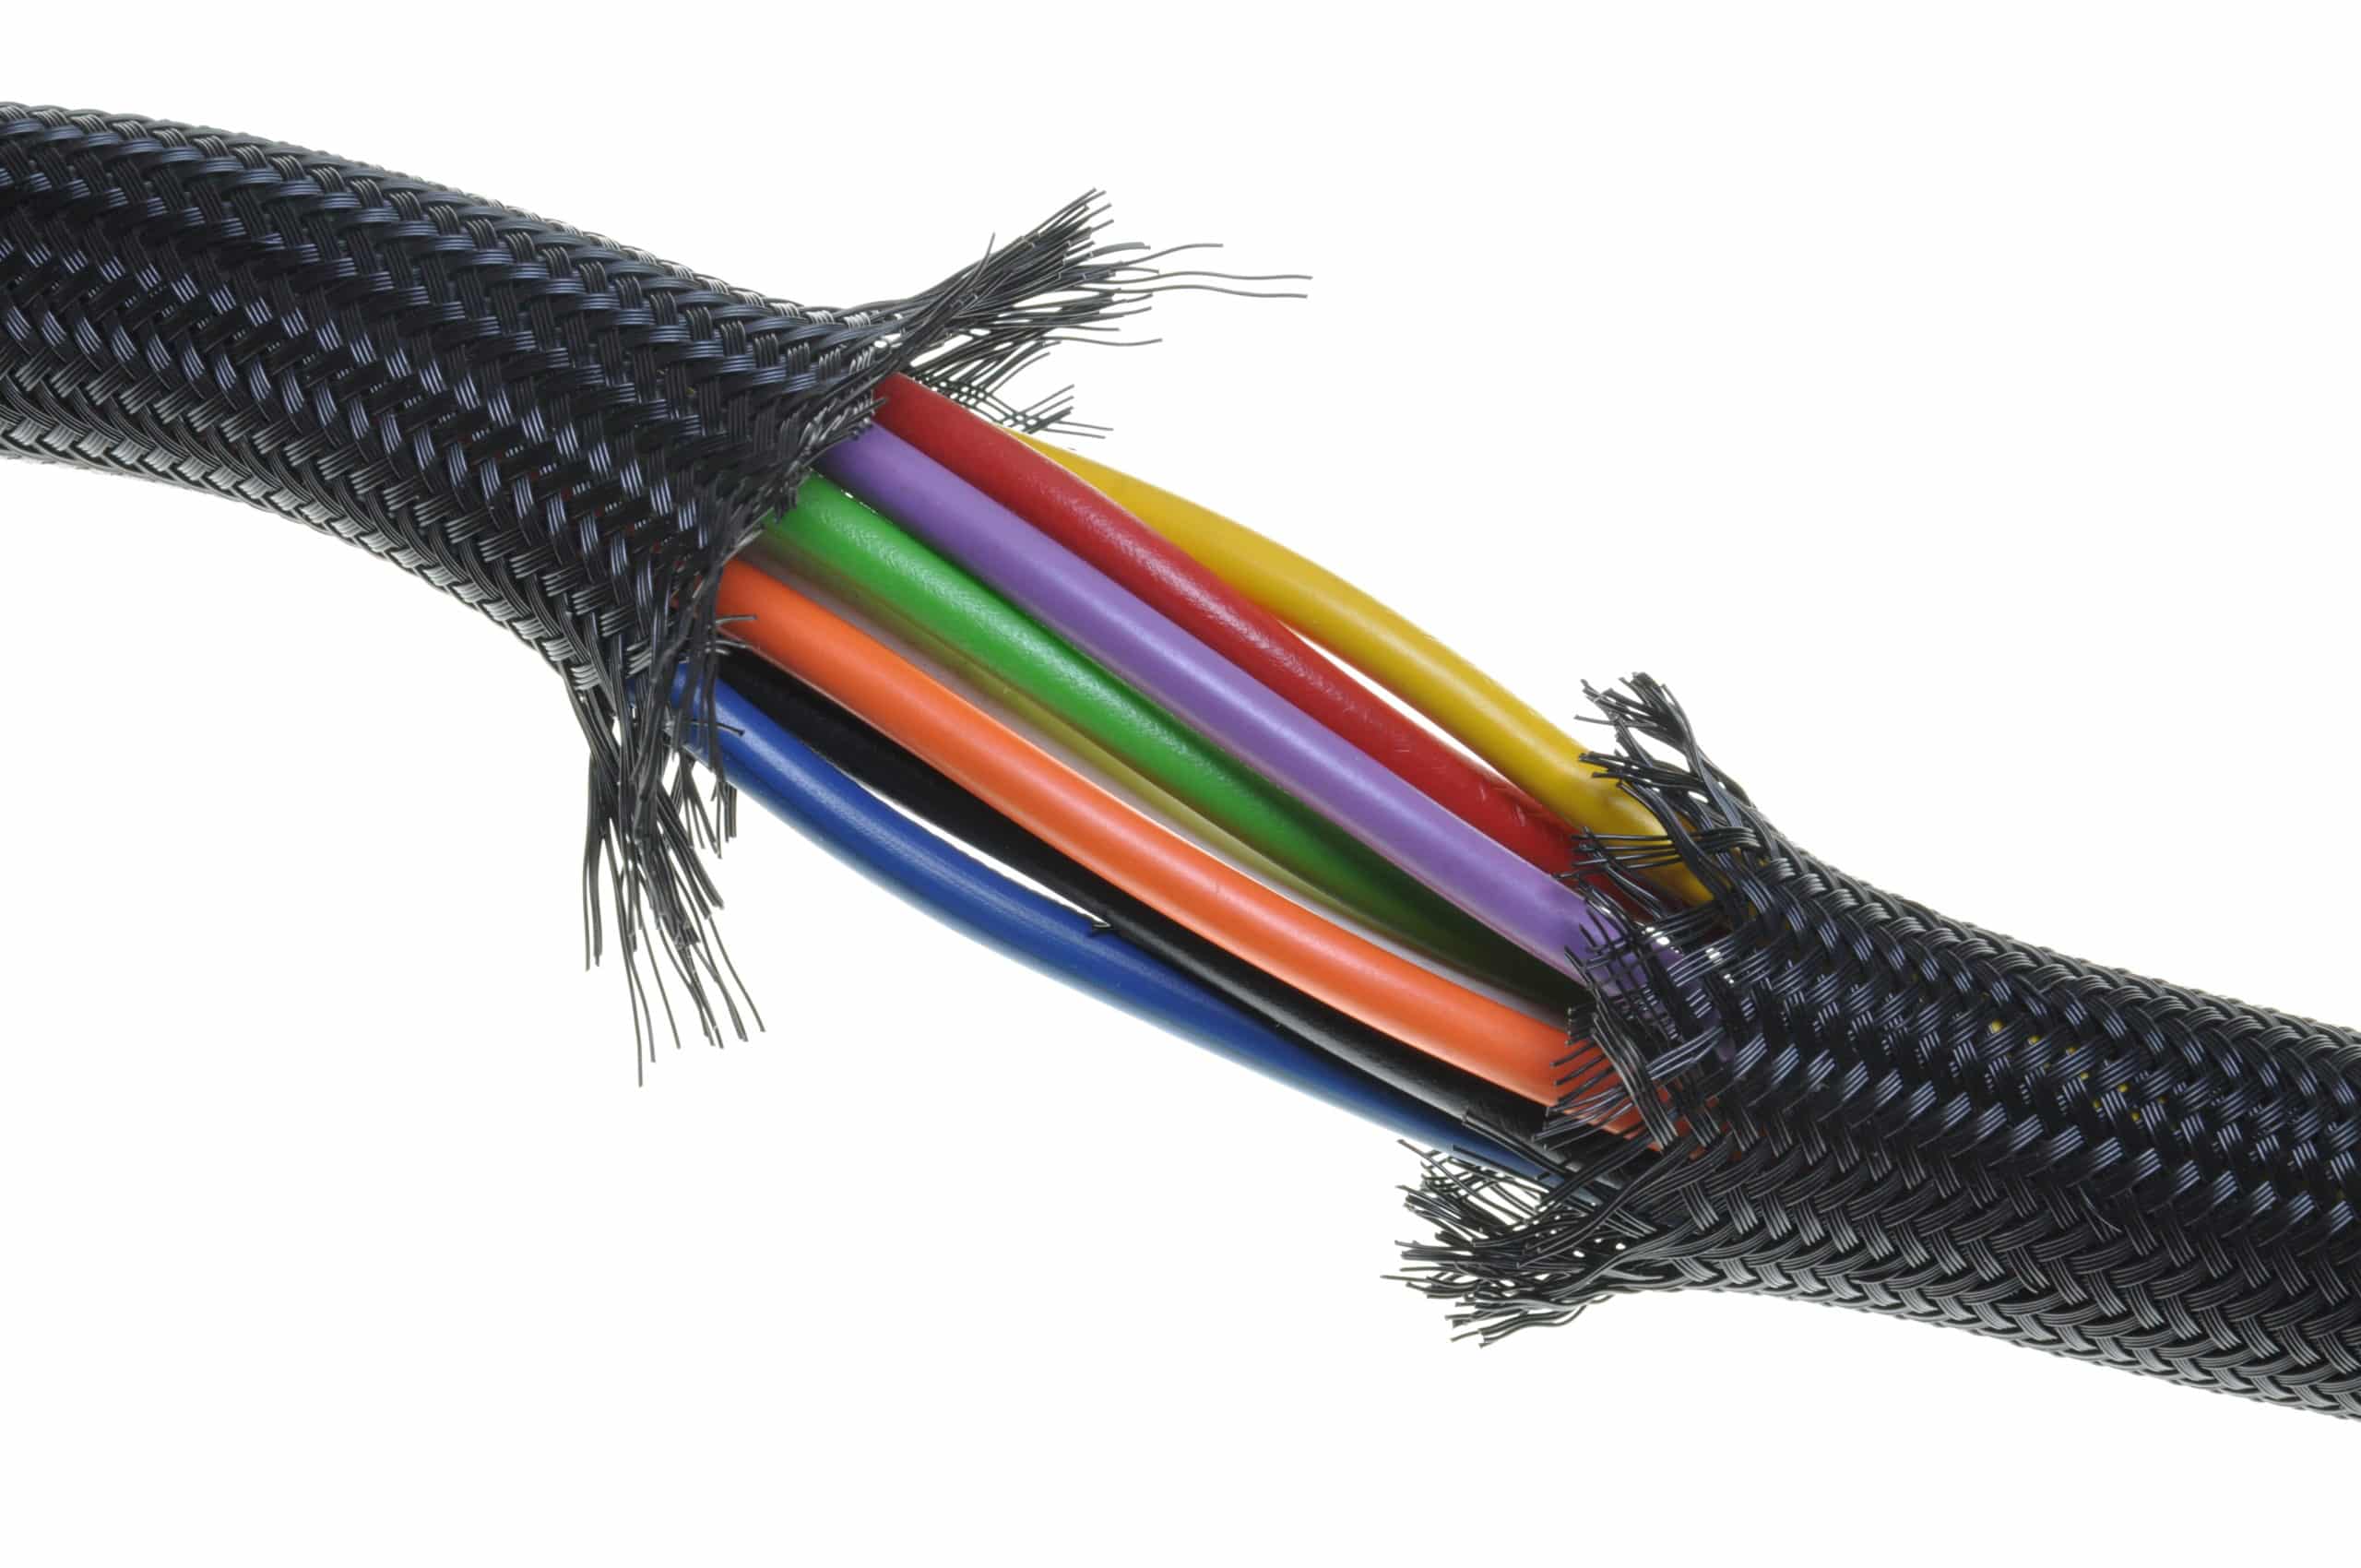
There is no point in using a damaged cable, as that will only create more problems down the road.
Defective Power Source — The new outlet that you choose for the dock might be defective. If the power flow from the source is not optimal, the Roborock system won’t be able to charge properly.
So, to isolate these issues, just use a multimeter or call an expert to help you inspect the outlet.
Hardware Issues — At this point, just check the dock for hardware issues. If there are cracks or the connection points are out of shape, you can try to pull them back to the desired location.
However, if the situation is too rough, you will have to get the dock replaced.
You can’t rely on a broken dock for too long, and going to the nearest repair centre might also help you get the device fixed.
On the other hand, a warranty claim will help you get to the same outcome without having to spend any extra cash out of your pocket.
Alignment Issues — If you’re lucky, the issues might just be pretty minor. You can easily fix the alignment issues by picking up the robot manually and then placing it correctly on the station. If the dock is working perfectly, it will start charging.
To avoid these errors in the future, make sure to clean the base of the dock with a damp cloth every other day. That would be enough to isolate charging errors, and you can simply forward the charging command to send your unit back to the dock.
Similarly, a factory reset is not such a bad option if you can’t narrow down the problem even after going through all of these fixes.
A reset will address all errors if the problem is not related to the hardware. So, keep that in mind if you see no progress with the system.
Are There Any Better Alternatives?
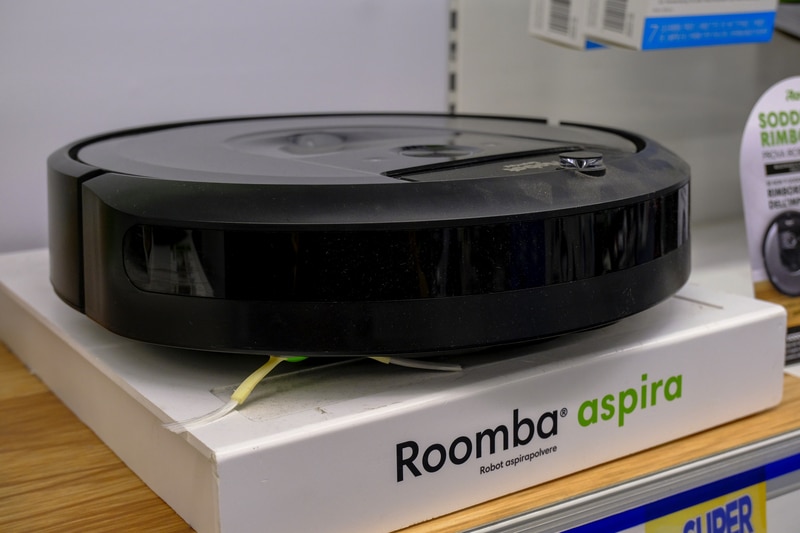
There are many brands that can help you with the same, if not better, performance, with Roomba being at the top of the list.
You can further test out iLife units or Wyze robots if you’re not planning on spending a huge budget on these cleaning robots. It all comes down to your budget and how much you’re willing to spend.
Usually, Roomba is the best device as it is pretty durable and can’t be compared with any cheap brand.
The performance is just too superior, and you won’t have to worry about anything after switching to a Roomba. So, just extend your budget by a small margin and purchase this device.
Lastly, Eufy RoboVac can also be in the conversation if you’re looking for robots with a quieter presence and a sleek design. So, browse through their portfolio and find a unit that fits your needs.
The Bottom Line:
Wondering what the easiest way is to change the dock location of your Roborock? Luckily, there’s a very easy way of doing this, which involves little to no effort on your end.
But if you wish to learn how you can achieve this, you will have to read the step-by-step guide that we have listed above.