While Bissell is one of the most reliable brands when it comes to smart cleaning products, the reviews on the Bissell 1974 are not too great.
Many customers have been unhappy about the operations of the dustbin, and the battery life is not that decent.
Moreover, some customers also mentioned problems with the Bissell 1974 green light staying on when trying to charge their devices.
This green light will only present you with charging-related errors, and you will have to narrow down the issue to the dock or the robot itself.
For these reasons, it is simply better to extend your budget and go with some other brand that is known for better devices in the affordable range.
So, if you’re short on cash, try some options like Wyze, and they will suit you perfectly.
On the other hand, if you’ve already made the purchase and can’t get around the situation with “Bissel 1974 troubleshooting green light stays on,” then here are some fixes to help you along the way.
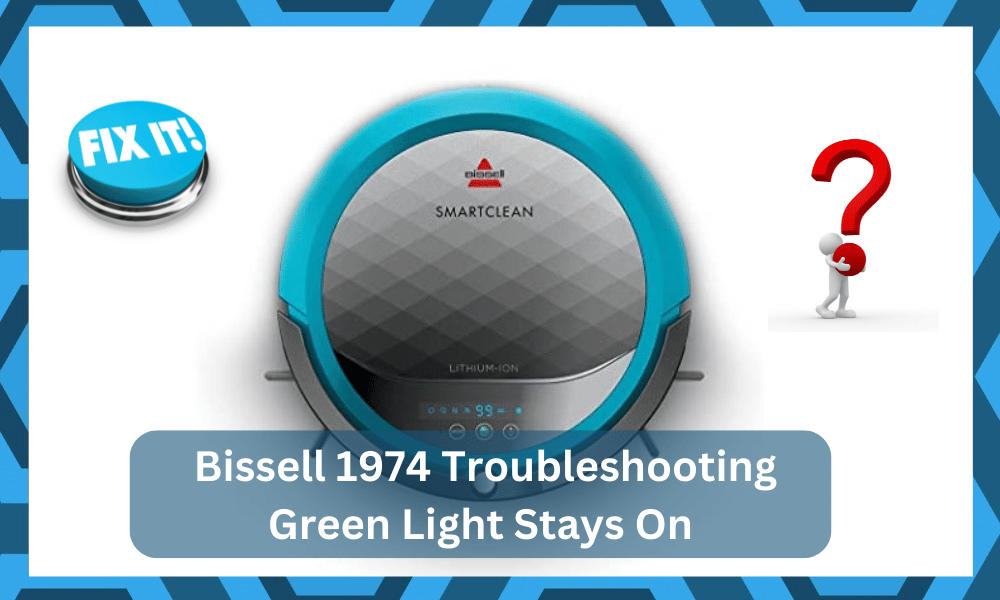
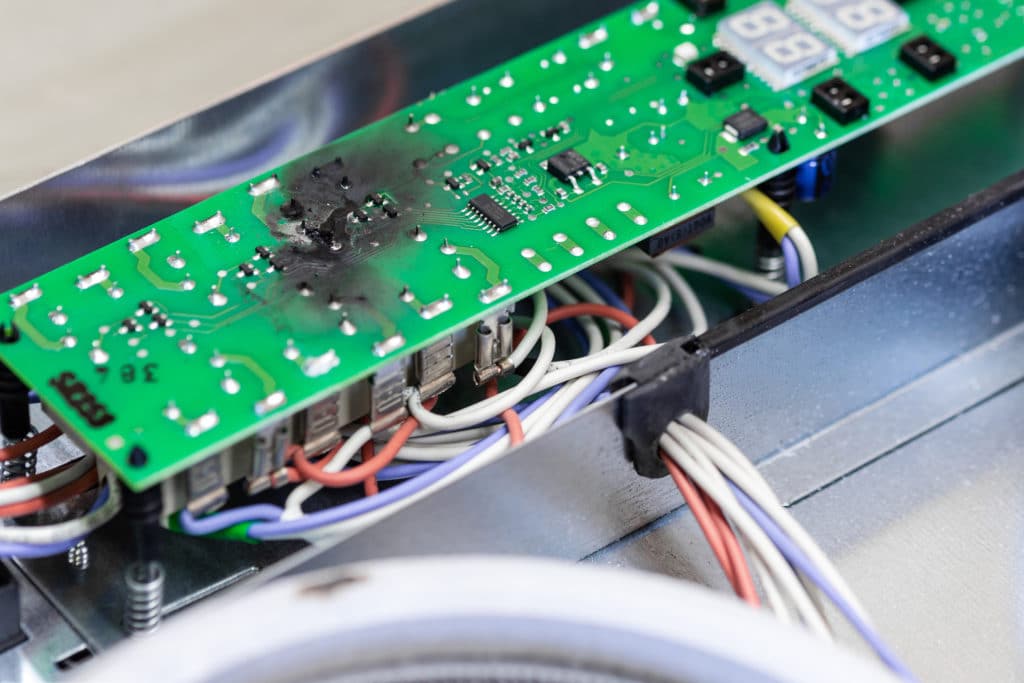
Bissell 1974 Troubleshooting Green Light Stays on
- Check Power Status

Your first move should be to always try and isolate the issue of a faulty power connection. Sometimes, the power from the main source is just not enough to change your device.
So, when the green light doesn’t turn off, you should check the outlet for possible issues. Here, the best thing you can do is to try a different outlet for your smart docking station.
However, if you’re unsure about your electrical connections, hiring a professional will serve you far better. It is never a bad idea to maintain your electrical connections at least once every six months.
Instead of thinking about the hiring fees, you should consider the increase in the life span of your smart devices.
So, just check the power status and make sure that your docking station is able to draw sufficient power from the unit. Mostly, that will be enough to address the majority of these network-related issues.
- Wipe Clean The Connection Points
Next, you need to check the condition of the connection points to isolate the issue with the robot. Ideally, you need to clean the unit at least once every few days.
However, if you ignore the maintenance of your device for a bit too long, issues with the charging are imminent.
The only fix here is to clean the connection points and make sure that the gunk on these connection points is pretty limited. Having too much gunk on these connection points will only have a negative impact on the performance of your robot.
So, just grab a fresh cloth and wipe away the gunk from these connection points. It won’t take more than a second, and you can check the response from the green light after placing the unit one more time.
- Fix The Alignment

The alignment of the system might also be to blame here, and you should manually place the robot on the charging dock to further isolate the issue.
If the green light does turn off as you try to charge the system, then you’ll be sure that the alignment is to blame here. To fix these alignment issues, just check the docking station and make sure that it is perfectly level.
Furthermore, you need to check the sides of the docking station to address all errors with the dock. Ideally, the root should be able to comfortably access the docking station without running into too many hurdles.
So, if you have yet to address the problem with the dock, make sure to isolate the issue by correctly following the installation instructions brought forward by the owner’s manual.
- Check For Cable Damage
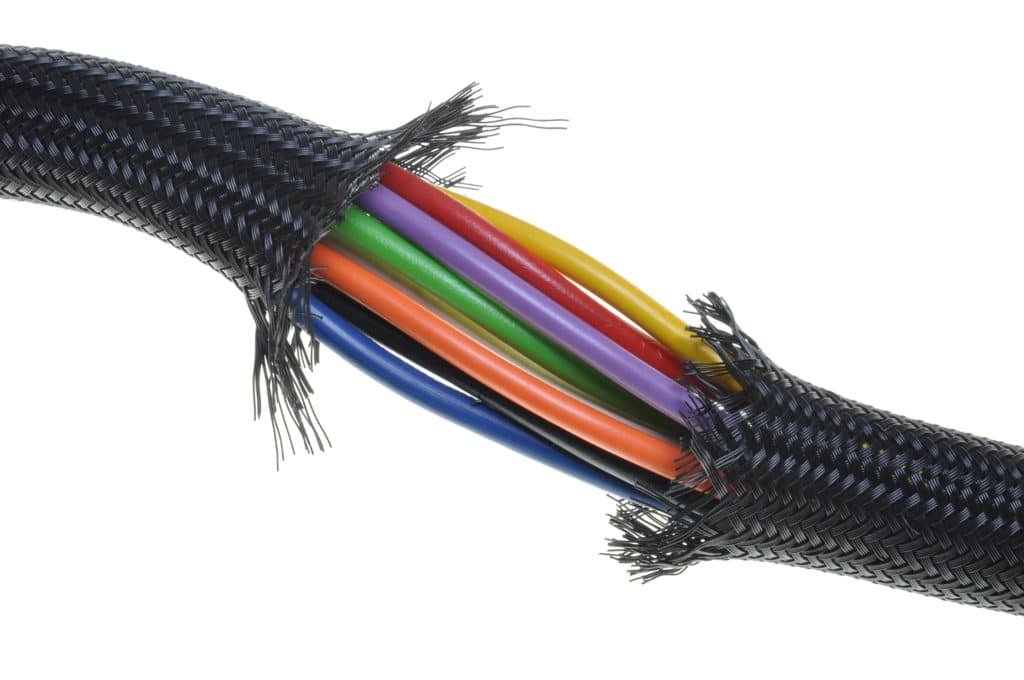
The cable damage might also be at fault here.
If your usage is a bit rough or you moved around the robot quite a few times, now might be a good time to check the unit for cable damage.
There is no point in using a damaged cable, and you need to reach out to the dealer for a replacement.
The best thing you can do here is to install a replacement, but some owners did say that they were able to fix this issue by changing the orientation of their unit. So, keep that in mind when trying to fix cable-related errors.
- Place Your Dock On A New Spot
Sometimes, all it takes is a different spot to address these issues with the unit placement.
Even if the room seems to be level to your eye, there is no harm in trying the dock placement in a different room.
All you have to do is to find a good patch with plenty of space on both sides and then give your robot command to go back to the dock.
Ideally, the green light will turn off as soon as you place the robot on the docking station properly.
- The Battery Might Be Faulty
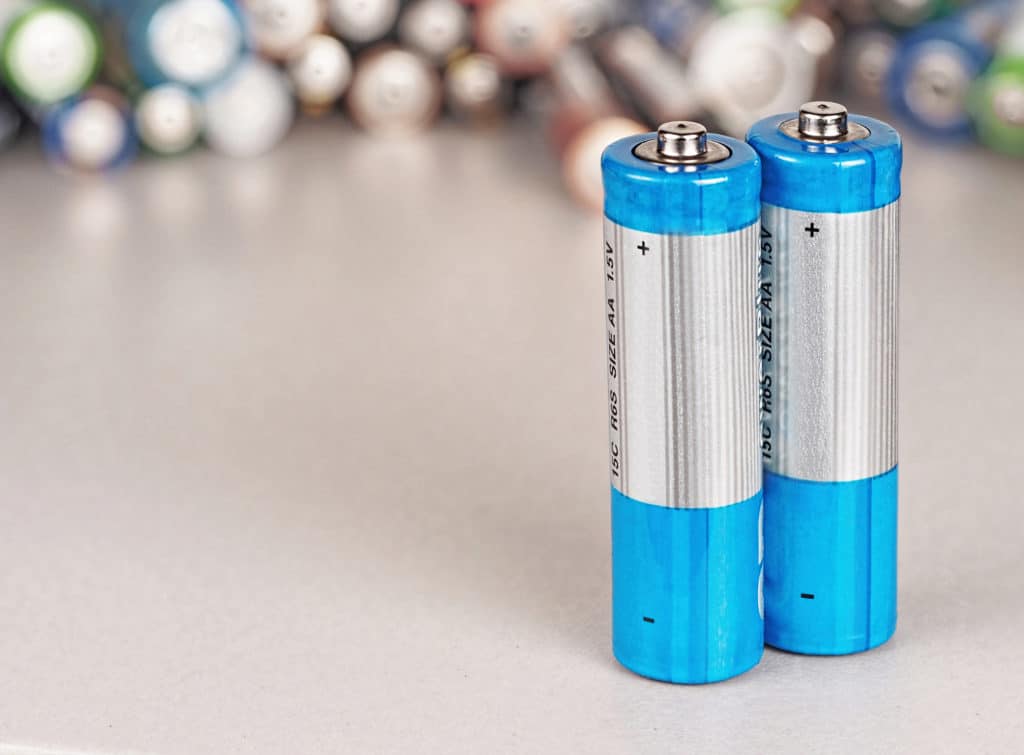
The battery might just be faulty at this point. If you have been using this unit for a few years, now should be the perfect time to get a battery replacement.
A replacement is usually not that expensive and will fit your budget perfectly.
So, if you’re sure that none of the situations mentioned above apply to your situation, just reach out to the dealer and inquire about a compatible replacement.
- Check For Hardware Damage
Lastly, your robot can get damaged over time if the cleaning terrain is not smooth. So, you should check the base of your unit for wear and then place the robot on top of your docking station one more time.
Ideally, the issue should be fixed as soon as you adjust the level of this cleaning robot. On the other hand, if the robot was damaged out of the box, then you should contact the dealer for an immediate replacement.
You can’t make use of this robot, and the warranty on your unit should cover all of these issues with the devices.
Hopefully, you won’t have to bother with the same errors again.