Samsung has been one of the oldest players in the appliance market, and you won’t find many brands that can offer the same quality within a reasonable price point.
It all comes down to the cash you’re willing to spend on an exceptional unit, and Samsung has got you covered at all price ranges.
However, you will still need to keep track of a few pointers to keep the unit in perfect condition. Installation of a new washer can be especially annoying when you have no prior experience.
You will see a lot of owners voicing their concerns about Samsung Aqua Jet not having enough water.
These concerns can almost always be traced back to the water supply from the main valve. So, if you have yet to narrow down the error with this washer, make sure to check the water supply.
Here are some more details on how you can go about fixing the situation with “Samsung Aqua Jet Not Enough Water.”
Hopefully, you will be able to get everything in order pretty quickly.
Samsung Aqua Jet Not Enough Water
- Straighten Up The Water Hose
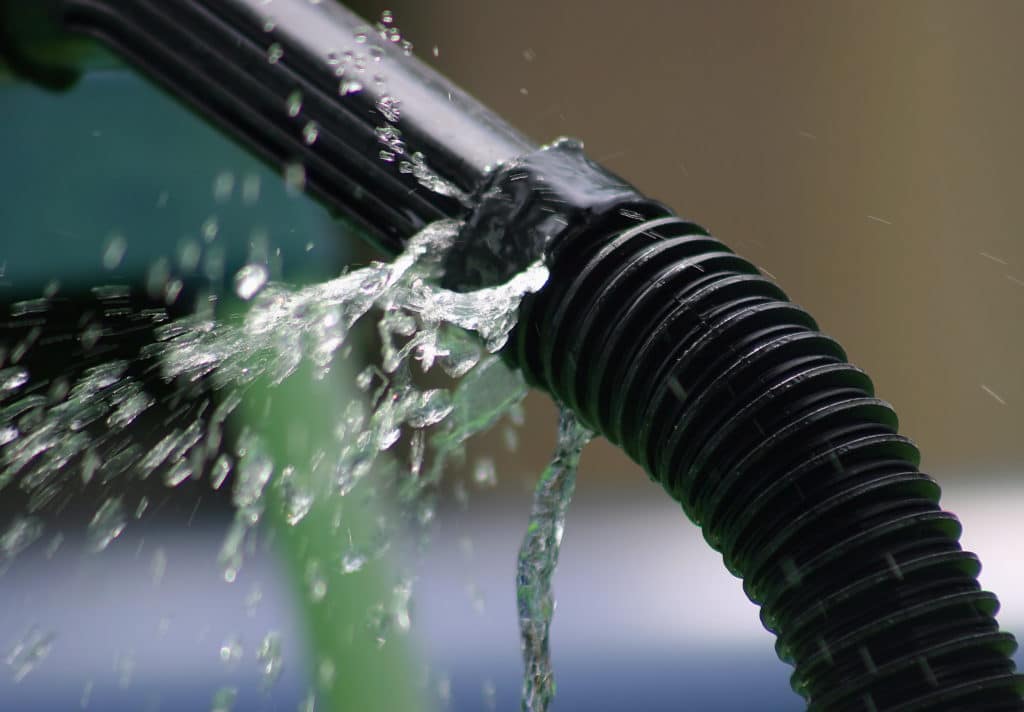
The best fix here is to just straighten up the water hose. There is a good chance that the water supply is in good shape and the hose is simply kinked.
So, all you need to do here is to fix the orientation of the hose and then check the response from the washer one more time.
If the inlet is not damaged or clogged, simply adjusting the hose will fix your problem. This is especially true for users that have recently moved their devices.
So, just keep that in mind and straighten up the water hose as you try to fix the washer.
- Clean Inlet
After fixing the issues with the kinked water hose, you need to make sure that the inlet is not clogged.
It is not rare for this section to get clogged after a few weeks of consistent use, especially if the water is a bit dirty from your main supply.
So, you need to remove the hose and then check the inlet as well as the hose to isolate the issue. Most of the time, that will be it when you’re cleaning all inlet-related issues.
However, if you can see visible damage to the inlet, then the problem can be fixed by ordering a replacement. There isn’t anything more that can be done about this situation, and you need a fresh replacement.
- Check Main Valve For Damage
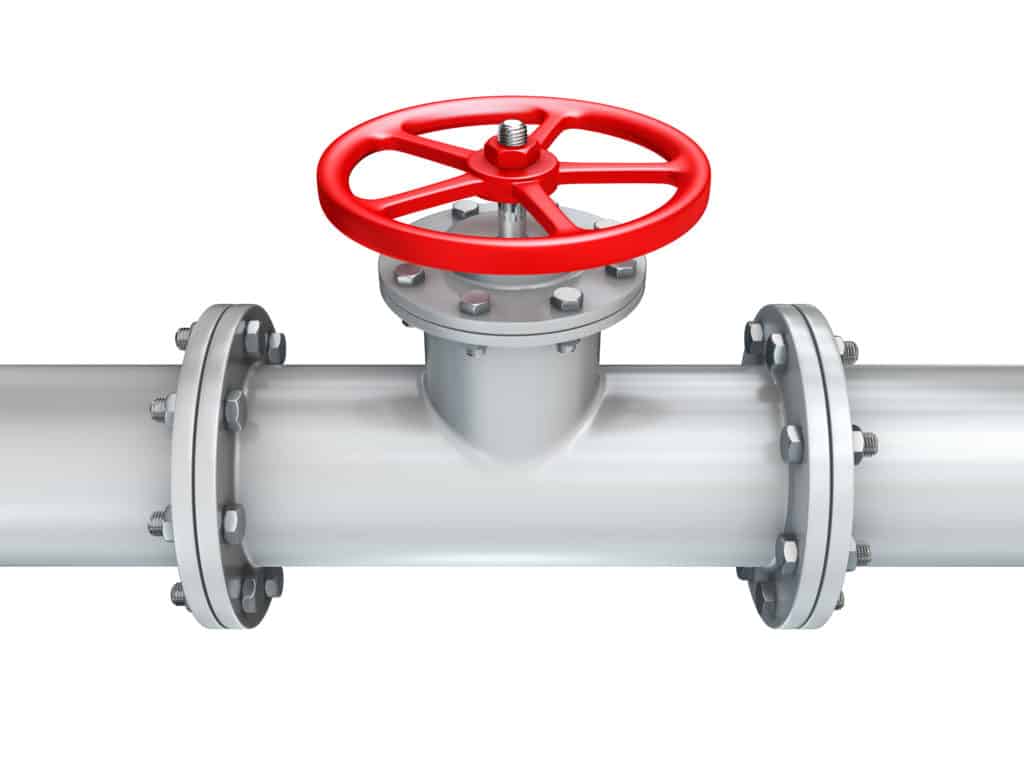
The main valve might also be to blame here, and you need to check the condition of the main hose to isolate the issue.
A damaged valve will almost always lead to pressure-related issues, and you will just have to fix the main valve or switch to an alternate valve to fix the problem.
Ideally, you’re looking to optimize the pressure with the main valve, and there is no point in sticking with a defective piece.
Here, the smart thing to do would be to call a local expert, and he will inspect and fix all the water connections for you.
On the other hand, if you have the necessary tools and experience to get through the maintenance, remove the defective section from the main valve and then connect it again one more time.
Most of the time, the issue with low water levels in your washer will be fixed right here.
- It’s Time For Filter Replacement
The mesh filters and water filters need to be replaced at least once every few weeks.
These filters will not only impact the cleaning performance of your machine but also dictate the water pressure as well as the water level inside the washer.
If you’ve ignored the maintenance of these filters for a bit too long, then the only fix here is to get the washer replaced.
It will take a bit of your time, but you’re not left with many options at this stage. Some owners also prefer to clean up the filters by rinsing them thoroughly.
However, we would recommend that you completely remove the old filter and only make use of a fresh filter to streamline the water connections.
- Open Up Both Valves
You’ll find two water supply valves on the back of your washer, and you need to make sure that both of these valves are open as you try to fill up the unit.
That will further help you isolate the issue, and you can simply fix the valve that is clogged up to fix the error.
Most of the time, these errors will only be limited to a single valve, and turning up both valves will help you fill the unit properly.
So, try to make sure that both valves are active, and then check the response from your unit one more time.
- Check Display For Errors
The display errors can also lead to a similar situation where the water tank won’t fill up properly.
If you can see visible error codes on the screen, then the issue might be related to the programming of your unit.
The only thing you can do here is to power cycle the unit completely and attempt a reset. Ideally, that will address all the programming-related issues.
However, if the main board is compromised, you will have to set aside some money for a replacement. So, keep that in mind when you can’t seem to get around display errors even after power cycling the device.
- Call A Repairman
Reaching out to a repairman will help you avoid hours of hassle if you can’t get through the issue yourself. Seeking help from a professional is always the best option.
So, just call a local repairman, and he will guide you through a fix.
Similarly, if you’re sitting on a valid warranty, it is preferred to reach out to the official dealer to isolate the problem.
He will provide you with a replacement if the unit is indeed defective, and you won’t have to pay any extra cash for the same device.