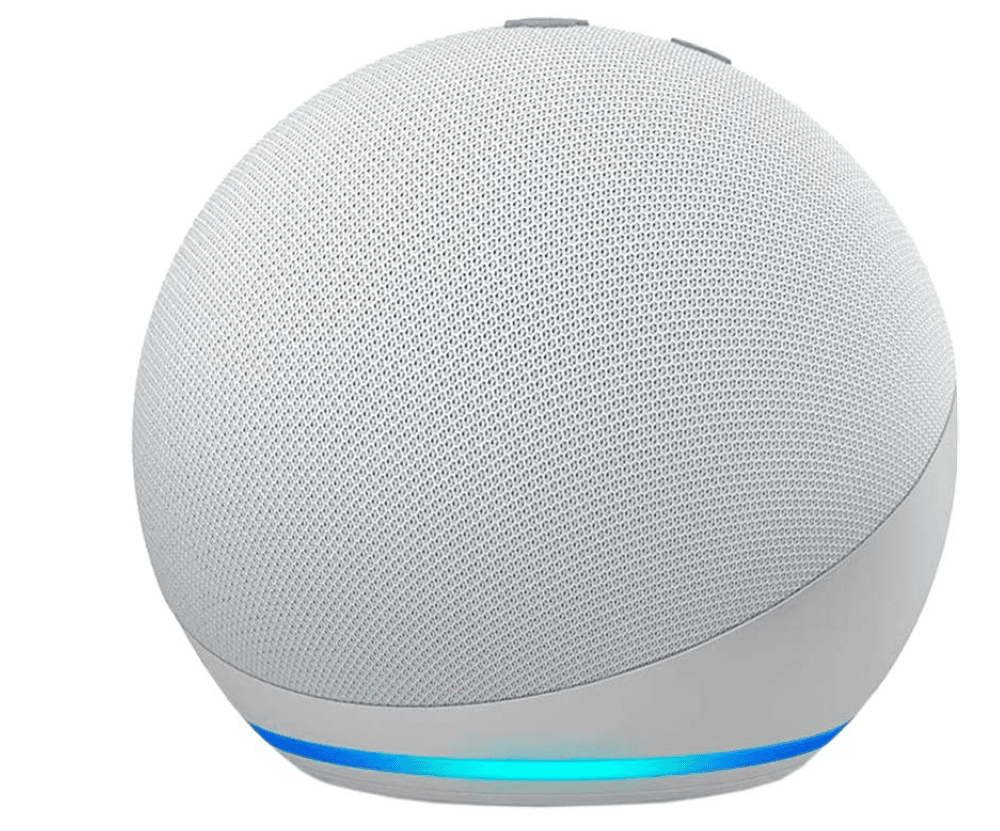
Managing voice profiles on Alexa can be a bit tricky when you’re first installing the system.
The commands from various skills can overlap, and you will have to put a few hours into configuring all devices with the smart assistant.
Once all the devices are successfully integrated, you won’t have to worry about much as long as the Wi-Fi network is perfectly managed.
So, make sure to secure a stable router to maintain the consistency of your smart devices.
Most of the time, your experience with Alexa will be really convenient, and you won’t feel the need to change the smart assistant.
Fix Alexa Audio Sync Problems
There are only a few snags here and there with this unit, and the majority of owners are more than happy with the Alexa system.
The recent issues with Alexa Audio Sync have been pretty annoying for some customers.
If your multi-room Alexa Audio sync is also running into problems, then these solutions have a chance at fixing your issues.
- Re-Sync Units

The automatic re-sync feature on the Alexa unit is one of the most viable methods for fixing these sync problems.
To access this feature, you have to navigate to the multi-room audio group and click on sync issues. From there, you can use the re-sync option to optimize the playback from all the speakers.
Clicking on the sync problems option will also provide you with several solutions that can help eliminate this issue.
So, try to go through that list if you’re unable to fix the Alexa Audio sync problems.
- Manually Adjust Delay
If the re-sync feature gets you nowhere with the solution to this issue, the next step should be manually adjusting the delay on the speakers.
This is a bit of a complex process, and you will have to rely on the playback slider to match the audio sync in all units.
You will have to spend a while in this process as the slider has to be adjusted and readjusted every time you start playback from the device.
So, manually adjust the delay and play the audio again.
If the sync problems persist, then pause the playback again and use the slider to make slight adjustments. That will eliminate the syncing issues, and the audio will start working properly.
- Create Group Again

Another workaround that can help you through this problem is creating new groups in the application after removing all the devices from your system.
Once the new group is created, add the speakers one by one to isolate the problem.
Now, you can either reset the defective speakers that are not syncing up with the rest of the speakers.
Ideally, creating new groups should terminate the syncing problems with Alexa Audio. However, if the issue persists, then there might be something wrong with the speakers.
- Restart All Units

While restarting the units might seem like a basic fix, sometimes, it is all you need to fix the bugs in your smart system.
If the speakers were working in sync just yesterday, then try to power cycle the Echo Unit, as well as the connected speakers, and that will be enough to fix the issue.
Make sure to remove power from all the speakers for around 20 seconds and then turn them on again.
You can now start music on the Alexa device and check the sync across all connected speakers.
- Use Bluetooth Connection

If you’re not connected to any speakers through Bluetooth, then that is another reason why you are running into sync problems with Alexa music.
According to other users, you need to connect at least one speaker with Bluetooth and then use the manual slider to adjust the audio sync.
In most situations, the slider won’t appear for users that are working with a wired connection.
So, keep that in mind and switch over to the Bluetooth connection if you’re not getting the sync slider in the application.
- Reconnect Speakers

The last thing you can do here is pause playback for a brief moment and play the music again.
If that doesn’t fix the issue and you’ve tried all of these troubleshooting methods, then reconnecting everything to your central Alexa device is your best option.
It might take a while to get through all the configurations, but once the speakers are reconnected, you won’t have to worry about this issue again.
You can also contact customer support regarding this problem with the Alexa audio sync.
They will help you speed through the troubleshooting process, and isolating the problem will become pretty easy.
- Check For Network Errors
Network errors with the unit can also lead to more issues down the road, and you will struggle with the audio sync if that is the case with your unit as well.
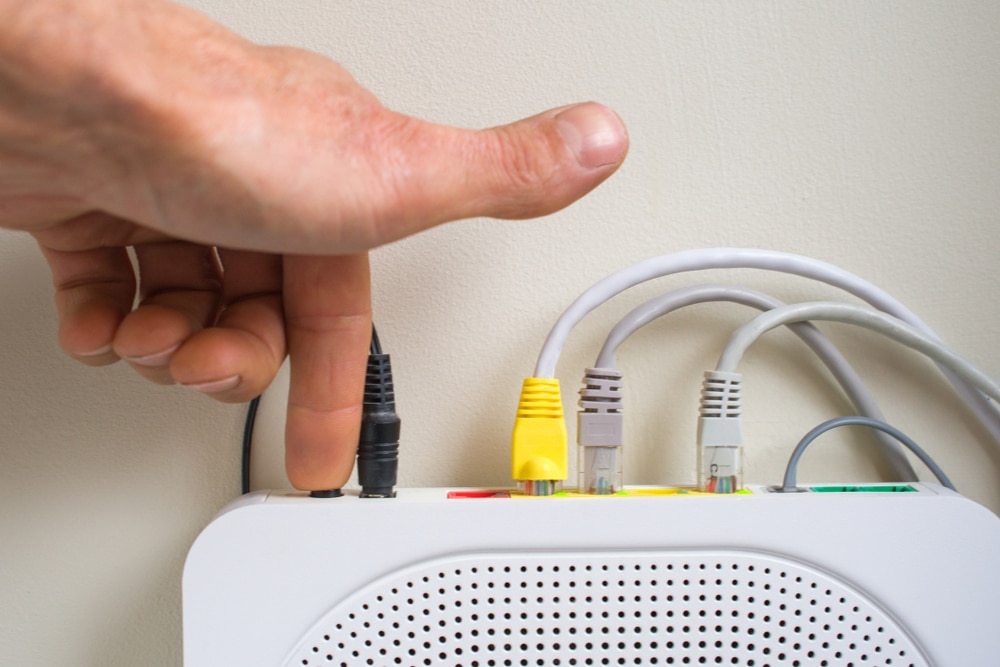
So, you’ll have to first refresh the network by giving your router a quick power cycle.
This includes removing all power from the router as well as the Alexa unit and then powering both of these devices back on after around 5 minutes.
From there, you can wait a few more seconds as the connection is established between the devices.
If everything goes well, you won’t have to bother with any more fixes. However, there are a ton of other factors that might complicate the situation.
These factors include interferences from other devices, adjustment of range between the smart units, and the overall signal strength.
So, you’ll have to keep track of all of these things when you’re trying to address the issues with the overall power connections.
It will take you less than 10 minutes to get through the adjustment of the router.
- Try Resetting The System
Sometimes, the best fix is to reset the whole system and set up everything from scratch one more time.
If you’re lucky with the unit, a few tweaks here and that will be all that you need for the unit to work.
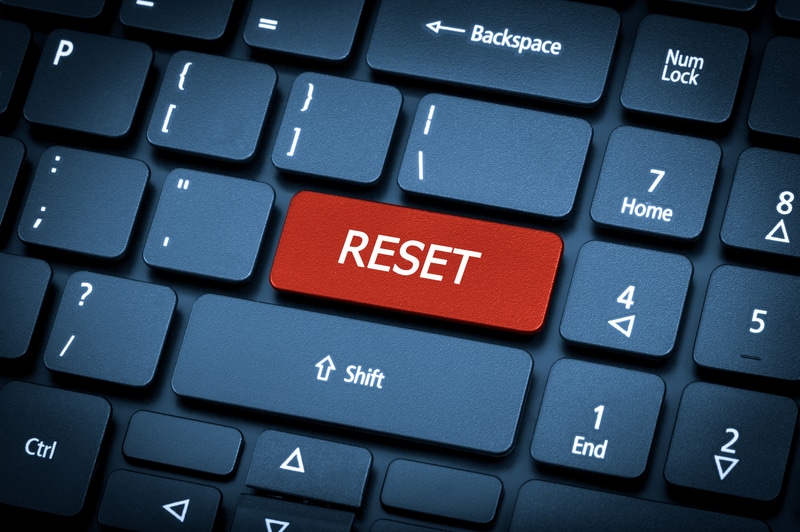
However, if you’re still stuck in the same errors, then a reset might be in order.
Once the reset is completed, all of the configurations will be wiped from the system.
You will have to pair up each device again, and you can’t just connect the Amazon account to get all of the configurations back.
So, be prepared to spend a few hours trying to adjust the system again.
Hopefully, the issue with the system will be fixed right here, and you won’t have to deal with more issues down the road.
So, be sure to fix the adjustment of the system when you’re struggling with these errors.
- Ask Amazon Support
Seeking help from the official Amazon support team is never a bad idea, as these experts maintain decades of professional experience.
They will make it much easier for you to get through the setup without having to worry about more issues down the road. So, be sure to reach out.
You can either send them an email or reach out to these professionals with a customer support ticket.
From there, it is not that hard to adjust the system, and you will just have to proceed with their instructions.

Most of the time, they will not only help you figure out the issue but will also guide you through intricate details of the project.
So, be sure to reach out when you can’t seem to adjust the issues on your end.
Lastly, you can also inquire about issues with the account, and they will look into that as well to guide you further on the situation.
Hopefully, you will be done in no time and won’t have to deal with these sync errors again.
Wrapping Up
Struggling with Alexa Audio Sync Problems? Follow through with the methods mentioned here to get everything in order.
It won’t take you much time as long as you’re sure that the configurations and the router connection are in order. Moreover, you can test out the hardware as well for possible issues.
All you’re trying to do here is make sure that the devices are in good shape and can communicate with each other without any signal or network errors.
That will be more than enough and you will be able to get a stable response from the unit.
So, be sure to set up the unit and then proceed with all of these methods.
Hopefully, you won’t have to waste a lot of time trying to adjust the system and just following some of these methods will have you sorted through the fix.
From there, you can also seek help from the official support if you’re not that thrilled about going through all of these fixes by yourself.