Smart light bulbs can be quite beneficial when it comes to handling the lighting system of your house when you are not around.
There are various companies out there providing us with smart light bulbs. So, you should browse through some of the more established brands if you have the budget for them.
With that said, TreatLife smart light bulbs are one of the best smart lights available out there.
Most of the owners have an amazing time with this system and don’t feel the need to switch to any other option after developing their lighting system around TreatLife.
However, that doesn’t mean that it is sunshine and rainbows all the time. You will still need to be mindful of the minor configuration issues and other errors when it comes to managing this system.
Installation issues often lead to a ton of errors with the light bulb not working or connecting.
The most common question is why is the TreatLife light bulb not connecting. If you are also having such troubles, then we are here to help you to get rid of the problem.
Hopefully, you’ll be able to sort out the error quickly without too much hassle.
Let’s get started.
How to Fix TreatLife Light Bulb Not Connecting
- Make Sure The Bulb Is In Pairing Mode
The first thing that you should be concerned about is checking if the smart bulb is in pairing mode or not. It should be noted that there are two major pairing modes of a smart bulb, i.e., EZ Mode and AP Mode.
Before setting or connecting the bulb, you need to set the bulb into one of these pairing modes, or it will not connect.
We would highly suggest you put the smart bulb into the EZ Mode. Here is how you can put your smart bulb into the EZ Mode for pairing:
- Turn on the bulb and then turn it off rapidly about three to four times.
- The bulb will start to blink rapidly. This will ensure that the bulb is in pairing mode.
- Once done, try reconnecting the bulb again.
- If you are not able to use the EZ Mode for connection, then use the AP Mode. To do so, you need to repeat the same process until the bulb starts to blink again slowly.
- Allow App To Use Phone’s Location Data
Another possible solution to your problem can be to allow the TreatLife app to access your smartphone’s location data. Such settings are usually asked when you open the app for the first time.
All you have to do is click on the “allow” option, and you are all set to go. However, in case you deny the requests, and then you can always change them from the settings. Here is how to do so:
- Go to the TreatLife app.
- Click on lightning
- Click on
- Click on the Plus-Minus option.
- Open the location.
- Select the “Allow only while using the app” option.
Finally, try connecting the TreatLife smart bulb again.
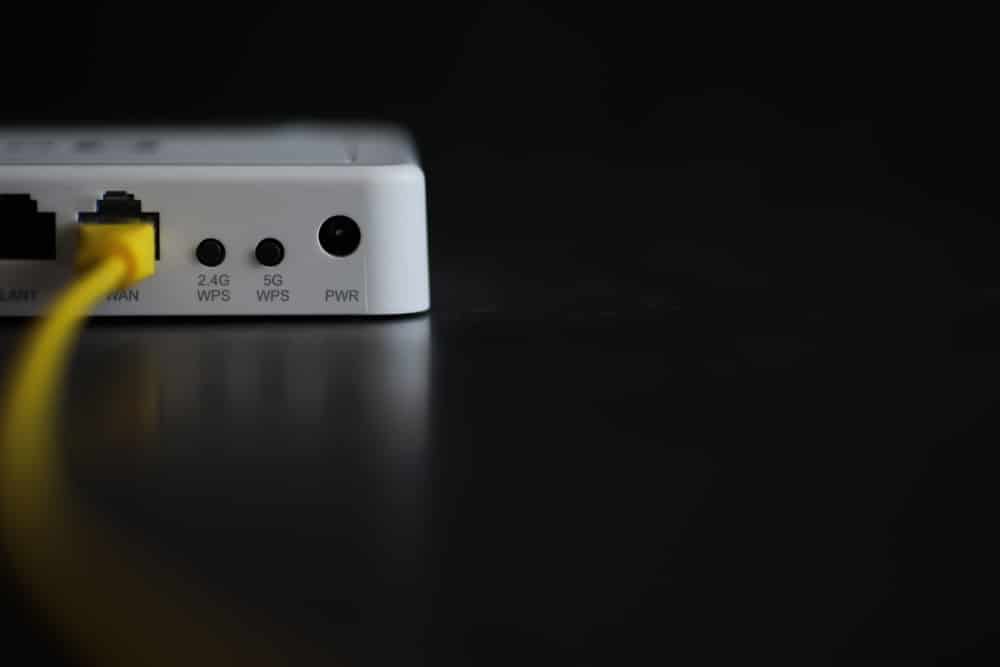
- Check Wi-Fi Frequency
One thing that should be kept in mind is that TreatLife prefers a 2.4GHz frequency for your Wi-Fi.
Therefore, it means that if you are using a 5GHz connection, the smart bulb will cause problems while connecting.
To make sure that you are using the right frequency of Wi-Fi, check your router’s settings and make sure that you have set your Wi-Fi band to 2.4GHz.
Finally, switch off the bulb, wait a few seconds, and then finally turn it back on. Lastly, try connecting the smart bulb.
- Power Cycle The Router
If the internet signals are weak, it will cause trouble when connecting the smart bulb to your Wi-Fi. Therefore, observe the router and make sure that the internet light is blinking.
You can also check the internet availability by observing the number of Wi-Fi bars on your smartphone.
If the internet signals are weak, then simply power cycle the router.
This can be done by turning off the router, waiting for a few seconds, and then turning it back on. Wait for a few more seconds until the internet light starts blinking on the router, and then connect the bulb again.
- Limit Interferences
The next thing that you need to do here is to check up on the interference side of things to limit and address the relevant issues.
You will not be able to get any performance out of the system when there are issues with the interferences, and you have to go about fixing them accordingly.
All that you’re trying to do here is to limit the number of wireless devices and other accessories. It will not take you much effort, and fixing the unit should come easily to you.
It all comes down to how you’re planning on addressing the situation.
Most of the time, introducing a hub or a router extension into the mix is a better idea. It will help you avoid a ton of issues down the road, and you will be able to expand the system accordingly.

So, just check up on the interferences from other devices and then try to reboot the router one more time.
If the issue does get fixed after removing the extra devices, then you need to find a permanent solution to this issue and invest in a router extension.
That will help you declutter the system and avoid more errors down the road.
- Check Credentials
Sometimes, the issue is more with the credentials. While it might not be as common, using special characters and symbols in the router name or password will only hold you down.
You will not be able to get any response out of the system when the credentials are not managed properly.
You have to make sure that the credentials are different for the 5.0 GHz and the 2.4 GHz network while also ensuring that the name is only filled with simple alphabets and numbers.

It might seem like a hassle, but you’re not left with many options.
A bit of input here will help you address the majority of errors with the connection. However, one downside here is that you will have to set up all of the devices from scratch.
There are no quick fixes, and you will have to spend the time to set up and manage all the systems again.
Hopefully, fixing the unit will come easily to you, and you will not have to bother with more errors.
Just make sure to reconnect all of the smart units and mobile devices with the network again after you change the credentials.
- A Reset Might Be In Order
At this point, you should just call it a day and rest the application.
It will take a bit more of your time, but you’re not left with many options here. All that you have to do is to go through the reset routine by engaging the action button for about 20 seconds.

Hopefully, it will not be too much of a hassle for you to set up the system from scratch. Hopefully, this reset routine will address minor programming errors, and you can go about setting up the unit again.
Ideally, you’ll be sorted out right here and won’t have to deal with more complications. So, be sure to keep track of these errors, and you might just be able to make your way through a fix.
This is especially true when you’re sure that there are no hardware issues. From there, you can also check up on the app status to further narrow down the errors.
- Update App
The last thing that you can do is to check if the smart bulb’s app is outdated or not.
It is recommended to update your TreatLife smart bulb’s app before connecting it to the internet. This can be easily done by following the steps below:
- Click on the app store of your mobile phone.
- Click on the search bar and type the app name.
- Next, click on the app.
- Finally, select the update option present under the app.
- Once the app is updated, restart the smart bulb and try to connect it to the internet via the app.
Wrapping Up

The situation with the Treatlife smart bulb not connecting can be pretty annoying. You will not be able to make your way through a fix when the router is to blame, and you should always test out the router first.
Most often than not, you’ll find the issue to be with the router and not the bulb.
Luckily, fixing minor issues is not that challenging, and it takes a bit of effort on your end. All that you have to do is to improve signals, limit interferences, check credentials, and fix channel bands.
That will be it as long as the hardware is in good shape.
On the other hand, if you’re not that sure about the hardware, then you need to call in the officials to help you fix the hardware.
Otherwise, you will remain stuck in these errors and won’t be able to find a fix.