
A few different scenarios could account for why the red light on the Sonos Roam is blinking. This mistake can have been brought on by a number of other things, such as faulty circuitry, dead batteries, or software issues.
You will need to do a battery of diagnostic tests with this Bluetooth device to figure out the problem and how to fix it.
A Bluetooth connection allows the Sonos Roam, a wireless portable speaker, to connect to other electronic devices. This smart speaker is compatible with both Amazon Alexa and Google Assistant.
How to Fix Sonos Roam Red Light?
A problem with the intermittent charging is indicated by a red light that flashes. If the charger displays an amber light, this may signal that there is a problem with the device’s hardware.
If the red light on your Sonos Roam is illuminated, continue reading to obtain information regarding some frequent difficulties and techniques for troubleshooting.
- Flashing red and white
A blinking red light will appear on a new (or reset) Sonos product if it has not been configured during the first half an hour after it has been powered on.
You could get out of this situation by restarting your Sonos device, which is also necessary if the Sonos product is unable to update itself.
Restart the Sonos device you’re trying to edit, then attempt the process again. If the issue continues, please get in touch with the Sonos Support team. The point of the Sonos Roam staying on red light could be caused by a number of different things.
It is possible that the battery is not fully charged, that there is an error in the software, or that this is the result of a broken circuit. You will need to do a number of troubleshooting actions on this Bluetooth device before you can have this issue resolved.
The Sonos Roam is a wireless, portable speaker that connects to Wi-Fi and Bluetooth devices. It is a smart speaker that is compatible with both Google Assistant as well as Amazon Alexa.
It boasts a waterproof body with an IP67 rating, compatibility with Apple AirPlay 2, and a battery life that lasts for ten hours, to name just a few of its characteristics.
- Perform a factory reset on Sonos roam

In this scenario, you first should carry out a factory reset, often known as a hard reset. This Bluetooth speaker will have all of its previously saved data deleted and reset to the factory settings it had when it was first purchased using this technique.
This is a crucial step to take whenever you are experiencing issues with the speaker since it enables you to diagnose the problem that you are having.
- Reset the speaker
While holding down the Play button, press and then release the power button, and starting over is underway.

Keep pressing and holding the Play button until the indicator light on the front of the device alternates between orange and white flashes. This indicates that the procedure for resetting the device has been successfully finished.
- Charge the speaker to fix the not turning on the issue
You can’t switch on the speaker if the battery is entirely dead. Charging the speaker will take care of the problem. The wire and wall charger you’ll be using should be tested with other devices to ensure they operate.
- Faulty battery
It’s conceivable that a faulty battery on your device causes the issue. This issue can be remedied by installing a brand-new battery, but an experienced auto mechanic best handles the task.
If a battery is overcharged too regularly or left exposed to temperatures that are too high for an extended period of time, it may eventually die. As a consequence of these various conditions, the battery’s performance will deteriorate.
Having an issue in which the Sonos Roam will not turn on or shows a blinking red light can be an extremely unpleasant experience. We sincerely hope this update will assist you in resolving the issue.
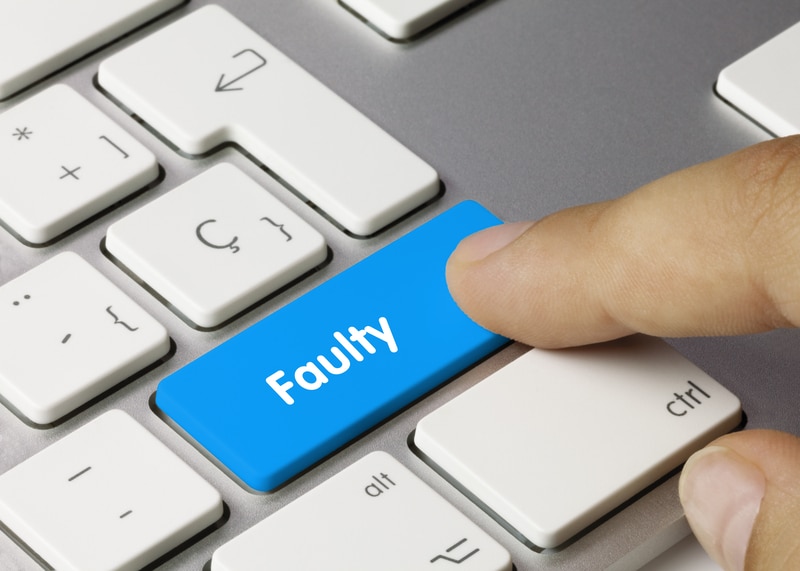
- Check For Hardware Issues
At this point, you might just need to look at the hardware side of things to figure out the issue. There might be something wrong with the hardware, and fixing the unit will come easy to you.
You just need to check up on the charging cable and then isolate the issue to that first.

At the same time, you should also check for discolored and frayed sections within the system. That will help you save a ton of time when you’re trying to figure out the error.
If you do find there to be frayed sections on the Sonos system, then you need to claim the warranty.
Sometimes these devices can get damaged during delivery. There is no gain in trying to make a damaged unit work. So, you should ask the dealer to send you a new one.
The verification can take a while to complete here, and your main focus should be on listing the issues and providing proof. Once the verification has been completed, you will have the new device within the same week.
All that you need to do is to make it easier for the dealer to verify your claim. Providing valid proof of purchase will do the trick, and he will get back to you shortly.
- Check For Voltage Issues
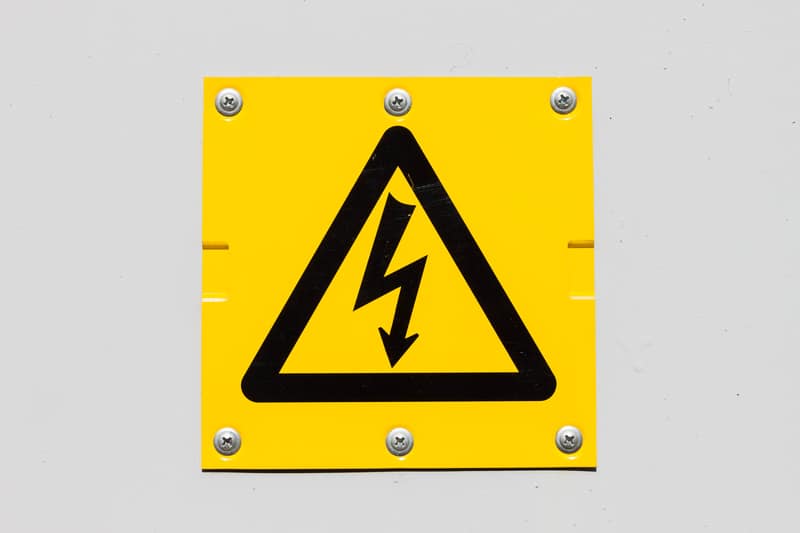
Sometimes, all that you need to do is to check for voltage issues. This issue within the system can present itself when the charging routine is not managed properly.
If you can’t seem to figure out the situation at this point, then you are likely to make the same errors.
Sadly, the only fix here is to check up on the power connections, and that can be a bit dangerous. So, we suggest that you hire an expert to help with the power. This is especially true for owners that ignore the maintenance of their houses.
The professionals will have the tools needed to get through the fix. From there, you can inquire more about the issue as they list possible errors with the power connections.
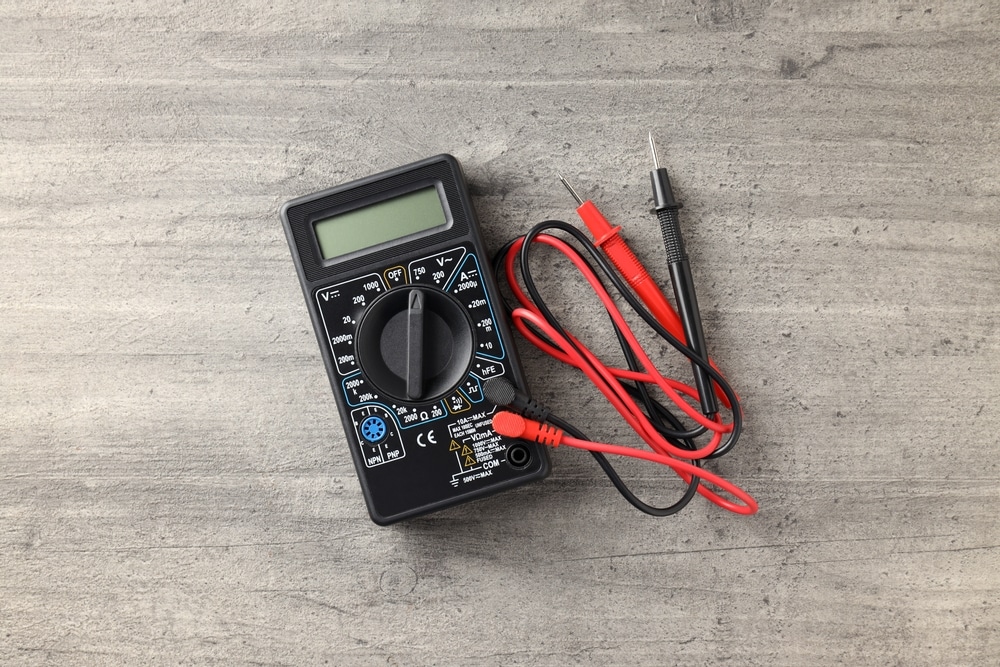
Once the voltage has been restored, you can check up on the LED after connecting the charger.
Alternatively, you always have the option of trying out a new outlet when the current one is not working. You can also go to your neighbors and then plug up the speakers there.
This will not only give you a better understanding of the power connections, but you’ll know for sure if the device is defective.
- Leave It To The Officials
Lastly, if you still are not sure about the error, then you need to reach out to the officials. There is no point in trying to fix the issue on your own, and seeking help will save hours of your time.
All that you need to do is to list the issues with the unit and then send the email to the official support team.

If you’re aiming for a quicker response, then you can directly reach out with a support ticket. Either way, you are trying to get attention from these experts that maintain decades of experience.
They will have a much better grasp of the situation, and you will be provided with a new unit if yours is defective.
However, before that, you will need to work closely with these experts to figure out the issue. You’ll only be provided with a replacement if the issue is genuine and you didn’t damage the device yourself.
So, be sure to present your case accordingly and don’t try to deceive these experts. Hopefully, you will be able to secure a fresh piece from the dealer and won’t have to deal with the same errors when it comes to Sonos Roam red light.
Wrapping Up

This list of fixes for the Sonos ROAM red light will be more than enough to help you through a fix. It will barely take a few minutes to set up the Sonos Roam after this basic setup routine.
So, all that you need to do on your end is to refresh the system by power cycling the device.
Once that is done, you might just need to go through the reset. You will have to exhaust all of these options if you can’t seem to get a replacement. The dealer should provide you with a new unit if you find it to be defective.
Claiming the warranty can undoubtedly feel like a hassle. However, you shouldn’t only focus on the hassle here.

Instead, you need to look at the value realized, and you might just save a ton of money. So, be sure to let the officials take charge of this situation.
They will not only help you figure out the issue, but you will also notice a better response from the basic devices.
So, be sure to check up on the unit and then reach out to the officials. They will do their best to help you figure out and eliminate minor errors within the system.