It is not that rare to see users talk about how smart thermostats are expensive and don’t bring much value to the home.
Most of the time, these users don’t take into account the energy-saving benefits and the overall convenience provided to the customer.
So, if you’re planning on going through the upgrade, now might be a good time to do so. There is no point in holding off on the purchase as it will only be cheaper in the long run.
So, spare a few more bucks as you try to upgrade the smart system in your house.
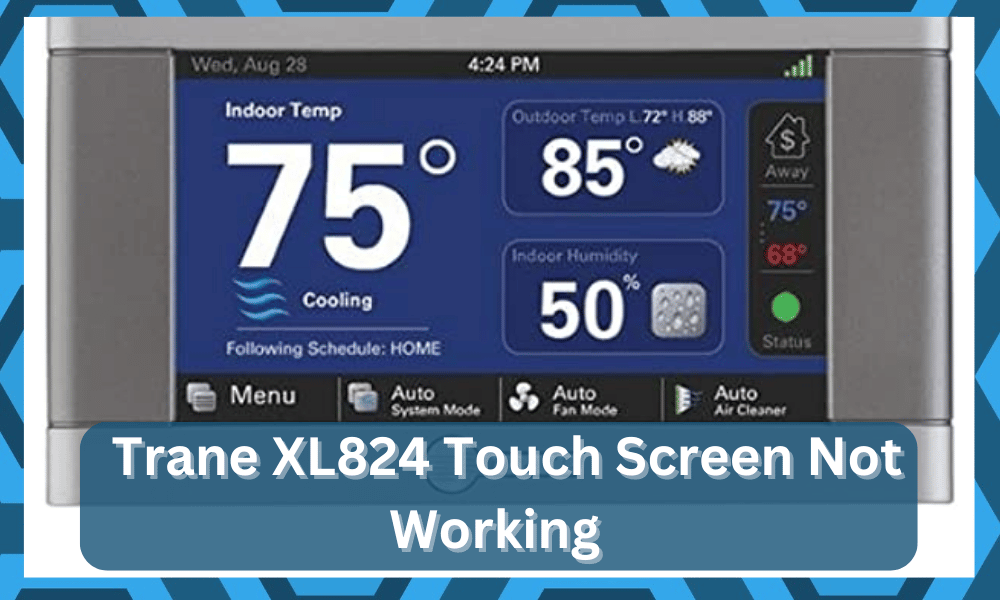
How to Fix Trane XL824 Touch Screen Not Working
The best thing about these devices is that the thermostat learns the daily patterns and weather conditions to optimize the operations of your HVAC system. So, you will enjoy a variety of accessibility features while also saving money.
With that said, quite a few users have asked about the Trane XL824 touchscreen not working. If you’re stuck in a similar situation, then the following solutions will help you get ahead of these issues.
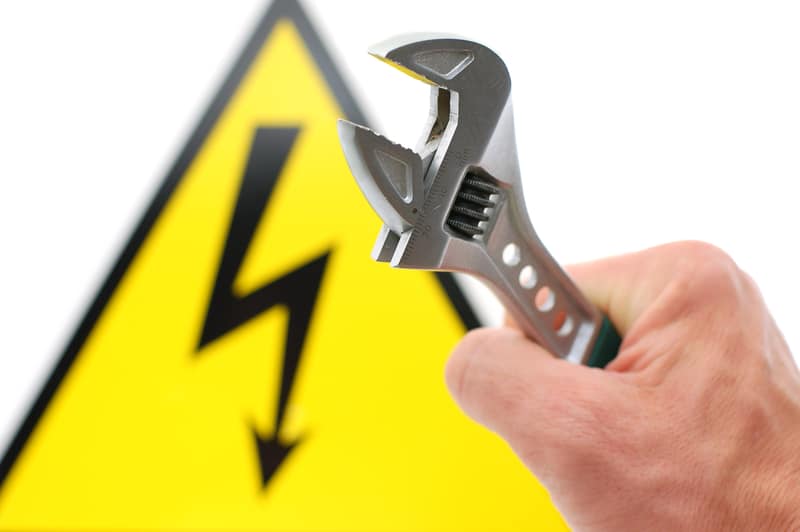
- Fix Voltage
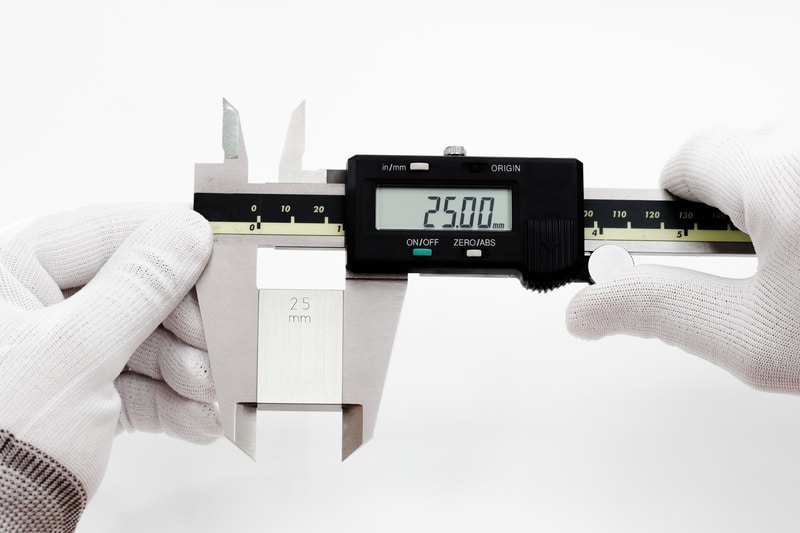
If you’re stuck in a situation where the Trane XL824 Touch Screen is not working, there is a good chance that you’re struggling to manage voltage issues.
So, to get ahead of this problem, you need to get yourself a multimeter and hook up the unit with this voltage-measuring device.
You will likely find abnormalities in the power flow within your unit, and replacing the defective wiring is the only thing you can do to fix this problem. In some situations, corroded terminals inside your unit can also lead to a similar issue.
So, if the moisture in the air is too much, then you need to clean these corroded terminals with a diluted vinegar solution. After that, wipe away the residue and check the voltage in your unit.
This will help you address the voltage-related errors most of the time, and you will not have to bother with the same errors for some time.
Similarly, you need to focus more on the installation and the exposure of the unit to humidity and other issues. Otherwise, you will run into the same issue in no time.
It all comes down to how you’re planning on going about the maintenance routine. No smart unit will last you a long period if you ignore the installation and maintenance requirements.
So, all that you need to do here is to adjust the positioning and secure it properly to avoid issues in the future.
- Power Cycle The Unit
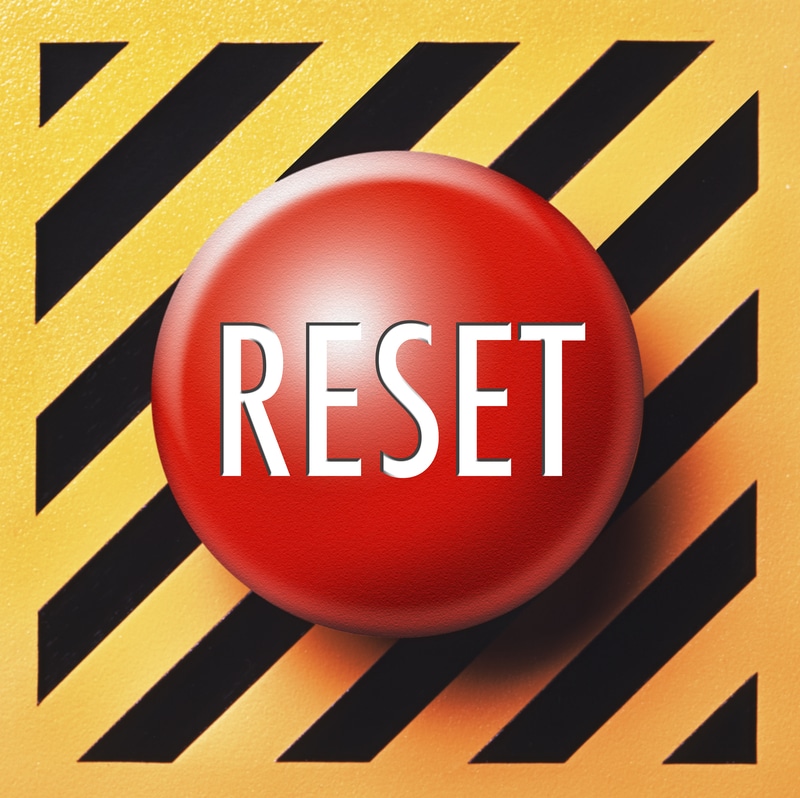
Sometimes, all it takes on your end is to power cycle the unit. It might seem like a basic fix, but you don’t necessarily have to go through extensive setup routines as you’re trying to adjust the system.
So, if you’re in the same boat, be sure to power cycle the thermostat.
Even if there are no actual voltage issues here, you just have to remove all of the power connections and then keep the unit dead for about five minutes. From there, you can turn the power back on and streamline the connections.
If there are no hardware issues with the system, it should respond to your input after you allow the unit to boot up. It will take a few minutes at max, and this routine will address the majority of programming bugs.
Some owners also point out that resetting the system is a better idea here. So, you can also consider that option if you are not too bothered by the idea of going through the setup routine one more time.
It will be a hassle, but you will have a better shot at fixing the issue. With that said, the recalibration routine can also play a good role here as you’re trying to fix the unit.
- Recalibrate Unit
If you’re sure that there is nothing wrong with the power connections in your unit, then there is a possibility that you’re running into calibration problems.
In most situations, the issue won’t come to that, and it will be fixed as soon as you adjust the power situation with the unit.
So, be sure to always start out by checking the voltage. Every homeowner must have a voltage measuring unit like a multimeter in their house to help them through these fixes.
So, be sure to check up on the voltage issues before you mess about the calibrations or the device programming.
There is a good chance that you won’t have to bother with any of the extra steps here, and simply fixing the power to the unit will address the situation.
However, if you are absolutely sure about the power situation, then a quick calibration might be the right way.
To recalibrate the unit, you will have to restart the entire system after turning off the HVAC system. Once the cooling units are turned off, you can cut off the power to your thermostat and wait a few seconds before turning it back on.
Ideally, removing the power from the unit for around 20 seconds should be enough to reboot the system completely. Once the power is supplied to the unit, you can choose to calibrate the screen again, and it should start working after the thermostat starts.
If, for some reason, you don’t get the calibration option, power cycle the thermostat again by cutting power from the circuit breaker. That way, this issue with the touch screen not working will be fixed.
- Change Batteries
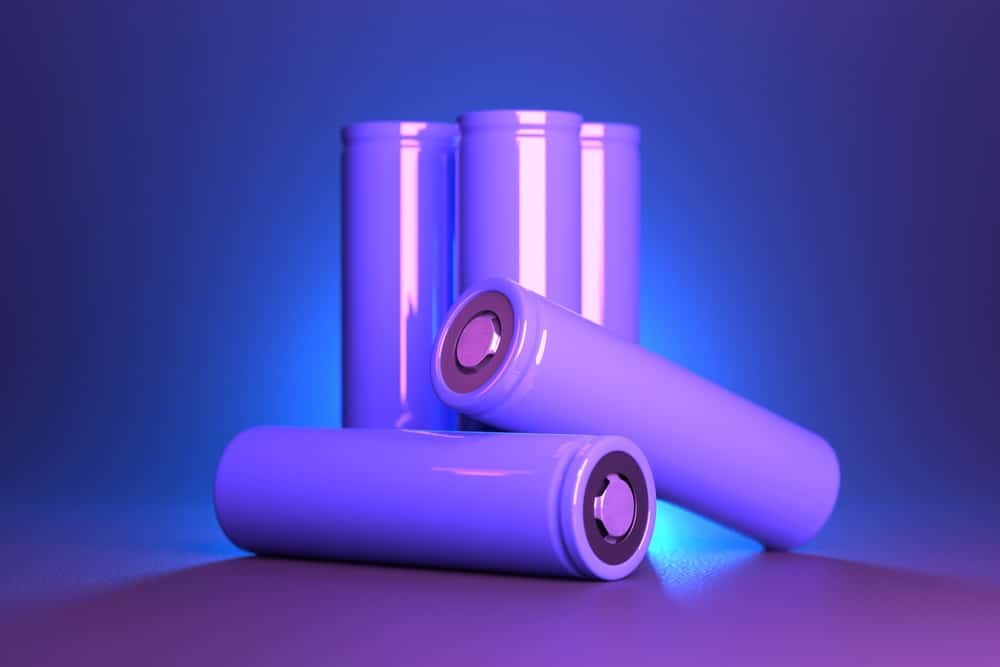
The performance of the touch screen on your Trane XL824 is directly linked to the type of batteries you’ve installed in the unit.
While the batteries in your thermostat might be new, if they are not compatible with the unit, you will run into these issues with the touch screen not working.
The only real solution here is to go through the compatibility list and switch out the batteries installed in your thermostat.
The upside here is that the new batteries won’t be that heavy on your budget, and you can stick to a pretty reasonable price point. So, be sure to spare a bit of cash for this purchase.
You should also take a look at the battery terminals to ensure that they are in the proper orientation.
Issues with the angle of the battery terminals can cause some issues with the power supply, and the touch screen won’t respond until these power issues are resolved.
So, make sure to go through a proper inspection if the unit is not responding.
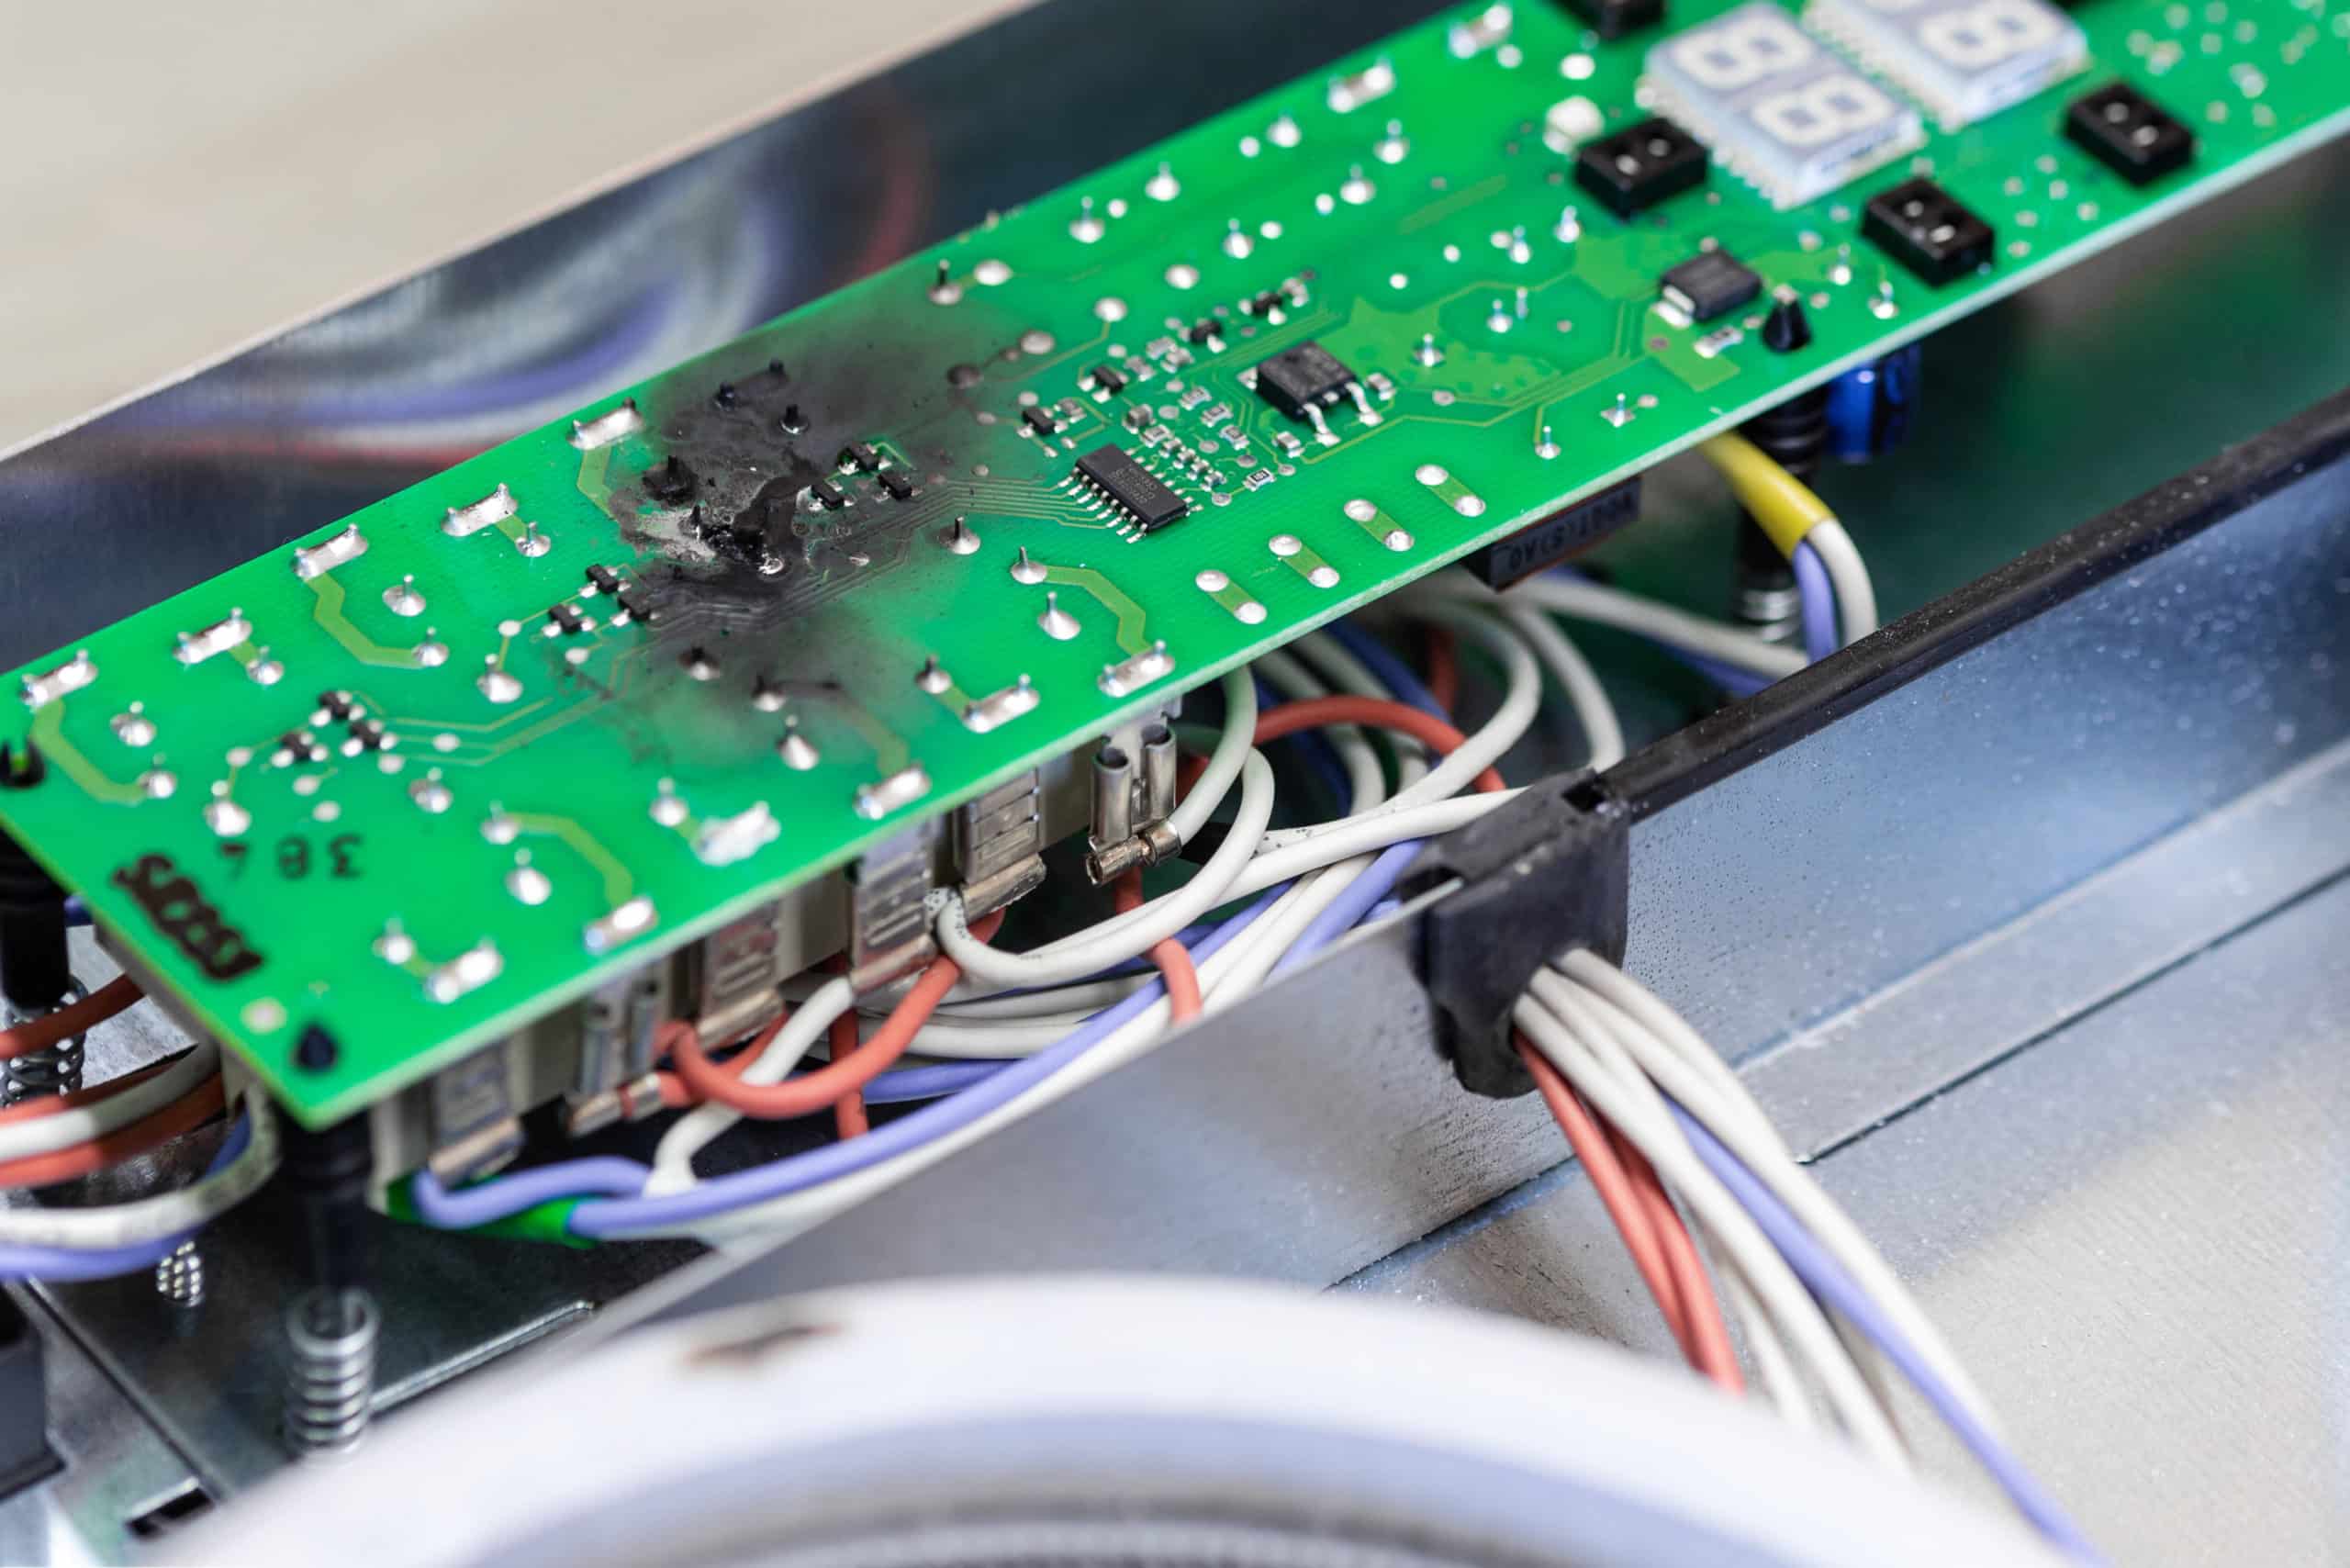
- Claim Warranty

If none of these solutions match your situation and you’re sure that the power supply to the unit is perfect, then you’re likely dealing with a defective unit.
There isn’t much that you can do in this situation, and you will just end up damaging the internal circuitry instead of fixing the problem. So, make sure to involve the experts if you can’t narrow down the cause behind this issue.
All in all, these are a few things that can help you fix the touch screen if it is not working. In most situations, you’ll just be dealing with defective power connections and low voltage in the unit.
So, you need to rely on a multimeter to isolate this problem. Ideally, the issue will be fixed once you fix the connection points and the wiring inside your thermostat.
However, if the issue persists, make sure to seek professional help, and you’ll save a lot of valuable time.Even if you’re not sitting on a valid warranty, you still need to reach out to the official support team.

There is no point in trying to address these errors on your own when you can rely on a complete customer care panel to help you through the issue.
All that you have to do on your end is to send a support ticket and wait for a response from these experts. They will take charge of the situation and will guide you on how to best fix these minor complications with the unit not responding to any input.
Wrapping Up
Smart thermostats have been dominating the market for years when it comes to optimizing the performance of the HVAC system. However, even the best devices, like Trane XL824, can run into issues from time to time.
One of the more common issues that you’ll find about this unit is the touch screen not working, and we’ve listed some fixes here to help you troubleshoot these errors.
Nine times out of ten, it will just need access to the proper power supply, and that will be it.
However, if you’re not too sure about the system’s hardware, then we will recommend that you reach out to the dealer about a replacement.
There is no gain in wasting your time trying to fix a damaged piece. So, all that you need to do is to reach out to the dealer.
He will verify your purchase and then send you a replacement after the claim verification is through. The only thing that you can do in this citation is to wait, and the dealer will take charge of the situation.
From there, you can demand a fresh piece, and hopefully, you’ll have it within the same week.