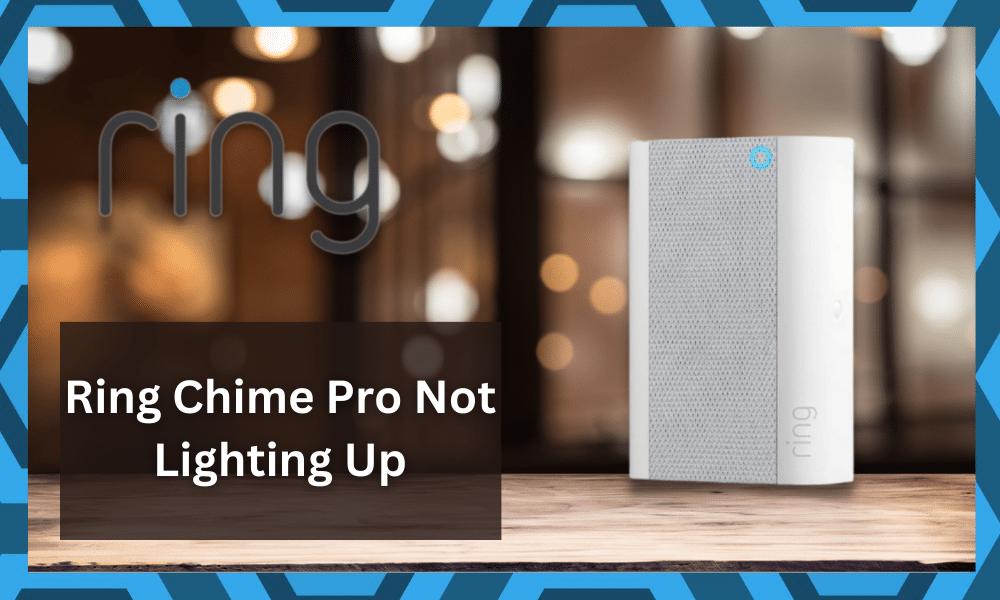
Ring Chime Pro has some pretty great features, including custom notifications and smart night lighting, and the best thing is that you can connect more than a single device to have optimal notifications coverage around the home.
The good thing about this unit isn’t only to help you with the alerts, but you will also make use of its features as a Wi-Fi extender.
Installing this device will help you increase the range of your router, and you will not have to deal with as many issues when it comes to fixing the system.
So, if you’re stuck in situations where the smart devices won’t connect or respond to your input, then you need to make use of this chime. It is incredibly easy to set up, and you will be able to get better responses out of your security system.
However, that doesn’t mean that it is all sunshine and rainbows with this system. Issues with the power and the main router can still create problems, and you will not be able to get a responsible response.
This is especially true for issues with the Ring Chime Pro not lighting up.
Ring Chime Pro Not Lighting Up
If your Chime Pro is not lighting up for any reason, here is how you can fix it.
- Connect it to the Internet again
One of the best features of Chime Pro is that it connects over Wi-Fi, unlike your traditional doorbells or those smart doorbells out there that use Bluetooth to connect.
So, if your ring Chime Pro is not lighting up for any reason, the first thing that you will need to do is connect it to the internet again.
Check on your device if your chime is connected to the internet or not. This is going to give you a better idea of connectivity. Even if it is connected, you will need to disconnect and connect it again. The problem will essentially be solved after this.
Make sure that you disable any VPN or Firewall settings if you have any enabled on your Wi-Fi router, so you don’t have to deal with this sort of issue again.
Hopefully, the situation with the connection will be addressed rather quickly, and you will not have to bother with the same error down the road.
It all comes down to how you’re planning on addressing the situation, and keeping track of these pointers will help you out.
- Check the Power Outlet
These doorbell chimes also need power to run and must be connected to a power outlet at all times.
Ring recommends that the power outlet that you are using for Ring Doorbell or Chime should not have any switches and have the right power voltage for Chime to work.
If you are having some trouble with that, try plugging in some other appliance in the same outlet to make sure that your power outlet is working fine.
If it is not good, you will need to check on the outlet first. You will also need to check by plugging the Ring Chime Pro in some other outlet to pinpoint the problem so that you can fix it effectively without having any sort of issues later.
If you do find there to be power-related errors, then the better thing that you can do here is to reach out to the local technician. You have to explain your issue to the expert and have him guide you through the rest.
It is not a bad idea to have your power connections serviced once every six months. That will be more than enough to help you with the whole setup, and you will also be able to extend the lifespan of your appliances.
However, if you try to skip this routine and save on the hiring cost, then you will end up paying a lot more in the long run. Hopefully, you will be able to set aside the budget to fix the system, and managing the device will come easily to you.
- Check For Hardware Issues
The next thing that you have to check is the hardware itself. There might be issues with the hardware, and you have to check that the chime is not in a rough condition. Sadly, it is not that rare for smart units to get damaged during delivery.
So, you will have to check up on the hardware side of things to limit and address these errors. All that you’re trying to do is to make sure that the hardware itself is not damaged. Even minor cracks or discolored sections will indicate issues with the hardware.
This is especially true for owners who just got the system out of the pack. So, if you’ve just purchased the chime and there are discolored parts, it is a good idea to reach out to the officials.
You need to inform the experts on this issue with the hardware, and they will guide you accordingly.
Most of the time, claiming the warranty is not that difficult as long as you purchase from an official dealer.
However, if you engage with a secondary dealer who is just reselling the system, you will have to reach out to the experts. So, be sure to reach out when you’re stuck.
- Try A Quick Power Cycle
Sometimes, it is not the hardware, and you have to quickly power cycle the system to address these issues. If you’re lucky, the situation will only be related to programming errors, and you can simply power cycle the system to get ahead of these errors.
All that you have to do is to remove the power from the unit and then keep the power removed for about 20 minutes. From there, you can power up the system one more time, and you will be able to address these errors in no time.
So, if you’re positive that the hardware is in good shape and the power supply from the outlet is also ideal, just go through this quick routine. It will not take you much time to address these errors, and you will be sorted out in no time.
- Attempt To Reset The Unit
Another thing that you can do here is to attempt to reset the system. Depending upon the model you have, you can simply insert a pin in the reset hole to engage the routine.
It will not take you much time to get through with the reset, and you will be sorted out in no time.
All it takes is a bit of effort, and you will be able to address and limit these errors accordingly. From there, you can go about pairing the chime and setting up the router one more time.
The only downside that is associated with the reset is that you will end up losing on all of the configurations. However, there aren’t any other fixes, and you will have to go about going through with the situation.
On the other hand, if you’re still not that lucky and the issue persists, then you have to reach out to the dealer. You’re likely dealing with a flawed system, and there is nothing more that you can do on your end to address these issues.
- Get a Ring Technician
Well, if you have tried everything above and it is still not working for you, there is not much left that you can do at your end. Trying to open up the doorbell or chime will not only void your warranty, but it will also cause you to have some other risks.
Make sure that you consult a Ring Certified Technician who will be able to fix the problem for you precisely and perfectly. There can be problems that are repairable, and you will have your doorbell as good as new.
Wrapping Up
Managing the Ring Chime is not that challenging, but the hardware issues can be pretty hard to manage at times.
It is not that rare for smart devices and accessories to get damaged during delivery. So, if you do get stuck in these issues, you can reach out to the experts.
The Ring support team or the Ring dealer will not put you through any hassle when it comes to claiming the warranty.
So, you can reach out to the official team when you’re stuck in these errors, and the officials will be more than happy to help you out.
All that you have to do is to send them proof of the damage and then demand a fresh piece.
The dealer will help you get a new unit after verifying your purchase on his end. You can further speed up this process by providing a valid receipt.
From here, all that you will have to do is to wait for a new unit.
In the meanwhile, you can still test out the fixes listed above, but keep in mind that you can’t fix a broken unit yourself. So, be sure to reach out when the issue seems to be out of your hands.


May chime door bells light won’t come on