myTouchSmart offers a great approach to an innovative smart home. They have a wide variety of products, each focused on making your life simpler and smarter.
Through their products, you are able to save up both your energy and money.
Their smart switches and dimmers are incredibly easy to program as all of them are completely Wi-Fi enabled. They have solutions for both indoor and outdoor lighting.
So, you’ll be sorted with the portfolio offered by this brand even if you’re working with a limited budget.
What’s even better is that these smart devices are compatible with both Amazon’s Alexa and Google’s Voice Assistant, which gives you superior voice control.
So, if your existing setup works around a smart assistant, going with this brand might just be the ideal fit.
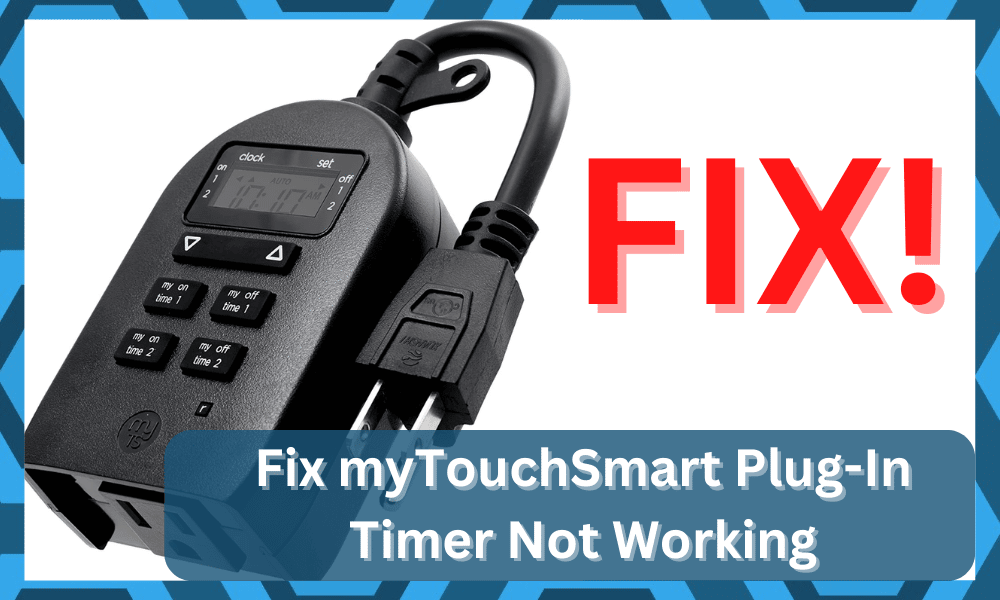
How to Fix myTouchSmart Plug-in Timer Not Working?
Many users are frustrated with the fact that their myTouchSmart plug-in timer is not working. Whatever they try to do, the timer just won’t work.
It can be a pretty annoying issue at times, and you will not be able to figure it out on your own.
As a result, these users search in online threads for an answer. Unfortunately, no matter how hard they search, they can’t seem to find the right solution for the problem.
There is a good chance that you will run into similar complications down the road. This is why today, we will be focusing on the number of solutions that you can try in order to resolve the issue.
Here’s all of them listed down below:
- Reset the Smart Timer

In situations like these, resetting should help you successfully troubleshoot the issue. Resetting helps you reset the settings stored inside the plug.
This will clear out any minor bug in the smart plug or its settings. The procedure of resetting is quite simple as well.
All you have to do is to locate the reset button in the smart plug. You will need a pencil, toothpick, or any thin material that can help you reach and press the reset button.
Make sure you press and hold the reset button for at least 3-5 seconds.
- Power Cycle the Smart Timer

Power cycling can also help you troubleshoot the issue. Power cycling only requires you to unplug and plug the device again into any outlet.
Just make sure that you keep the smart plug unplugged for a minute or so before finally attempting to plug it in again.
- Reinstall the App
It is highly likely that your app could be the reason behind the issue. Hence, to troubleshoot, we suggest you completely reinstall the app on your phone.
You can also try clearing/deleting the cache/data files of the app. To do that, you need to scroll down and then access the notification shade.
Then, you can click on the settings icon to access the application settings and then proceed with selecting the storage options.
At this point, you will be able to clear all the application cache. From there, you can open up the application and then go through the configuration one more time.
Ideally, you should be able to get a good response out of the unit if the application is updated. So, be sure to follow through with resetting the cache, and that will be it.
- Check Buttons
It might also be possible that the buttons on your unit are not working properly, and you need to clean it up a bit to isolate the issue.

This includes blasting the sides of the buttons with compressed air, and that will be more than it to adjust minor issues with the timer.
Similarly, you need to make sure that the input from the buttons properly engages the unit and that there is no missed input from the users.
All that you’re trying to do is to fix the situation with the buttons and make sure that the input to engage the timer is registered properly.
Hopefully, you will not have to worry about more complications if the hardware side of things is optimal and there are no issues with the system itself.
Most of the time, that will be it, and you will not struggle with more errors down the road.
- Try Custom Routines
Sometimes, the solution here is as simple as changing the mode from the pre-set routines to custom routines.
That might sound like a simple fix, but that doesn’t mean that it will be ineffective. So, you will have to go about fixing it accordingly.
You can press any routine button to activate the timer and then update the programming by using the “My Off Time” button to your desired setting.
This will create a custom routine and refresh the programming of the timer. From there, you can wait for the timer to run down and then check the response from the unit.

If everything goes well, this unit will engage the appliance accordingly, and you will not have to deal with the same situation.
You need to also make sure that the type of appliance you’re using is compatible with the main system.
That will give you more perspective on the situation, and you can try out other devices to isolate the issue with the power side of things.
- Check Outlet
Issues with the outlet can also lead to the same complications in some situations, and you need to make sure that the outlet is not faulty.

Sometimes, power surges or low supply from the unit can lead to these errors. So, you will not be able to get any response out of the system.
The best thing that you can do here is to try out a different outlet and then check the response one more time.
If the power output is optimal, you will be able to secure a consistent response from the device and won’t get stuck in the same errors.
This will also indicate that you need to get the power connections serviced by an expert. So, if you’re stuck here as well, the best thing that you can do is to hire an expert.

Hiring a technician every six months to check up on the power supply will help you avoid issues with the power supply.
Similarly, we also suggest that you stay away from touching the system yourself. Trying to fix the situation on your own will only lead to more complications, and you might even electrocute yourself.
So, be sure to leave this job to the professionals and don’t mess with the system yourself.
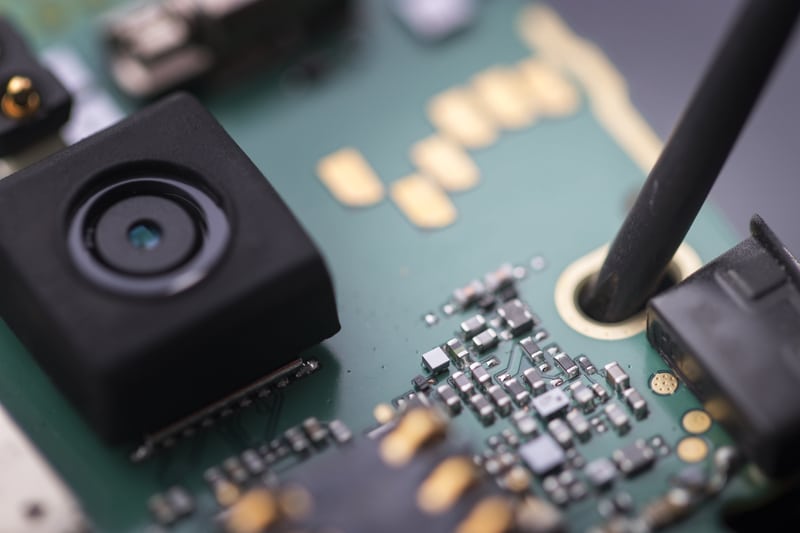
- Check Hardware Issues
If the timer is in a rough condition, then fixing it can be fairly hard. So, you will have to go about fixing the situation accordingly.
There are no quick fixes when the hardware is in poor shape, and the best solution here is to ask for a new unit. So, proceed with the warranty claim.

The warranty policy on this system is pretty decent, and you will not have to deal with more complications down the road.
It all comes down to how you’re planning on fixing the situation, and claiming the warranty when you have a defective unit is not a bad idea.
If your claim is valid, you will be able to get the fresh unit within the same week. You can further speed up the process by providing the dealer with valid proof of purchase.
Providing a receipt will do you well, and you can make a stronger case for a new unit. Ideally, you will not have to go through any extra hassle when running into these issues.
So, be sure to keep that in mind, and that will be more than it when you’re struggling with hardware issues.
- Contact Support

If none of the instructions seem to be helping you to troubleshoot and you don’t have a valid warranty, we recommend contacting customer support.
Someone from the support team should handle this matter professionally and help fix the issue.
The Bottom Line
Are you wondering why my Smart Plug-in timer is not working?
There is no need to worry, as following the steps mentioned in the article should help you fix the problem without any further complications.
It will be pretty easy to get ahead of these issues as long as the hardware is in good shape.
So, you should always start by checking the unit’s hardware. You need to make sure that there are no cracks, damaged sections, or discolored regions.
Otherwise, you will not be able to get any response out of the system, and you will have to call the dealer for a replacement.
If you’re sure that there are no damaged sections, then the issue will likely be linked to the programming side of things.
A quick reset routine will be all that you need to address these errors, and you will not have to deal with more errors down the road.
Hopefully, all complications will be addressed right here, and you will not have to worry about any complication that can play into this issue.
Similarly, you can get pointers from an expert if you’re not sure about the issue yourself. The customer support team is always happy to help troubled customers.
Thanks reset worked
No blue light tried everything taking this back in exchange for something that works
The blue light doesn’t come on when I press a setting button
I have tried all these I set mine 6 pm to 6 am. Lights outside do go on at 6 but go off way before 6 am.