Issues with the alignment of the units are pretty common when users are trying to experiment with new spots for the sensors.
There are a ton of reports of users running into problems with the garage door opener because of misaligned sensors.
For this reason, you will often notice owners hiring general contractors to get through the installation process easily.
If you have an extra budget, then having the unit professionally installed might be the right choice for you.
Otherwise, you can always test out your luck by trying out the installation yourself. It might not be the greatest, but you will be able to get through a few parts of the installation without any errors.
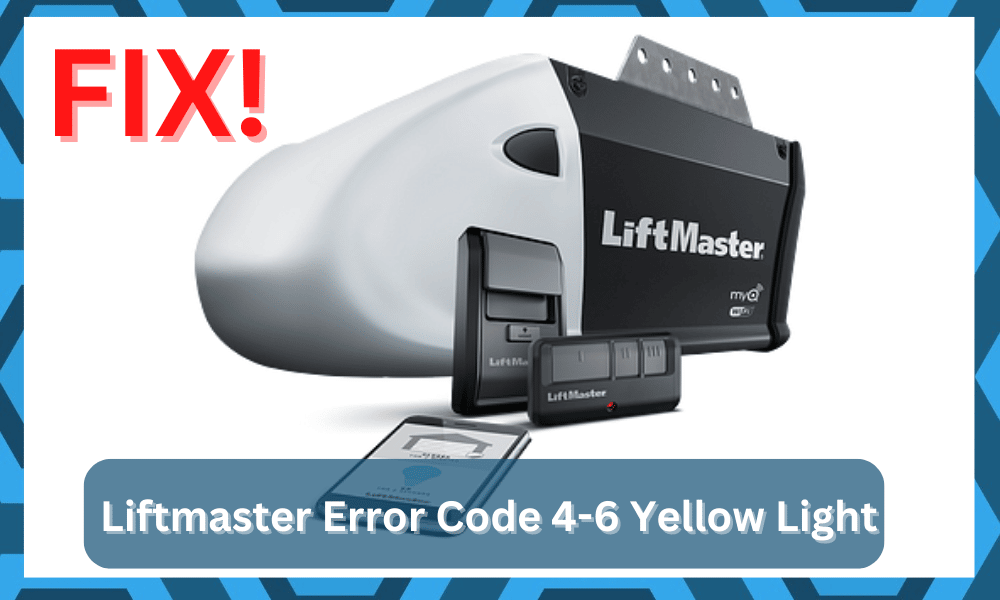
How To Fix Liftmaster Error Code 4-6?
However, you shouldn’t be too surprised when the system runs into errors after you’re done.
Complaints on Liftmaster Error Code 4-6 with Yellow Light are not that rare when you browse online forums for a few minutes.
It is caused by an alignment problem and can be fixed rather easily. So, here are a few troubleshooting methods for error codes 4-6 with yellow light.
- Fix Alignment
The 4-6 error code always points towards the misalignment of the sensors. So, when the sensors are not able to communicate easily, you will get this error on your Liftmaster unit.

Troubleshooting this error is not that difficult, and all you have to do is manage the alignment of the sensors installed on your garage door.
Make sure that the sensors are in perfect alignment with each other. Similarly, cleaning the sending and receiving sensors once can improve your situation.
So, just fix the alignment, and your issue will be fixed.
These sensors are located on each side of the garage door and are fully secured with the door tracks.

You’ll have to first loosen up the mounting nut and then make sure that the lens from both units is pointing directly toward each other.
Once that is done, the LED will start glowing steadily, and you can proceed with normal operations.
Hopefully, the issue will be fixed right here, and you won’t have to bother with any more steps. So, check the position and the angle of the sensors as you proceed with the setup.
- Remove Obstructions
Even when the sensors are aligned perfectly, obstructions in their path can create some problems for the users.

So, you will often struggle to get the desired performance because of other materials disrupting the communication between your devices.
So, if there are any extra components installed between your sensors, then that is likely why you’re struggling to get the desired performance from your unit.
Removing these obstructions between the sending and receiving units should be enough to streamline the connection between your garage sensors.
From there, you can check the repose of the LED lights one more time.
If they are pulsing steadily and there are no issues with the angle, your job will be done.
Now, you can check the performance from the main unit one more time. Hopefully, the issue will be fixed right here.
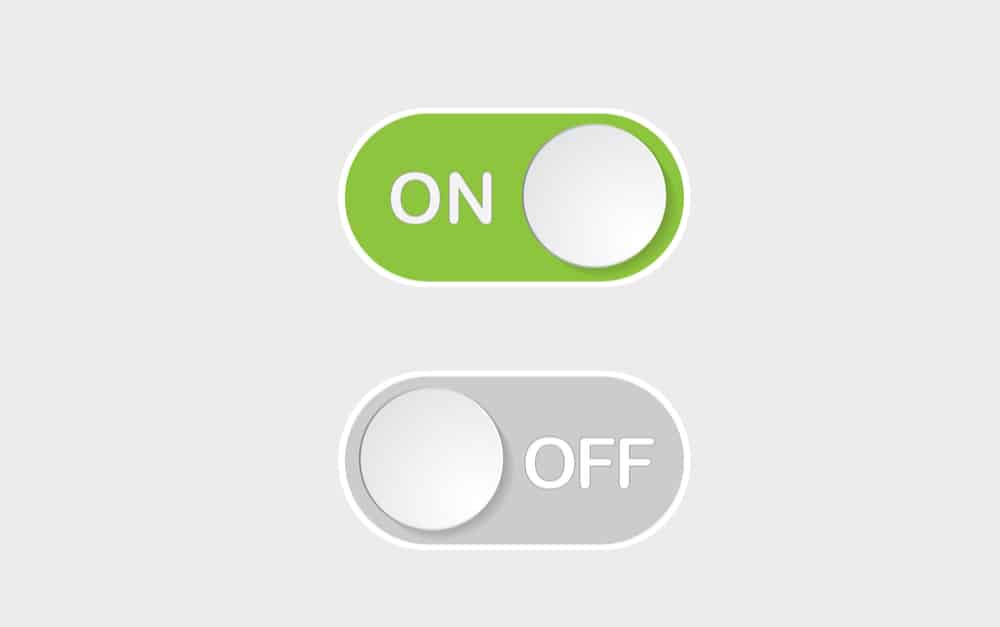
- Try Power Cycling The System
Now, this might seem like a basic fix, but it did help countless owners get through the installation of their smart systems.

It will barely take a minute, and you need to isolate the programming bugs by following this method.
Some owners also say that resetting the system is a better idea when there are no hardware issues with the device.
So, spending on your situation, you can follow through with any one of these methods to isolate the main issue.
All you’re trying to do is to remove power from the system and then power it up after 40 seconds.
You can also choose to leave the unit alone for a few minutes, but that doesn’t really make much of a difference.
From there, you can power it up again and then let the sensors communicate. If you’re lucky, the problem will be fixed at this stage.
However, if you’re still stuck, then going through with the reset is not a bad idea. This will help you eliminate the possibility that there are software issues with the device.
From there, it is pretty easy to isolate and fix the errors with the smart system.
- Change Mounting Brackets
The orientation of the mounting brackets can also lead to problems with the sensor alignment.
Clients have mentioned that changing the mourning brackets helped them terminate alignment problems perfectly.
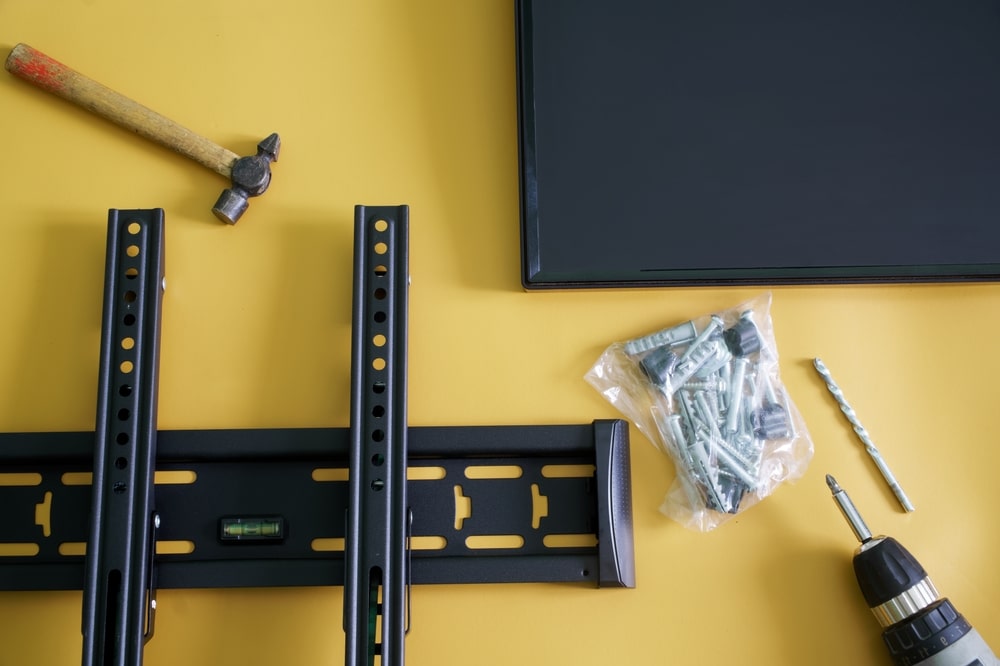
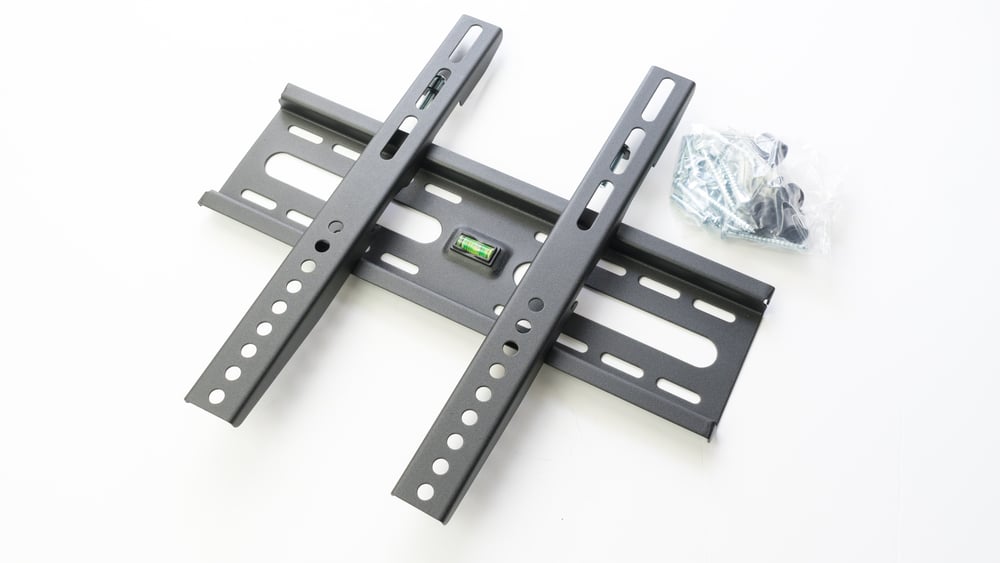
So, if you’re unable to fix the alignment by adjusting these brackets, now might be a good time to get replacement brackets from the dealer.
The compatibility of the mounting brackets can vary depending on the layout of your garage door. So, be sure to take that into account when you’re explaining the requirements to the dealer.
If you’re not using the right mounting equipment, you’re bound to run into the same errors over and over again.
So, the only way to fix the error here is to get to your local hardware store and explain the issue to an expert.
He will help you secure the right mounting requirement, and you can install that on your garage door system to avoid alignment issues.
Just make sure that there is no wiggle room and that the unit is able to connect to the receiver without any errors.
Ideally, all you’re trying to do is to make sure that the communication between the sender and the receiver is optimal.
Other than that, there are no difficulties associated with the troubleshooting routine.
- Manage Height
Sometimes a simple increase in the height of the sensor installed on the door is enough to fix this issue.
Users with massive garages mention running into this issue even when the alignment is perfect.

However, the distance between the sensors is simply too great for the unit to work again.
So, you will have to minimize this distance between sending and receiving sensors by elevating one sensor.
After elevating the height of the sensor, you can try operating the unit again, and it should work.
While the manual suggests that you need to have these sensors only six inches above the floor, placing them a bit higher on the tracks will do a better job.

We don’t mean that you should go a foot or two above the current location.
Instead, just move them up slightly and then check the response from the device.
If you’re sure that there are no hardware issues with the unit and it seems to be in perfect condition, then the issue should be fixed.
From there, you can test out the response a few more times to avoid more errors.
- Check Power
It is also common for power issues in the sensor to lead to the 4-6 Error code with yellow light.
To verify this issue with your unit, try to use a multimeter and check the power flow in the unit.
If the LED indicator on the sensors is flickering, then you’re running into power issues.
These sensors need to either be replaced or repaired by a local technician. So, try to reach out to the dealer and have him fix the issue with your sensors.
You can’t fix broken sensors yourself, and you might void the warranty in an attempt to fix this unit.
Similarly, there are no quick methods or easy workarounds when you’re dealing with defective systems.

So, if the usage of the unit has been a bit rough over the years, and the unit won’t respond to any input, then going with a fresh piece will do the job.
Hopefully, you won’t have to go through any additional fixes, and the problem will be fixed as soon as you get the new sensors.
So, either reach out to the dealer or go to a local repair center. From there, you can install the repaired or new system in no time.
- Contact Liftmaster
The last thing you can do about this issue is called the company support channel.
If you’re inexperienced and don’t know how to isolate the defective components, then help from an expert will speed up the troubleshooting process.

The company support channel is always available to help customers through all performance issues.
On top of that, they will guide you through the warranty claim procedure if you’re stuck with a defective opener.
Ideally, the problem will be eliminated after fixing the alignment, but if the issue remains after all of these solutions, then customer support is your only choice.
Make sure to provide a detailed description of the issue.
Wrapping Up
Almost all of the fixes mentioned here are easy to implement. As long as you’re a bit experienced, it shouldn’t be too hard to get the alignment right.

However, if you’re not too confident in your skills or don’t have the time, just hire an expert. He will get through the job in no time.
So, don’t hesitate to seek professional support when you can’t narrow down the problem yourself!