Geeni light bulbs might not be the best in the market, but their price point attracts many owners towards this option.
You won’t have to set aside a massive budget to purchase Geeni Light, and they will fit right into your smart system. However, these bulbs are known to run into some problems from time to time.
The majority of these are related to the programming side of things, but if you’re not that sure about the installation, the issues can be more related to the wiring as well as the power supply from the main source.
Moreover, it can take a ton of your time to figure out the issue. Usually, these problems are easy to fix, but sometimes it can be pretty annoying to deal with Geeni Light issues.
So, it is best to have an expert help you with the installation. No one wants to deal with annoying issues with the lights, and spending a few bucks on hiring an expert will help you avoid them as well.
How To Stop Geeni Light From Blinking?
Several customers have recently asked how to stop the Geeni light from blinking.
If you’re in a similar situation with the Geeni light, then the following solutions should help you maneuver through the problem with these lights.
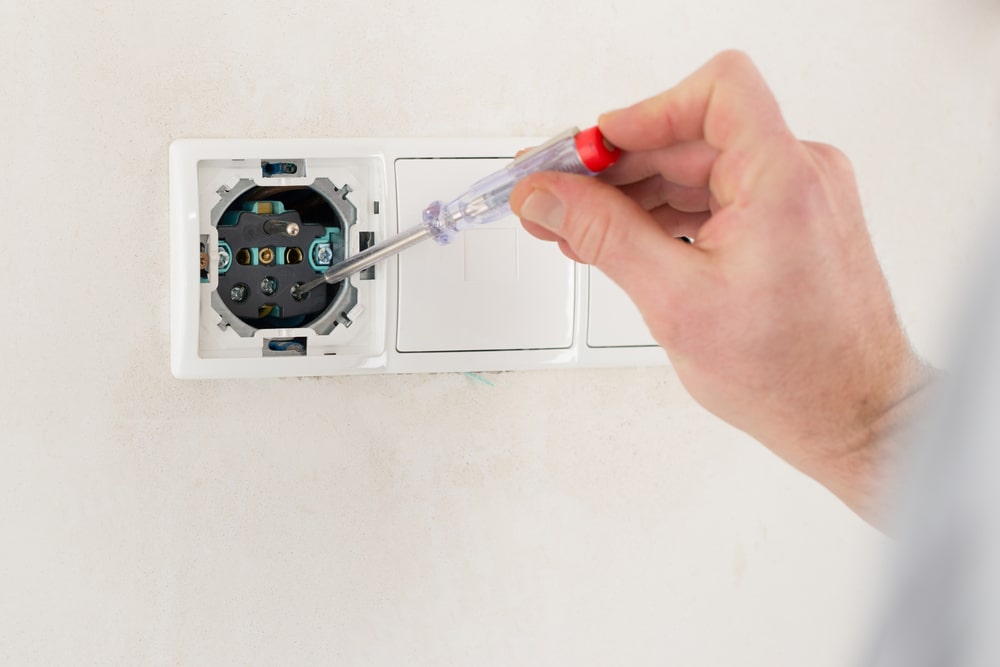
Check Socket
The condition of the socket is the first thing you need to consider if the Geeni light won’t stop blinking.
In almost all situations with the Geeni light blinking, customers mentioned that the fixtures were faulty. So, there is a decent chance you’re struggling with a similar condition.
The only fix here is to change the fixture or try out another socket. That will improve the power flow to the bulb, and it will stop blinking.
Even if the fixture seems to be in perfect shape, there is no harm in trying out a replacement.
- Change Dimmer
Dimmer switches are notorious when it comes to blinking issues with the Geeni light. So, if you’ve also installed a dimmer switch to control the lights, now might be a good time to remove it.
There are likely compatibility issues between the dimmer switch and the Geeni light.
Even though some dimmer switches can work with smart lighting in your home, it is best to stick with regular options for the Geeni bulbs.
The blinking issue is a clear indication that the bulb is not pairing well with the dimmer.
Nine times out of ten, even the best dimmers will create issues with the light not working, and you struggle with the same issues.
So, be sure to keep that in mind when you’re unable to get a consistent response, and the light keeps blinking.
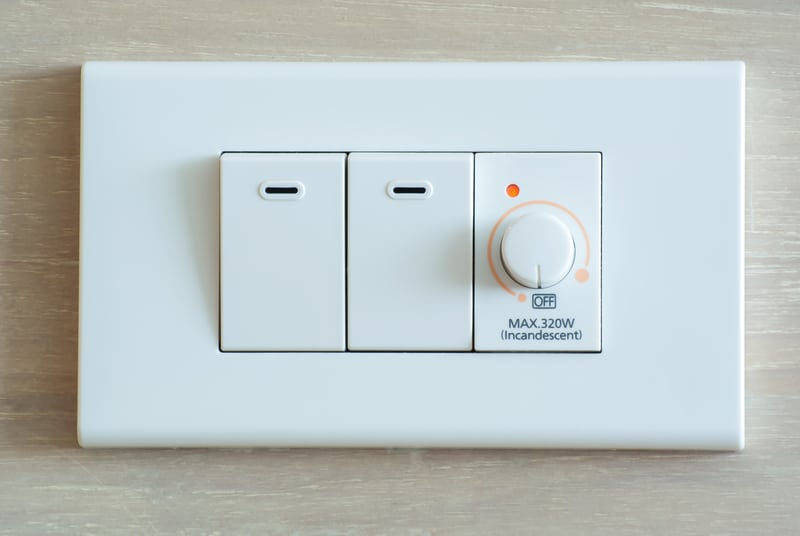
Removing the dimmer is the best option here, and you should also focus on reducing the load on the circuit to stabilize the power flow.
Some customers also pointed out that they were able to eliminate the issue by making use of a power stabilizer, and you will be able to do the same.
It might seem like a bit of investment at first, but the performance brought forward by the stabilizer, as well as the security, will more than justify the purchase.
So, be sure to stick with the power stabilizer when you’re struggling with the blinking errors related to the smart lights.
- Pair The Lights
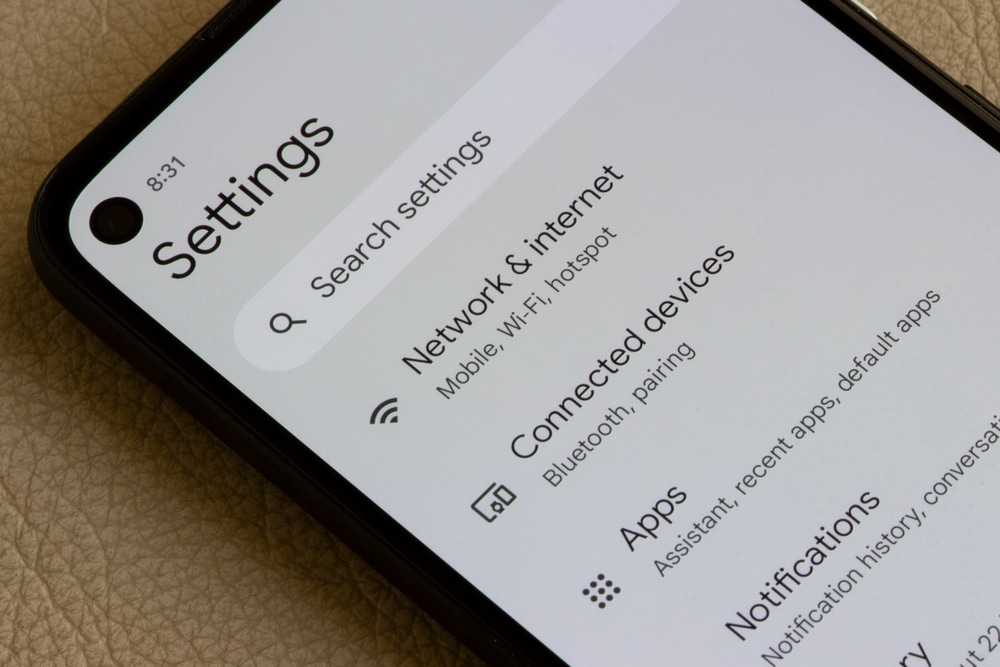
Sometimes, this fix to this issue is as simple as pairing the bulb with the mobile app again. If you’ve just installed the bulb and it won’t stop blinking, then you just have to pair the lights.
The blinking status on these lights indicates that the lights are in pairing mode and have yet to be set up. So, just open up the mobile application and add a new device to your existing account.
Once the lights have been paired with the smart app, that will eliminate the blinking issue, and your lights will start working perfectly with the app.
- Measure Voltage
The voltage output from the source is another major concern when it comes to blinking issues. If the voltage is not optimal, then the bulb will start to blink rapidly.
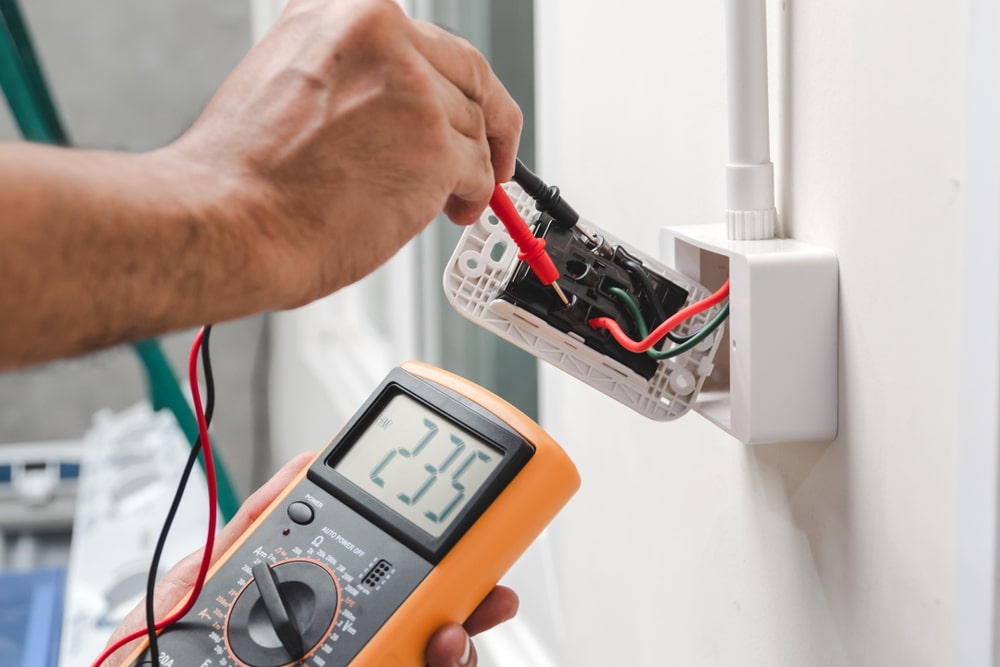
If you’re in the same situation and the bulb was already paired up with the application, then you should measure the voltage from the source.
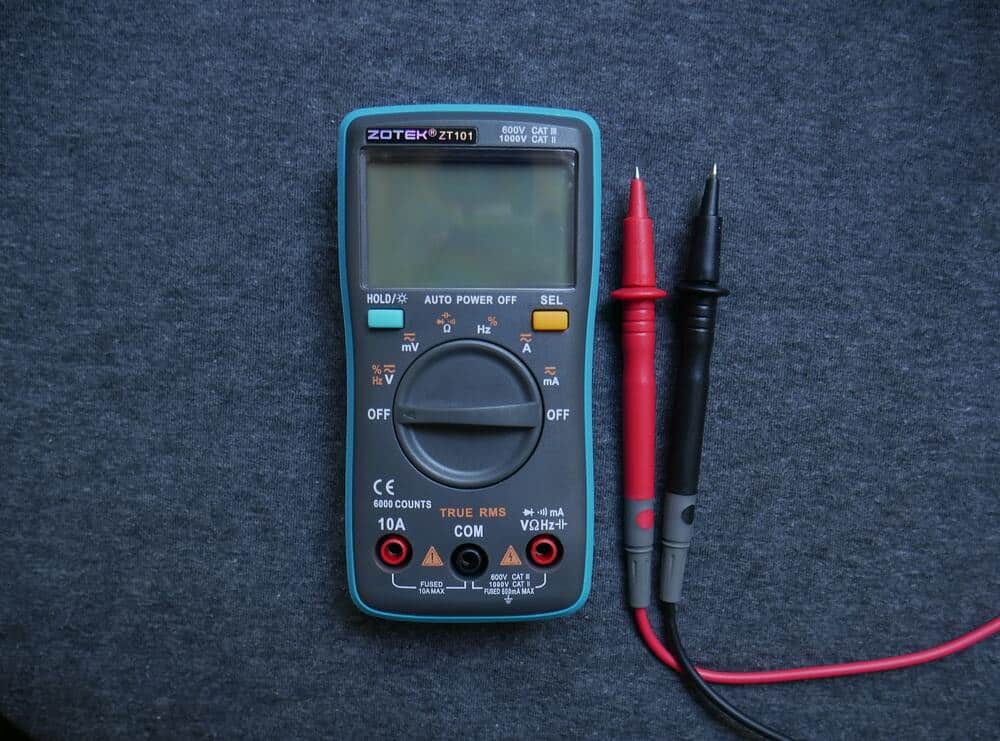
Here you can make use of devices like a multimeter. All you need to do is to match the reading on the multimeter with the voltage requirements of the bulb.
You will need to change the source of the voltage above or below the defined requirements in the owner’s manual. The smarter thing to do here is to hire an expert here to check the power supply.
You should get the power connections serviced at least once every six months, and you will not be able to get any response otherwise. So, to limit these issues, you need to check up on the power connections.
Some owners also try to fix the power connection themselves. This is never a smart idea and can lead to safety issues.
There are just too many reports of owners electrocuting themselves when trying to fix the power supply.
So, if you’re getting some bright ideas about resetting the smart unit, we suggest that you leave this job to the professional.
That will be more than enough to help you navigate through all of these errors, and you will not have to bother with the same errors again.
- Check Connection Points

The condition of the connection points is next on the list of possible reasons behind the Geeni light blinking.
You have to check the connection points of the bulb and the fixture to make sure that no debris is lodged in the system.
If the connection points are dirty, just clean them up and connect the bulb to the fixture again. Make sure that the power is turned off when you’re cleaning the fixture.
Using an air blower is the safest method of getting through this troubleshooting step.
- Reset Geeni Bulb

If you’re in a situation where the voltage is optimal, and the Geeni bulb was working perfectly just a few days ago, then there is a chance that you’re dealing with some programming issues.
In this condition, resetting the Geeni bulb is the only real option. So, reset the Geeni light to the factory settings and then pair it up with your smart application again.
Hopefully, that should be enough to stop the Geeni lights from blinking. This is especially true when you’re sure that there are no hardware issues. So, be sure to follow through with the reset routine.
The only downside associated with the reset routine is that you will end up losing all of the configurations.
There are no quick fixes, and you will have to set up the unit from scratch. So, be sure to keep that in mind when you can’t seem to get any response from the unit.
- Check For Hardware Issues
Lastly, if you’re still stuck in the same situation, then there is a good chance that your unit is defective.
There are no quick methods of going about fixing hardware issues, and you will need to seek help from a certified expert.
All that you’re trying to do here is to engage the official support team about a new system. This is especially true if you believe that the unit got damaged during delivery.
So, be sure to inform the experts, and they will be on top of your case in no time.
Keep in mind that you’re not liable for delivery issues, and providing the dealer with valid proof of damage is more than enough to get a new system.

From there, you can go about setting up the new unit, and it won’t run into the same errors.
You can also choose to get the lights installed by an expert this time around. That will make your job much easier, and you will not have to deal with more errors down the road.
Wrapping Up
These were some points that will help you figure out how to fix the situation with the Geeni light blinking.
If you’re lucky, the fix here will be as simple as power cycling the lights and then checking up on the response again.
From there, you can proceed with checking the wiring and the power supply from the main source.
This will likely be it when it comes to minor installation issues, and you can go about fixing the situation further without having to deal with any extensive steps.
On the other hand, if the issue is more related to the programming side of things, then you will have to proceed with a reset.

It is either the power connections or the programming errors that can lead to this situation, so you should start the troubleshooting routine accordingly.
Lastly, if you’re not able to get the blub working even after testing out all of these pointers, then you are dealing with a defective piece.
There are no quick fixes when it comes to managing defective lights and you will have to reach out to the dealer for a fresh item.