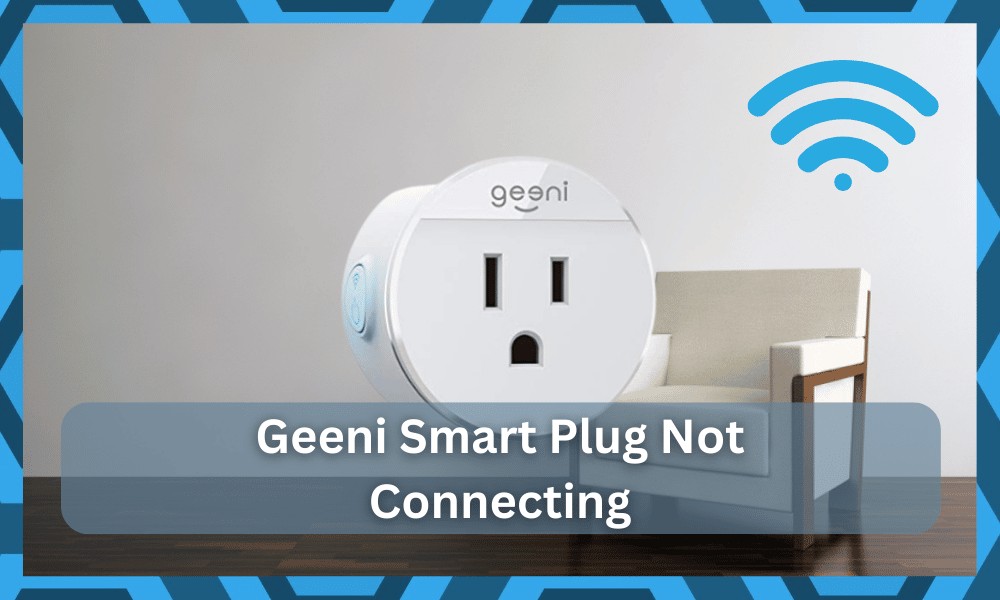
Geeni is a well-known brand that offers these plugs that are connected to Wi-Fi and provide you with an amazing opportunity to control your appliances from anywhere.
You can ask Alexa, or you can also use the Geeni smart app to control the system.
It also offers a scheduling system in which the device can be set to automatically perform a particular task that it is assigned.
So, if you’re planning on modifying the system and increasing your control over the smart system, going with this option might just be the right fit.
The setup can be a bit hard to manage at times, but once you’re through the initial configurations, the rest is simple.
Geeni devices are undoubtedly one of the best options for owners to start with, and you can’t find better pricing on any other brand.
Unfortunately, many people experience problems with the Geeni smart plug.
The most common among these problems is Geeni smart plug not connecting. If you are also having the same problem, then our article will guide you on how to fix it.
How to Fix Geeni Smart Plug Not Connecting?
- Check Your Wi-Fi Signals

In case the Geeni smart plug is not connecting to the Wi-Fi, the first thing you need to do is check the Wi-Fi.
The smart plug does not connect to the internet if the connection is poor. Therefore, it is recommended to check the Wi-Fi strength through the router.
Connect your phone to the Wi-Fi and count the number of Wi-Fi bars.
If the bars are less than 3, it means that the signals are weak, due to which the smart plug is not able to connect.
In order to solve this problem, turn off the router. Wait a few seconds and turn it back on.
- Limit Range
The issues with the range are also pretty common, where you will find owners setting up the new units near the router and moving it out of range.
Keep in mind that the majority of routers are only effective up to the range of 25 feet. This can vary a great deal depending on the environment.
So, you need to make sure that the plug is within the 20 feet range if you’re using an older unit, and that will help you get a better response. There are no quick fixes when it comes to managing signal strength.

You can also choose to spend your money on a better router to avoid more issues down the road.
It all comes down to your budget, and going with some of the more robust routers or router extensions from ASUS will help you get the desired response.
From there, you can go about checking the connectivity status from the router, and it will likely work.
If you’re lucky, all issues will be addressed as soon as you fix the signal status. So, be sure to keep that in mind when you can’t seem to get a decent response.
- Check Credentials
The situation with the credentials can also play a role here. If you’re not able to get through the first pairing routine, then there is a chance that something is wrong with the credentials or the input.
So, you need to make sure that there are no capitalization errors or any other compilations.
From there, you need to also check for special symbols or characters in the credentials.

While there is no debate that having special characters in the Wi-Fi name and password makes it look unique, it can have a negative impact on the connectivity status.
So, the best thing that you can do to avoid these issues is to update the credentials and stick to only numbers and alphabets.
One downside here is that changing the credentials will remove the router from all of the devices, and you will have to pair them up again.
Sadly, you’re not left with many options, and we suggest that you test out this routine on the weekend to avoid more issues down the road.
Hopefully, all errors will be addressed right here, and you will not have to worry about more complications.
- Remove Interferences
Removing interferences comes next in this troubleshooting guide, and you need to also check up on the environmental condition and the presence of wireless accessories in the room.
If there are too many wireless units, that can impact the signal strength.

You will struggle to get any response out of the unit, and the interferences can be pretty hard to manage at times.
However, one thing that you can do to confirm this issue is to turn off these devices for a brief period. That will be more than enough to address your situation.
From there, you can move forward with checking the response from the plug.
If the plug does connect, then you will be sure that the situation is caused by the extra wireless devices. Now, you can either purchase a router extension or remove these devices entirely.
There are no other methods, and you will have to declutter the system to establish a better connection with the smart device.
It will not be that bad of an idea to seek help from a professional here. Spending a few hours with an expert trying to manage the issue can save you days of work.
So, if you’re still stuck in the same errors, be sure to call in an expert, and he will be on top of your case in no time.
- Faulty Plug
Another cause of the Geeni smart plug not connecting to the Wi-Fi can be due to a damaged or faulty plug.
In such a case, there is not much you can do to fix it. Therefore, it is suggested to replace the smart plug with a new one. You can also contact customer support services for the replacement of the plug.
- The Plug Is Not In Pairing Mode
A major factor Geeni users forget is that the smart plug requires to be in a pairing mode in order to connect to the Wi-Fi. Therefore, check the pairing mode of the smart plug.
The indicator will blink if the plug is in pairing mode. If not, then hold the power switch of the device until the indicator starts to blink.
Also, it is worth mentioning that the Geeni smart plug has two modes for pairing. In case the indicator blinks rapidly, it means that the plug is in easy pairing mode.

On the other hand, if the indicator is blinking slowly, it means that the plug is in AP mode.
Therefore, it is recommended to select the right pairing mode for connectivity. You can choose the pairing mode from the Geeni app.
- Router Is Not Operating On A 2.4GHz Frequency
The Geeni smart plug is designed in such a way that it only connects to Wi-Fi if the internet has a frequency of 2.4GHz.
Usually, the Wi-Fi signals at home are of a frequency of about 5GHz.
The Geeni won’t connect to such a high frequency of signals. Therefore, you need to convert the Wi-Fi frequency from 5GHz to 2.4GHz.
Check the setting of your router and change the frequency if required. Then, restart the router and wait a few minutes.
Lastly, connect the Geeni smart plug to the internet via the Geeni app.
- Update The Geeni App

The software version of your Geeni app also plays a major role in the connectivity of the Geeni smart plug to the Wi-Fi.
Check the version of your Geeni app. If the app is outdated, then follow the steps below to update the app:
- Go to settings.
- Click on my apps.
- Scroll down and click on the Geeni app.
- Click on check for updates.
- Install the new updates.
You can also restore the factory settings of the app to solve the problem. Holding the power button for a few seconds will reset the plug.
The Bottom Line
So, did your Geeni smart plug connect to the Wi-Fi yet? We have provided you with all the possible solutions to connect the Geeni smart plug to the internet.
We hope that you find our article helpful. In case, none of the above-mentioned solutions worked for you.
Then it is suggested to contact the customer support service of the company.

They should help you fix the problem by suggesting further solutions. There is no point in going to the fix alone when you can reach out to the professionals for some pointers.
It might seem like a hassle, but the experts on this brand are more than happy to guide owners through a fix.
So, all that you need to do here is to list the symptoms and also detail the troubleshooting methods you’ve tried so far.
From there, the customer support members will take charge of the situation, and you will be able to demand a fresh piece if the unit is defective.
It all comes down to how you’re planning on going about fixing the issue, and seeking official support is never a bad idea.