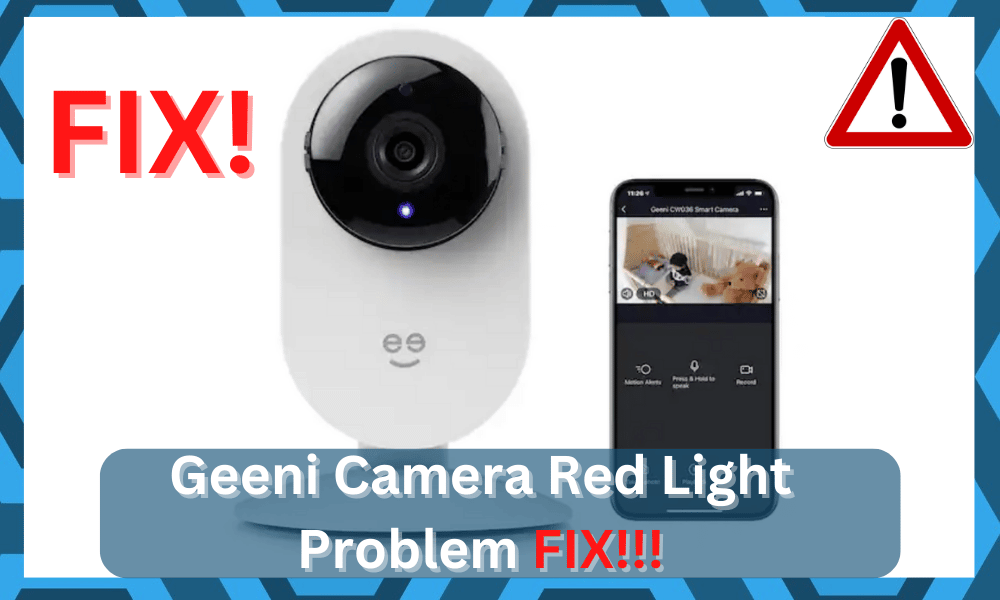
The Geeni cameras might not be the best on the market, but they sure are affordable. You can stick to a minimal budget to make use of these items.
However, the reviews on the audio quality brought forward by the Geeni cameras aren’t great either.
Aside from the audio quality issues with the Geeni camera, you will occasionally run into problems with the red light.
Now depending upon the current setup stage on your device, it can point towards a variety of things.
So, you’ll have to spend a bit of time diagnosing the problem and testing out different troubleshooting steps.
Fixing Geeni Camera Red Light
Most of the time, the issue is not that serious, and a bit of your time is more than enough to help you through these errors.
If you’re also stuck in a situation with the Geeni Camera Red light, then going through the following methods will help you get a better idea of the issue, and you might even fix the device.
So, follow through with these steps and test out the performance of your Geeni Camera again.
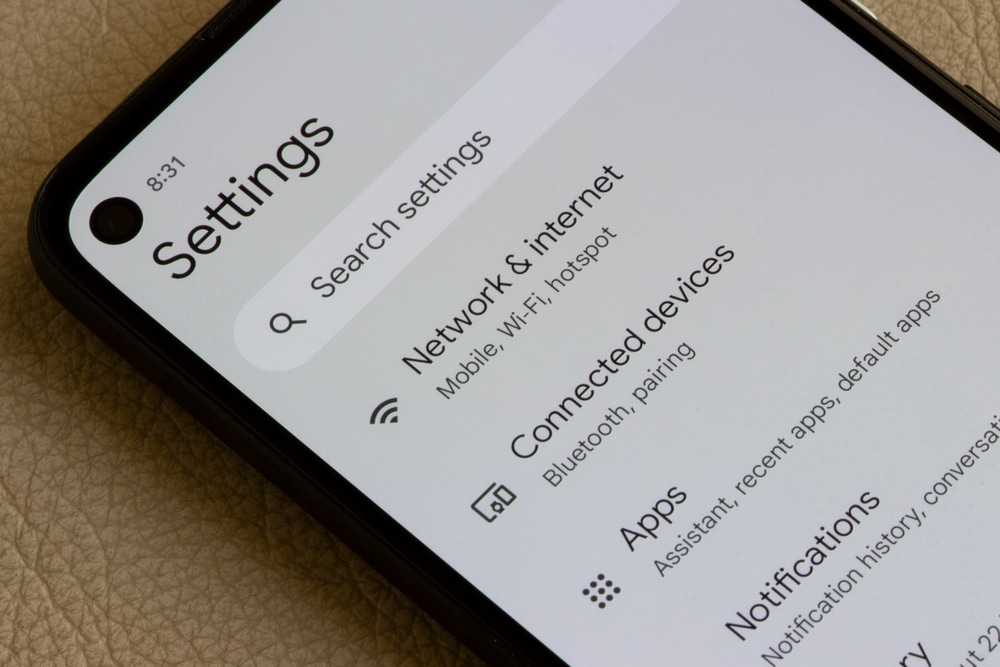
- Check Indicator Light Status
Depending upon the model of the camera you own, there is a chance that you’ve accidentally turned on the indicator light.
Luckily, it is not that difficult to turn off this light, and all you need to do is access the mobile app to turn off the indicator light.
Just open up the app and navigate to the connected Geeni Camera.
From there, you can access the basic feature settings and then turn off the indicator light from the given options.

That will remove the red light from the camera, and you won’t have to deal with the indicator status again.
However, it can also mean a lot of other things like the infrared indicator, pairing status, minor programming bugs, and much more.
So, the issue is not fixed right here. You’ll have to go through a bit more troubleshooting methods to get everything in order.
- Pair Camera Again
In some models, the red light on the Geeni camera indicates that your camera is in pairing mode.
If you’ve just bought the device, then you’re in the same boat. So, there is no need to worry about any hardware issues or programming errors at this stage.
You just have to scan the QR code and pair up the camera with your mobile device to get the red light to turn off.
So, go through the pairing process, and that will remove the red light from your Geeni smart camera.
Keep in mind that you need this blinking light indicator to be on if you wish to connect the Geeni camera.
It won’t take that much of your time, and setting up the unit will help you fix these errors. From there, you can use the application to configure the smart camera without any hassle.
- Fix Light Levels
The infrared system on your camera also presents a similar picture when the light levels are low in the room.
If you’re sure that the hardware of the camera is in good shape and there are no power-related issues, then you might be dealing with infrared mode as well.
So, if the red light is only turning on when the light levels are low, you need to fix the lighting, and that will eliminate the red-light issue in your system.
Changing the location of the camera will also have a positive impact on this situation.
camera-location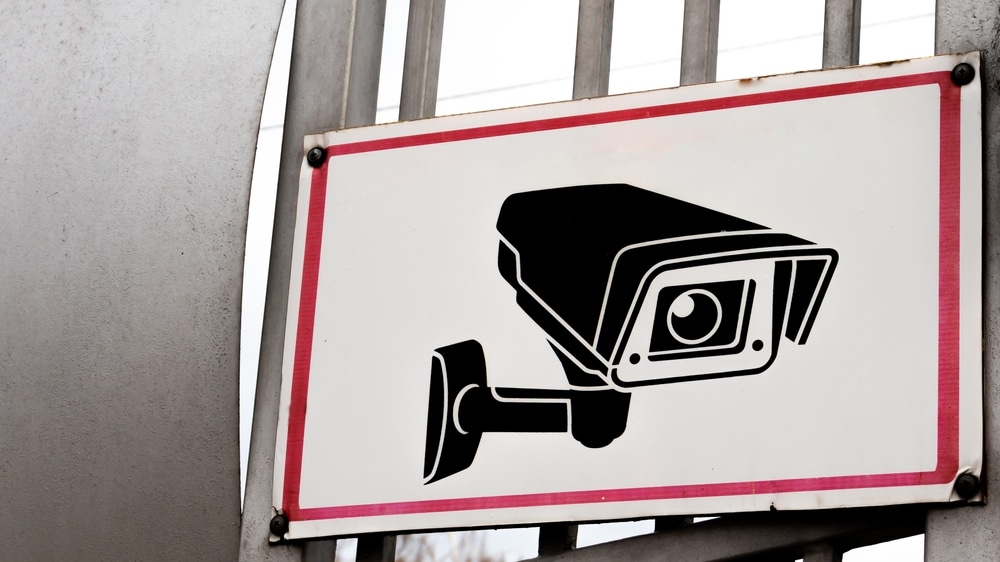
All you’re trying to do here is make sure that there is enough light in the room so that the night vision mode is not engaged at random intervals.
That way, you won’t ever have to run into the same problems when using the smart camera.
You can also try relying on secondary light resources right next to the unit. However, you’ll struggle with the glare from time to time.
Moreover, the added cost of the secondary light source will impact your power bill in the long run.
- Power Cycle Camera
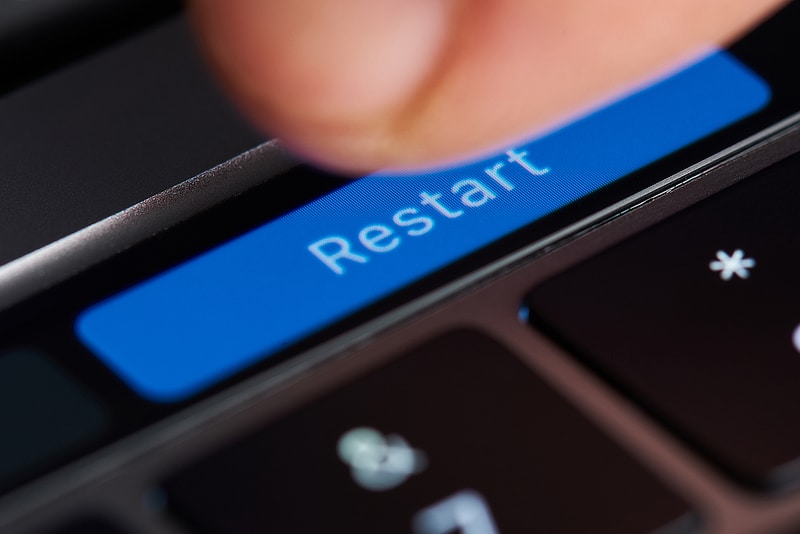
Power cycling the camera might seem like an obvious solution, but it has proven to be helpful time and time again.
So, power-cycle the camera and then check the status of the red light.
Ideally, it should be gone at this stage, and you won’t have to deal with the same issue again.
All you need to do is to remove the power from the camera for a few minutes, and that should be enough to fix the issue.
- Reset the Device

Going with a complete factory reset is the solution when you’ve not been successful with any of these methods.
This will remove all the configurations from your device, and you can start the pairing process from scratch.
So, if you don’t get anywhere with the troubleshooting methods mentioned in this guide, just reset the camera, and that will eliminate the programming-related bugs from the system.
- Check Unit Hardware
Here, you need to check the hardware of your unit for possible issues. There might be some cracks or impact damage to the unit.
If you’ve bought the unit recently, then the unit must have gotten damaged during delivery.
There is no debate that the delivery process can be especially hard on smart devices. So, if you’re in the same boat as the Geeni camera, try seeking help from the dealer.
You need to first find errors with cracks or indented sections on the camera.
If you do find these issues and the device is in rough shape, take some pictures and send them to the dealer.
All you’re trying to do here is to get a new unit from the dealer. If the warranty is valid, it won’t be too hard to get a new unit.
Moreover, most of the Geeni dealers will verify the purchase on their end. So, even if you’re not too sure about the purchase, it is pretty easy to get a new unit by claiming the warranty.
From there, you can set up the system without worrying about the same blinking light errors.
- Inspect Power Connections
The power connections can also be faulty sometimes. There can be something wrong with the battery or the writing, depending on the camera model you’ve bought.
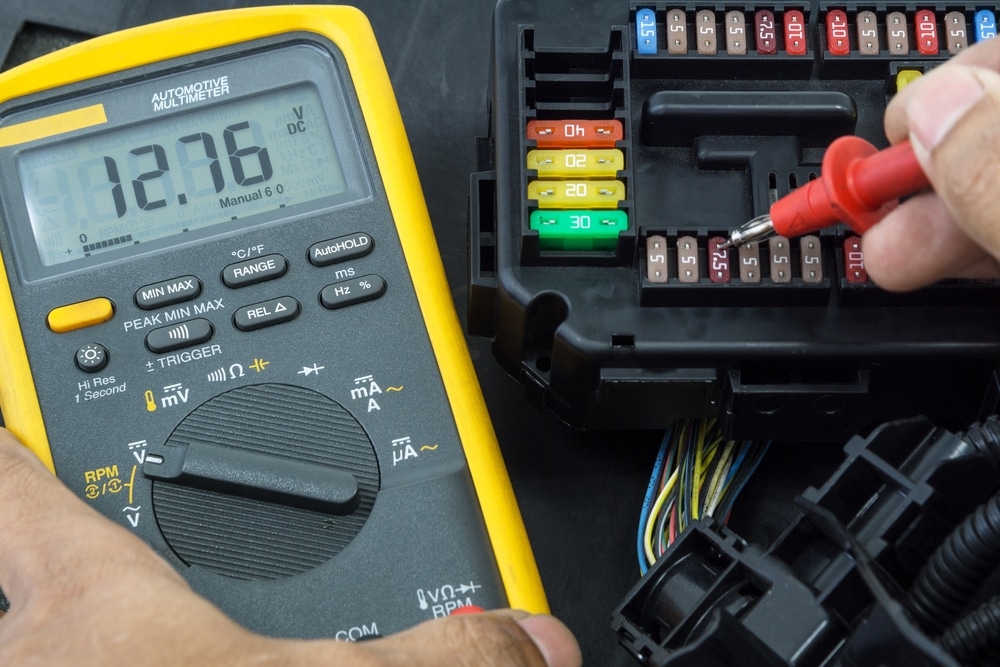
Either way, you’re trying to make sure that the power to the camera is optimal. The best method to measure the voltage is to make use of a voltmeter.
All you need to check is the continuity on each end and then proceed with the setup. From there, it is not that hard to manage and isolate these errors.
If there are voyage issues, then replacing the wiring or installing the new battery will fix that.
However, if the unit is in a rough condition and you can’t really purchase the replacement, then go to a repair center.
Either way, you need to make sure that the power flowing into the unit is optimal.
- Call Customer Support
Seeking help from the customer support team is one of the best things you can do when you can’t seem to narrow down the errors.

It is incredibly easy to get through these errors when you’re getting directions from an expert. So, make sure to reach out and secure official support.
There is no point in waiting, and you should reach out to these professionals right away.
They will not only help you figure out the issue, but you’ll also be able to get through the problem in no time.
So, keep that in mind and call customer support when you’re running into these issues.
Wrapping Up
Most of the time, it is not that hard to isolate and fix the issue with the Geeni camera flashing red.
There is usually something wrong with the setup, and you need to go through the setup routine one more time. If you’re lucky, a quick power cycle will always do the trick.
However, if the issue is more serious, you might have to reset the unit. So, keep that in mind and try resetting the camera to factory default.
That will usually be enough to fix these errors, and you can go through the setup one more time.
Ideally, all you’re aiming for is securing the proper connection and fixing the configurations.
That way, the camera will power up, and you will proceed with the setup in no time. Moreover, if your camera is in rough condition, then you are out of luck.

The only thing you can do about a defective camera is to get it fixed by a professional. There are no other options except to get a new unit.
So, either claim the warranty or go to a repair center. Either way, you need to make sure that the camera is in optimal condition.
Hopefully, the issue will be fixed as soon as you power cycle the camera, and all of these extra methods won’t be necessary.
From there, it is not that difficult to secure a consistent response from the device.
Camera will not power on held reset button for as long as two minutes and nothing. Tried different adapter boxes and still nothing at all. No lights or sound. No power. I have the geeni hawk hd 1080p indoor/outdoor gn cw-001