It is true that some of the cleaning robot models can be pretty loud, but the Eufy Robovac units address this issue perfectly with their simplistic design.
Even though this robot is as quiet as a microwave, you won’t have to worry about any issues with the cleaning performance.
Having a robust performance is not necessary to yield decent cleaning performance, and Eufy Robovac is a practical example of this statement.
It is arguably the best cleaning robot on the market and will serve you for decades on end. So, be sure to consider this purchase if you’re trying to optimize your routine.
After purchasing the robot, you just have to map out the whole room and then proceed with the basic setup one more time.
It will barely take a few moments at max, and you will not have to deal with any long-term errors when it comes to managing the smart system.
This robot will keep your house clean for years as long as you keep track of its maintenance.
Even if you’re running into programming-related problems with the Eufy Robovac system, a quick reset fixes almost every issue with the cleaning robot. So, here are some details on how to reset Eufy Robovac.
How To Reset Eufy Robovac
The factory reset on the Eufy Robovac primarily removes the Wi-Fi configurations, and there isn’t any user data stored on the robot.
So, you won’t have to worry about losing everything as you rest the unit. The process is fairly simple, and you just have to follow these basic steps to reset the Eufy Robovac.
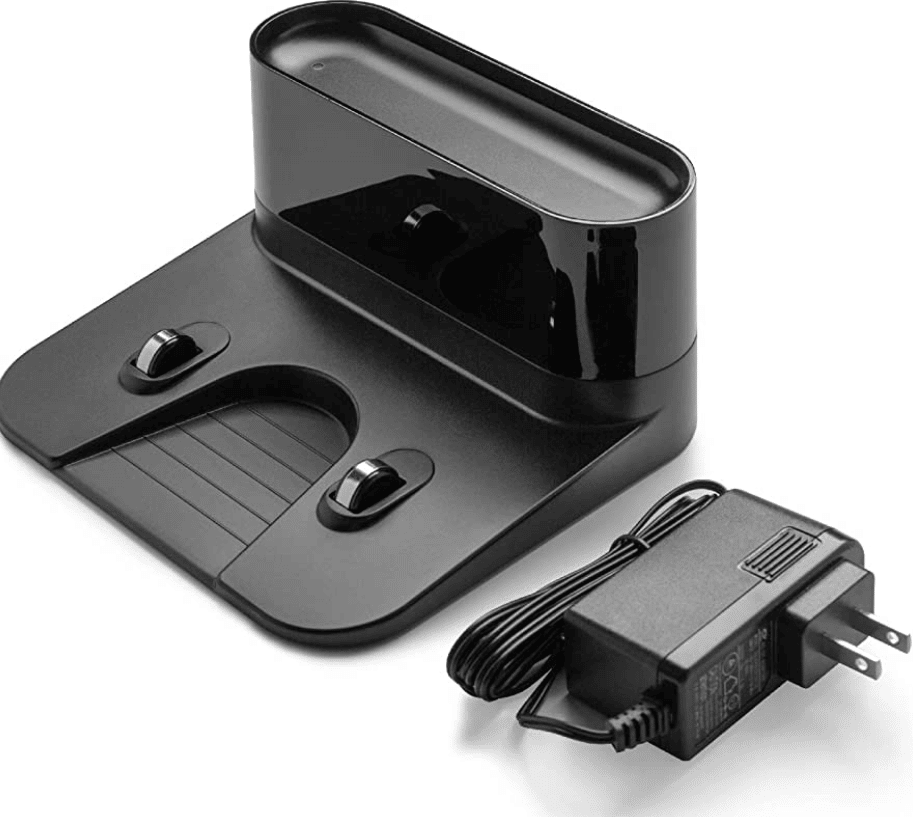
- Depending upon the Eufy Robovac model you’re currently using, just turn on the robot and check the response from the LED indicator. Make sure that the unit is charged before you try to reset it to factory default.
- If the LED indicator is working, you can simply press and hold down the power button for around 10 to 12 seconds. For the hybrid series, you will have to hold down on the power as well as the configuration button at the same time to reset the cleaning robot.
- A loud beep will come from the cleaning robot after the 10 seconds are over, and this will indicate that the robot has successfully reset to factory settings. You can let go of the power button at this point and move toward the configurations of the cleaning unit.
- The LED indicator on the robot should be flashing blue at this stage, and you can pair up the robot with the home network to access the smart features.
- Lastly, personalize the configurations through the app, and make sure to clean the robot thoroughly before starting the operating cycle. Debris between the wheels and the cleaning brushes can have a huge impact on the performance of this unit. So, if you wish to avoid issues, clean the robot after resetting it to factory default.
Overall, these were the basic steps that had to be followed to reset Eufy Robovac. There are no extensive procedures involved, and all you need to do is to hold down on the power button for a few seconds.
The LED indicator and the audible beep will mark the completion of the reset procedure, and you can access the smart features with ease.
If you’re running into connection issues even after resetting the Eufy Robovac system, then you should restart the router or try a different network.
There is likely something wrong with your home network, and it is not working well with the robot.
Moreover, you can also ask the Eufy customer support department to help you out with the maintenance of the Robovac systems.
When To Reset Eufy Robovac?
Now that you know how to reset the Eufy Robovac unit, the question remains when it is most suitable to go through the reset routine, as it can be quite draining on your time.
You will struggle to get through the configurations from scratch if you just reset the system at every minor inconvenience.
The reset routine should always be your last resort, and you should avoid resetting the system as much as you can.
One of the more common reasons why you might have to reset the system is to update the Wi-Fi configurations.
If you’re upgrading the router in your home and need to add the new network to the robot, then a reset might be in order.
This is especially true for older models, as there are no direct methods for addressing the situation by adding the new network
Once you’re through the reset, the robot will go back into pairing mode, and you will be able to get through the Wi-Fi setup accordingly.
Next, you might also feel the need to reset the unit when the mapping is not perfect, and the robot won’t clean the whole house even though the configurations from the application are managed perfectly.
In that case, the reset is not such a bad option, and it might just be the perfect solution to help you.
So, all that you need to do is to reset the unit by going through the instructions provided above.
From there, you can go through the whole mapping routine one more time to check up on the response.
Ideally, all errors will be addressed right here unless, of course, the unit is damaged and there are some serious issues with the hardware.
So, be sure to check up on the hardware side of things as well when you can’t seem to get a decent enough response.
Will You Lose All Map Settings?
One thing that owners are most confused about when going through the reset routine is whether the existing maps will be removed from the unit.
So, if you’re also confused, the answer here is “Yes,” you will not have any configurations left, including the map settings and the personalization features.
So, be sure to go about the setup accordingly, and you will have to remap the whole apartment or house from scratch.
This can take hours of your time in some situations, and there aren’t that many great options left on your end after you’ve reset the system.
For this reason, we will always recommend that you exhaust all other options before it comes to resetting the system.
Otherwise, you will end up spending hours on the weekend trying to go through everything from the beginning.
Hopefully, it won’t come to the reset cycle, and you will be able to avoid this outcome when it comes to addressing minor programming bugs with the system.
Troubleshooting Eufy Robovac Reset Not Working
Sometimes owners struggle with the reset routine, and you will come across some users saying that they were unable to proceed with the reset.
If you’re in the same boat and can’t seem to reset the system, then there are a few things that you can do.
The first thing here is to slow down the input. The majority of the issues with the reset not working can be linked to the owners trying to get through the reset too quickly.
If you’re in the same boat, this strategy will only hold you back in the long run. So, just slowly follow through with the reset routine.
Next, you need to also make sure that the input is properly registered through the buttons.
Sometimes, the debris can clog up the contact points and the buttons won’t register your input. The only reasonable fix here is to blast the unit with compressed air.
That will be more than enough to help you deal with these errors. It will take a few moments at max when you’re trying to adjust these issues.
Hopefully, the reset will work perfectly after you follow through with the troubleshooting pointers listed above.
Otherwise, you will need to reach out to the official support team and ask for their help.
Wrapping Up
Struggling to get a decent response from the Eufy Robovac system? Try going through the reset routine by following the steps listed above.
It will barely take you a few minutes to rest the unit, and then you can go about setting up the unit from scratch.
Nine times out of ten, a reset is more than enough to help you get through the vast majority of programming errors.
So, if you’re stuck in the same situation, be sure to follow along with all of these pointers. You will surely be able to secure a decent response from the smart unit that way.
Similarly, you should also check up on the hardware side of things to limit the issues with the unit.
There might be something wrong with the dustbin or the brushes. Moreover, the battery can also present some errors from time to time. So, you will have to figure out the situation accordingly to fix the unit.
Hopefully, all errors will be addressed pretty easily, and you will not have to deal with any long-term errors.
However, if you’re still not getting the right response from the unit, then the only thing that you can do is demand a fresh piece by asking the official dealer.