Craftsman is a decent brand and is known in the market for high-quality garage door openers.
Even though you can get more expensive units from the market, the perfect balance between pricing and value provided by Craftsman makes it one of the most popular devices.
The only thing that you will need to be careful about here is the installation of the system, as it can be a bit complicated at times.
You will struggle with the system down the road and won’t be able to secure any response. For this reason, you’ll find owners relying on professional support for installation.
The majority of customers start out with this brand because of its extensive portfolio.
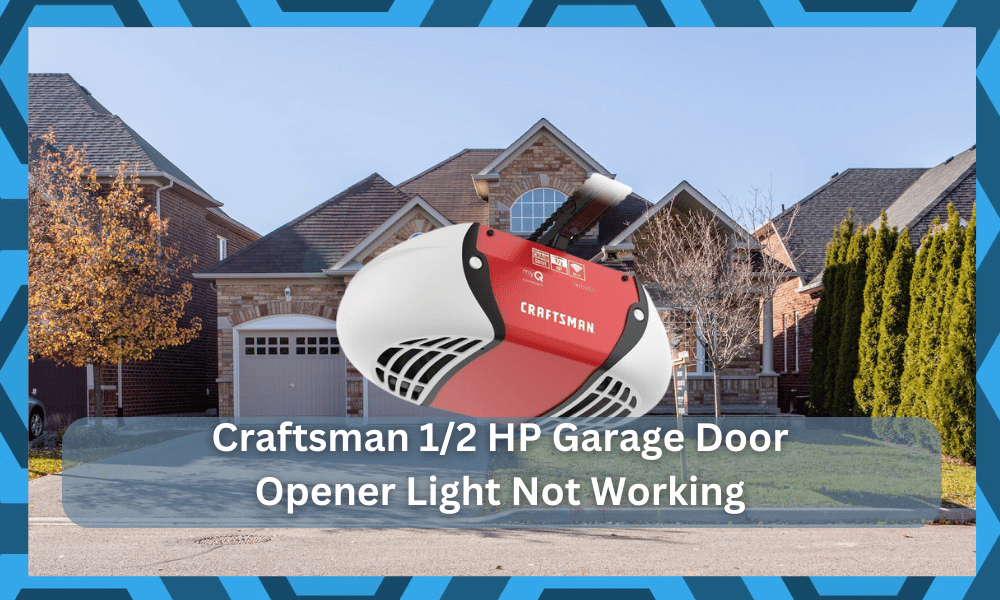
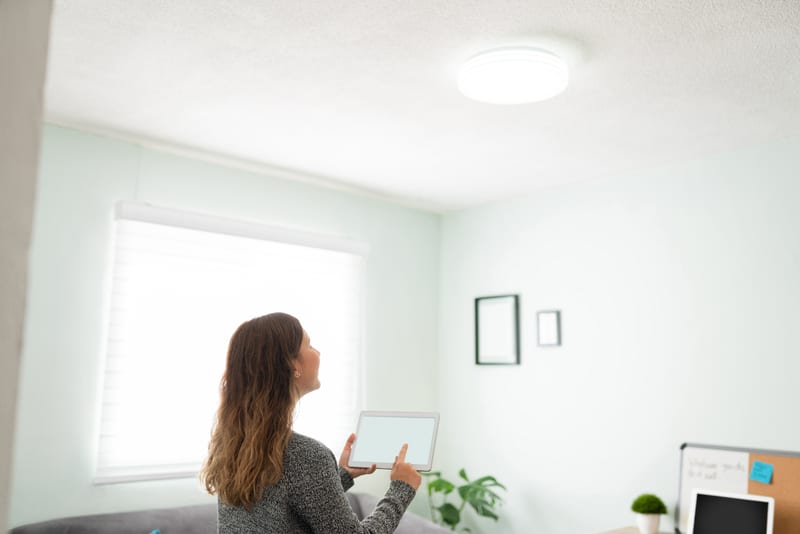
While units like Craftsman ½ HP Garage Door Opener are pretty exceptional in terms of power, you will struggle with a few issues with the light not working.
Most of the time, this issue with the Craftsman ½ HP Garage door opener light not working is not that serious, and the following methods can help you fix the issue.
How to Fix Craftsman 1/2 HP Garage Door Opener Light Not Working?
- Replace The Bulb
Replacing the bulb on your Craftsman ½ HP Garage door opener is one of the most effective methods of fixing the issue.

Most of the time, owners run into this issue because they make use of energy savers and other options that are not compatible with the door opener.
So, if you’re also using an energy saver as the main source of light, try going with a standard light bulb and check the performance again.
This will likely fix the issue with the Garage door opener light not working for your Craftsman ½ HP unit.
You can also ask the dealer to point you in the right direction. He will list some of the options that are not only viable for your budget but will also provide you with a decent performance.
So, be sure to inquire about what brands are readily available in your locality.
- Check the Socket
The connection point in the socket is also a major cause of the light not working. Usually, the connection points are not meeting inside the fixture when you’re running into these issues.
So, you have to first remove the power from the main unit and then check the fixture for possible build-up and corrosion. If there is excessive build-up on the unit and the connection points are covered with rusted sections, it is time to shine them up.
Make sure to also check the connection points on the light bulb and then install the replacement after you’re sure that there are no obstructions between the two sections.
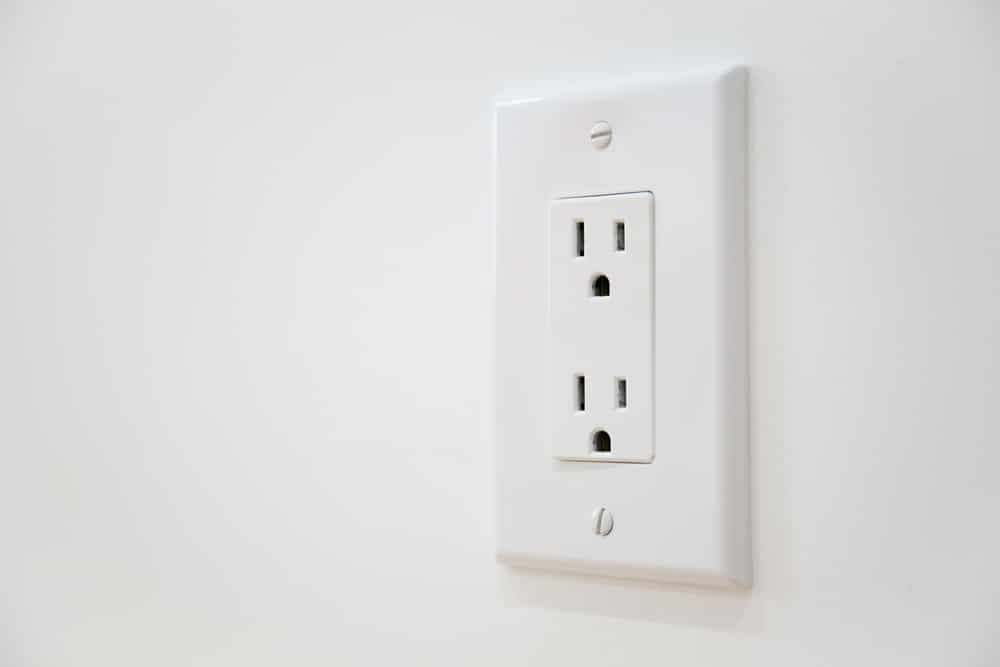
This will help you streamline the power to the bulb, and the Craftsman ½ HP garage door opener light not working problem will be fixed.
Basic maintenance is necessary for every system, and it can’t be stressed enough for the devices that are installed in remote locations with multiple moving parts.
So, you will have to keep this system clean, or it will keep running into more errors down the road.
Even if you’re not aware of the basic maintenance needs of the system, you will have to rely on a video guide or the instructions in the manual.
There is no point in relying on the door opener when you can’t educate yourself on basic maintenance.
You’ll only be wasting your money that way, and the unit will keep running into more errors as you try to engage and disengage the garage door.
So, be sure to set aside some time to learn the basic maintenance requirements of the system.
Hopefully, that will be it as you’re trying to adjust the smart system.
- Trace Wiring
The next thing you need to check is the wiring installed in the system. Even if the connection points are clean and you’re using a compatible bulb in the system, the quality of the wiring can play a role in causing these issues.
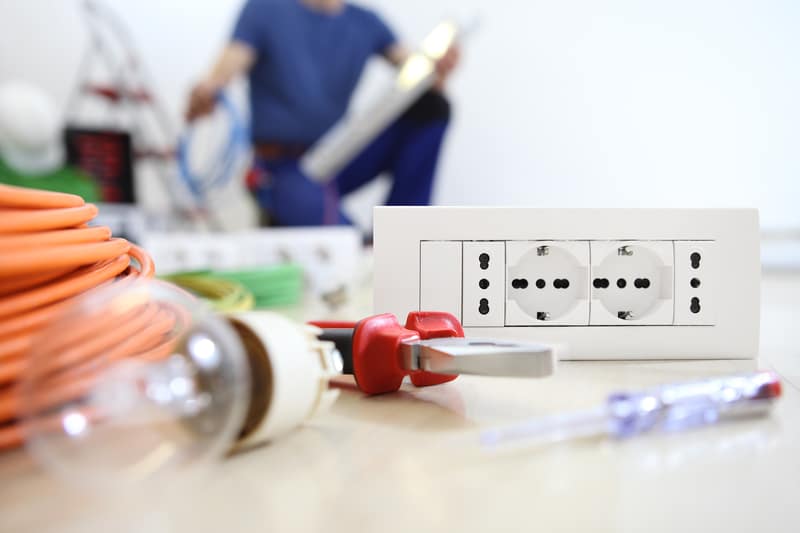
So, you need to inspect all the wiring in the system for frayed sections or bent points. These sections interrupt the flow of power, and it is a good idea to replace damaged wiring when you’re not getting the desired performance.
- Measure Voltage
Measuring the voltage through the socket is also a good idea if you have access to a multimeter. However, you need to be very careful during this step, and if you have no prior experience, it is better to hire an expert.
Measuring the voltage will help you isolate the issue with the wiring or the main board on the system. If there is no voltage through the fixture, then you’ll be sure that the bulb is fine, and you have to inspect the power source.
We suggest that you hire a professional to help you with these errors as it can become a bit complicated to manage the wiring connections.
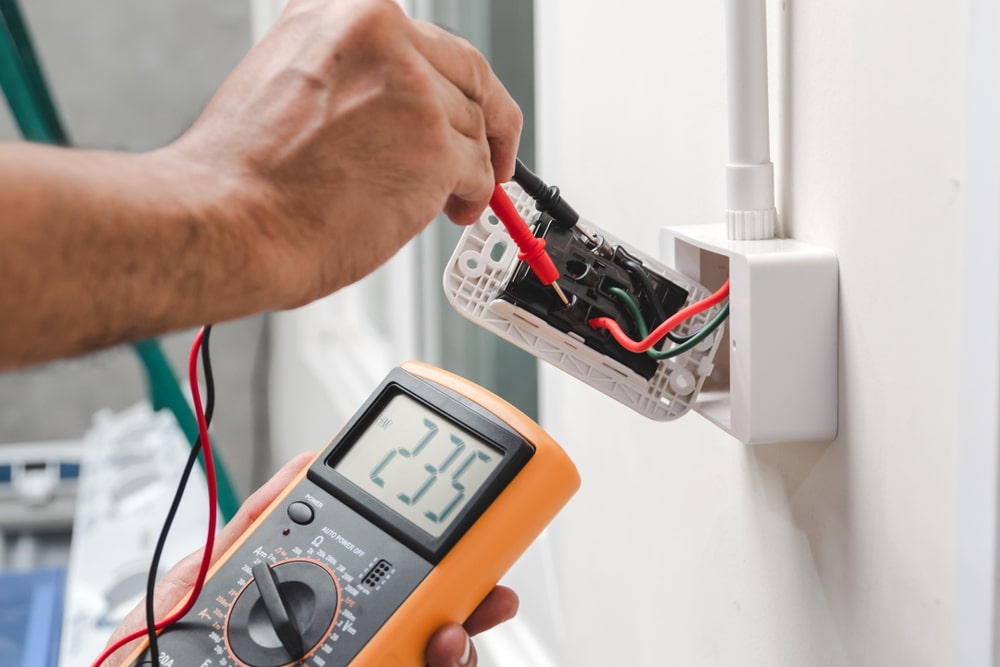
You might even end up electrocuting yourself in the process. So, be sure to hire an expert for this job and avoid doing it yourself.
- Change Board
Sometimes, voltage issues are also caused by a damaged board installed on your unit. So, if you can’t find any frayed wiring and the unit seems to be in good shape, then the possibility of a defective board increases massively.
You need to change this defective board by installing a replacement, and that will get your system working again.
However, this replacement won’t be cheap if you’re not sitting on a valid warranty for the Craftsman garage door opener.
- Use Third-Party Sensors
A more cost-effective solution to situations with garage door sensors not working is using third-party sensors and pairing them up with smart lights.
This will give you more control over the lighting system in your garage, and they will come on when you’re parking your car in the garage.
So, if you don’t want to put any money into replacing the fixture and the board, try to get some smart lights and pair those up with smart motion sensors. That way, you won’t have to worry about the lighting in your garage.
- Ask the Customer Care Team
Lastly, you can always reach out to the official customer care team to get help on this issue. They will be more than happy to guide you on the intricate details of the system.
So, if you have not been able to figure out the issue on your own, be sure to reach out.
There is simply no point in struggling with the system when you can’t seem to figure out the issue on your end. So, all that you need to do is to reach out to these professionals, and they will take it from here.
Just make sure to provide complete details on the issue along with all of the fixes you’ve tried so far. This will help them get a better grasp of the situation as they list more fixes for you to try.
Once the problem has been isolated, the rest is simple. So, be sure to reach out.
You also have the option of engaging the dealer, and he will guide you better on this issue. There is always a possibility that the unit got damaged during delivery.
You’re not liable for any of these damages and will have to get a new one from the dealer.

The upside here is that the warranty will cover these damages, and you’re not to blame here. So, inform the dealer about this situation, and he will be on top of your case.
After a few days of verification, a new unit will be dispatched that you can use for your system.
It all comes down to how you’re planning on addressing the situation. So, be sure to inform the experts when you can’t seem to figure out the issues with the smart system.
Wrapping Up
From replacing the socket to adjusting the virgin cluster, you will have to do a lot of things to get the Craftsman unit in order. So, if you’re struggling with the Craftsman ½ garage door opener light not working, then try out some of these fixes.
Nine times out of ten, you’ll find the wiring to blame here. You can further rely on a multimer to check for continuity across different sections and then recheck the response from this unit.
If you’re not that confident about fixing the wiring yourself, consider hiring a contractor.
These experts have decades of professional experience and will fix the issue within minutes.
So, if you’re not that worried about the hiring fees and need to get through the fix quickly, just contact some local experts, and they will take charge of the situation.
Alternatively, if you find the unit to be damaged out of the box and there are no issues on your end, be sure to call the dealer.
He will help you with a fresh replacement as you’re not liable for any damages during the delivery. Hopefully, you will have the new unit within the same week.