Are you having problems with your TORCHSTAR LED Safe Lighting Kit? Don’t worry, you’re not alone!
Many people experience issues with their LED lighting kits and it’s important to find out what the issue is and how to fix it.
In this article, we’ll discuss some of the most common problems with TORCHSTAR LED Safe Lighting Kit and provide solutions on how to fix them.
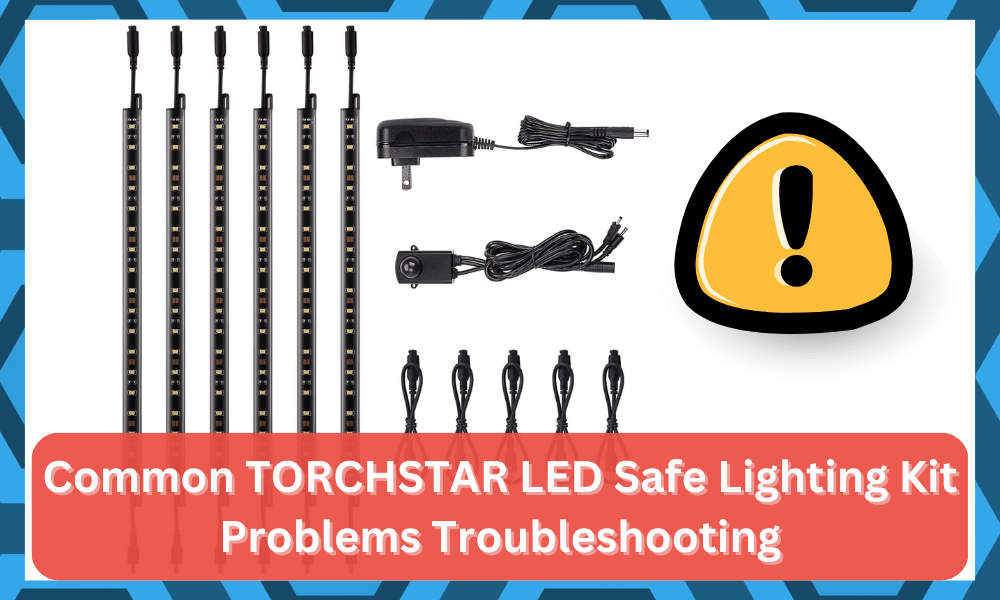
Common TORCHSTAR LED Safe Lighting Kit Problems Troubleshooting
We’ll also go over some general tips to keep your lighting kit running smoothly. Keep reading to find out more!
- Flickering Issue
One of the most common problems with TORCHSTAR LED Safe Lighting Kit is flickering. Flickering can be caused by loose electrical connections, incompatible dimmers, or voltage irregularities.
In some cases, it may also be due to a defective product. If your lighting kit is flickering, first check the electrical connections and make sure everything is secured properly.

If this doesn’t help, try switching out the dimmer switch with a compatible one. If this doesn’t fix the issue, you may need to get an electrician to diagnose and fix any wiring issues.
Finally, if all else fails, contact TORCHSTAR to determine if the problem is caused by a defective product.
They offer a one-year warranty on their lighting kits so if it turns out to be an issue with the product, they should replace it.
- Not Bright Enough
If you’re finding that the TORCHSTAR LED Safe Lighting Kit is not bright enough for your space, there are a few steps you can take to remedy the issue.

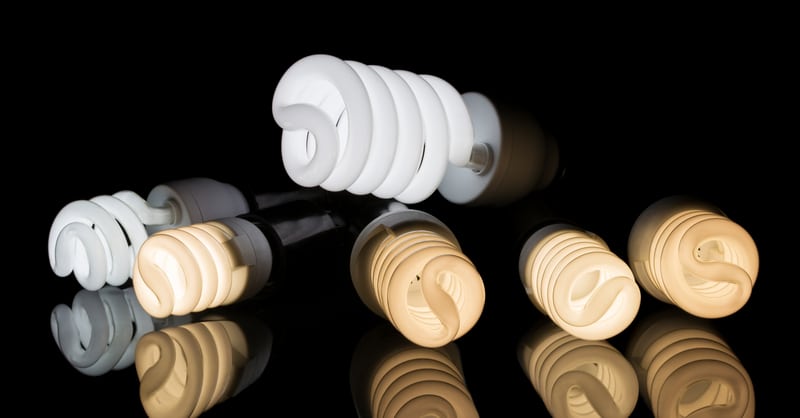
Firstly, make sure you’ve selected the right wattage bulbs for your space. The higher the wattage, the brighter the light will be.
Also, ensure that all of the bulbs are functioning properly and are in good condition. If any of the bulbs are damaged or not working, it can affect the overall brightness of the light.
Next, try increasing the wattage of your bulbs and adding more lights to the room. The more lights you have in your space, the brighter the overall light will be.
Additionally, consider mounting a lamp on the wall or in a corner of the room to bring lighter into the space.
Finally, make sure your fixtures are positioned correctly in the room. The further away from the wall or ceiling they are, the more illumination they will provide.
If you’re still having issues with brightness, contact TORCHSTAR customer service to see if they can provide additional advice or assistance.
- Spots and Shadows
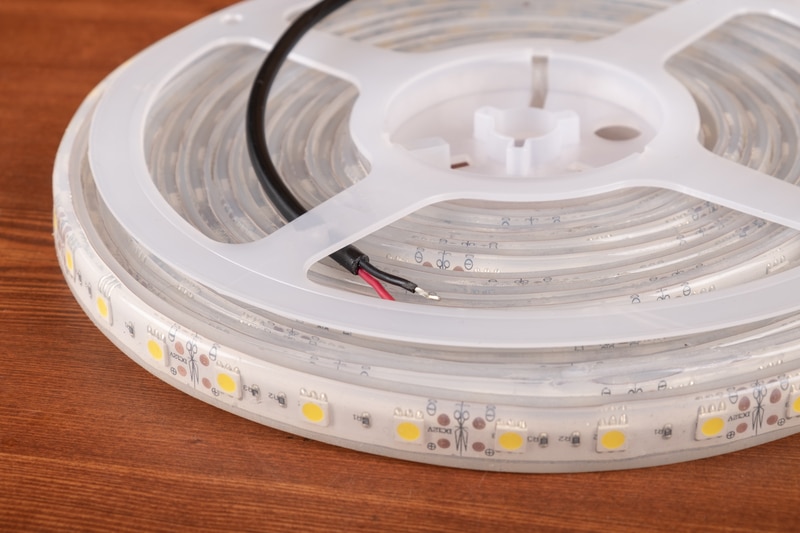
Spots and shadows are a common issue when it comes to LED lighting.
TORCHSTAR LED Safe Lighting Kit is designed to reduce these issues, but they can still occur if the lights are not properly set up. The key to avoiding this issue is proper installation of the LED lights.
When installing LED lights, make sure that the light fixtures are level and evenly spaced. This will help to minimize any potential spots or shadows on the ceiling and walls.

If the lights are too close together, they may cause shadows or hotspots on the walls and ceiling. In addition, make sure that the LEDs are directed in the right direction to avoid glare and hot spots.
If you notice spots or shadows on the ceiling or walls after installation, adjust the angles of the LED lights until the spots and shadows disappear.
If this does not work, consider changing the location of the LED lights or installing additional LED lights to create more uniform lighting.
By following these tips, you can ensure that your TORCHSTAR LED Safe Lighting Kit produces even lighting with no spots or shadows.
- Poor CRI
The Color Rendering Index (CRI) measures how accurately colors appear when illuminated by a light source.
Poor CRI can be an issue with LED lights, including the TORCHSTAR LED Safe Lighting Kit. Poor CRI can make colors appear washed out, muted, or inaccurate compared to their true color.
To help improve CRI for the TORCHSTAR LED Safe Lighting Kit, it is important to look for bulbs that have a high CRI rating.
Bulbs with a CRI of 90 or higher are considered very good quality and will be more accurate in rendering colors than bulbs with a lower CRI.
Additionally, make sure to keep the bulbs clean and dust-free as dirt can accumulate on them and affect their color accuracy.
- Adhesive Not Sticking To The Wall
One of the common problems encountered with the TORCHSTAR LED Safe Lighting Kit is that the adhesive may not stick to the wall.
This can be a frustrating issue, as it will prevent you from properly installing the lights. Fortunately, there are some solutions that can help you fix this problem.
The first thing to do is to make sure the wall surface is clean and free of dust and debris. If it isn’t, then you should use a damp cloth to wipe away any dirt before applying the adhesive.
It’s also important to ensure that the wall is completely dry before you apply the adhesive. If it is still wet, then the adhesive won’t be able to properly bond with the wall.
Another possible solution is to make sure the adhesive is at room temperature when applying it. If it’s too cold, then it won’t be able to stick properly.
Likewise, if it’s too warm, then it can actually weaken the bond between the adhesive and the wall.
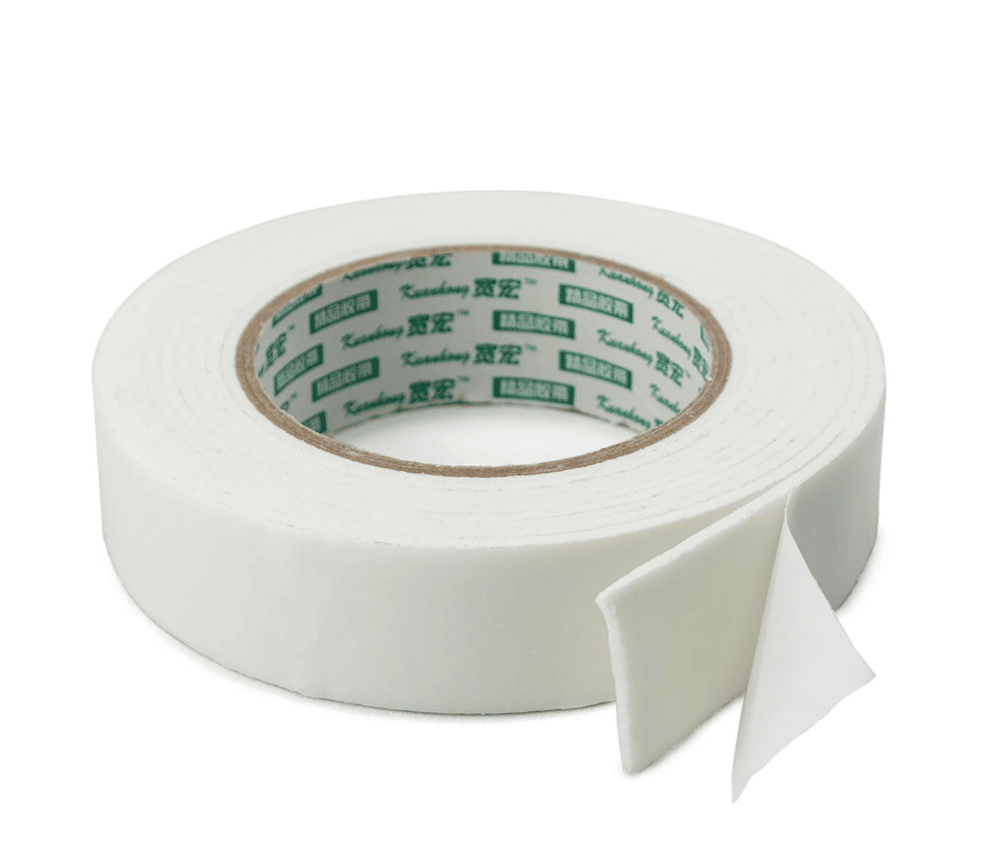
If these steps don’t work, then you should try using an alternative adhesive such as double-sided tape or industrial strength glue.
These types of adhesives are designed for more difficult surfaces and will provide a stronger bond than regular adhesive.
Finally, make sure you press firmly on the light when attaching it to the wall so that it sticks securely in place.
This will ensure that your TORCHSTAR LED Safe Lighting Kit will stay in place and provide optimal lighting.
- Motion Detector Not Working Well

If you’re having trouble with the motion detector on your TORCHSTAR LED Safe Lighting Kit, don’t worry — there are a few steps you can take to solve this issue.
The first thing you should do is make sure the motion detector has been set up properly according to the instructions provided in the kit.
The sensor should be installed in a place where it can detect movement, such as near a doorway or window.
Also, be sure to adjust the sensitivity settings so that the light will only turn on when it detects significant movement.

If the motion detector still isn’t working correctly, you may need to check the battery. Make sure it is firmly in place and hasn’t gone dead.
If the battery appears to be ok, then it could be an issue with the wiring. Check the wiring for any loose connections or frayed wires, and if necessary, replace the wires with new ones.
Finally, check the bulb to make sure that it’s working properly. If the bulb is not lit when it should be, then it could be a sign that the motion detector is not detecting motion properly.
- Randomly Shutting Off
One of the most common problems people encounter with their TORCHSTAR LED Safe Lighting Kit is that it randomly shuts off.

This can be quite frustrating, especially when you are in the middle of a task. Fortunately, there are some simple steps you can take to troubleshoot the issue and prevent it from happening in the future.
First, check that the switch is in the correct position. If the switch is not completely turned on, the light won’t turn on or stay on.
Second, make sure that the wiring is properly connected. The wiring should be connected securely to the wall outlet and to the lighting fixture. If you find any loose connections, tighten them up.
If you have checked these two things and the problem persists, then it could be an issue with the LED driver itself. You should replace the LED driver with a new one.

If this doesn’t solve the issue, then it is likely a faulty bulb or a defective connection somewhere in the system.
In this case, you will need to call a professional electrician to come and inspect your system and make any necessary repairs.
By following these instructions and taking proper care of your lighting kit, you should be able to avoid random shut offs in the future.
8. Dimmer Switch Not Working
If your TORCHSTAR LED Safe Lighting Kit is not responding to your dimmer switch, there could be a few possible causes.
First, make sure that the dimmer switch is compatible with your TORCHSTAR LED Safe Lighting Kit.
Many LED bulbs require special dimmer switches, so check that the switch you’re using is appropriate for your bulbs. If it isn’t, replace it with a compatible switch.
Second, check to make sure the wiring between the light and the dimmer switch is correct. If you notice any loose wires or other damage, contact an electrician to make repairs.
Third, verify that the dimmer switch is correctly installed. Make sure the dimmer switch is connected to its power supply, as well as to the light fixture.
If it isn’t, re-connect the switch according to the instructions provided in the kit. Finally, try adjusting the sensitivity of the dimmer switch.
This may require a bit of trial and error, but if you find the right settings, you should be able to get your TORCHSTAR LED Safe Lighting Kit working properly with your dimmer switch.