LED strip lights have become a quick and easy way of uplifting the home. Multiple companies are offering these lights, but nothing matches the quality offered by phopollo.
Phopollo’s LED lights have been designed with twenty different static colors as well as eight dynamic modes, so you can change the light colors and set the mood.
There are different lengths available, so you can purchase the lights according to the area you need to cover.
In addition, there is an adhesive side that promises easy and efficient installation of the lights.
Common Phopollo LED Lights Problems Troubleshooting
Unlike other LED lights available in the market, phopollo LED lights can be cut into the desired length without any performance issues.
In case you want to purchase these lights, don’t forget to read about common phopollo LED lights problems troubleshooting because we are sharing a quick troubleshooting guide!
- Bulbs Are Overheating
Phopollo LED lights are designed with individual bulbs, and if these bulbs start to overheat, it can lead to premature failure of the bulbs as well as the entire strip.
Keep in mind that the LED lights must be kept cool because exposure to heat can result in failure. This is because even the lights with heat sinks cannot handle the heat.

For this reason, you’ve to consider the position of the LED lights to make sure there is sufficient air circulation around the lights – it will optimize ventilation and prevent overheating.
In addition, make sure the end of the LED light isn’t covered because you’ve to leave the space for heat to escape.
In simpler words, the only solution for overheated lights is to change the installation location.
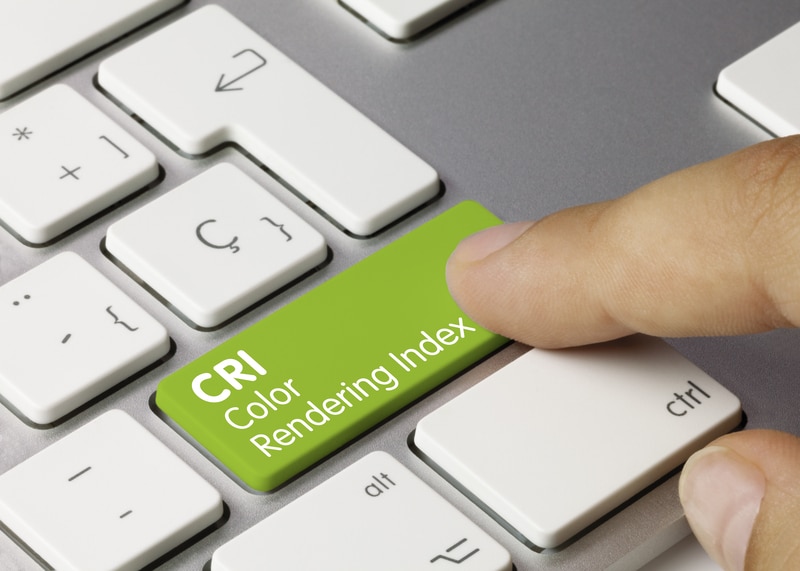
- Incorrect Color Rendering
LED lights are designed to produce sunlight-like light, which results in bright and accurate colors. Phopollo LED lights have been designed with 100% CRI (color rendering index).
However, if the lights are illuminating different colors, you have to check the power connection.
First of all, you should check the light’s wire and make sure it’s plugged in correctly.
On the contrary, if the light is already plugged in properly, inspect for damaged wires because damaged or weak wires can lead to color rendering errors.
If there is nothing wrong with the wiring or power connection, it indicates that the internal chip of the LED light is broken and should be replaced.
You have to hire an electrician to get the chips checked – every LED bulb has a separate chip, which can be challenging to check.
For this reason, the quickest solution is to replace the entire LED light strip.
- Flickering Light
If you have turned on the LED lights, but they keep flickering, you should consider the wattage as well as the capacitors.
First of all, you should check the main power board of the home to check how much wattage you are getting – 220V is essential for the LED lights to operate properly.
However, if the wattage is any less, the LED lights won’t be powered properly, hence the flickering issue. To fix this issue, you should contact your power service provider.
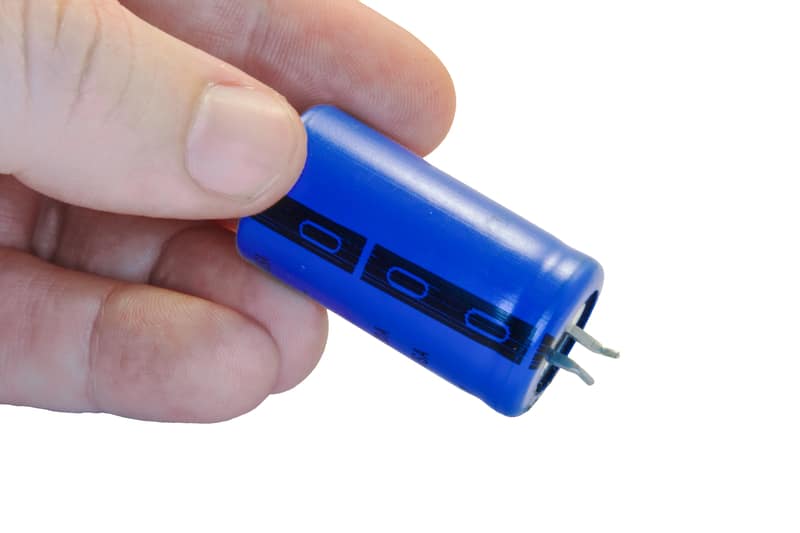
On the other hand, if the wattage is sufficient, it’s recommended that you check the capacitors – they help supply consistent power signals to the lights.
For this reason, if the capacitor is damaged, the LED lights will start flickering. So, hire an electrician to get the capacitor checked and replaced in case of any damage.
Last but not least, you shouldn’t plug the LED lights into a power socket where other electronic appliances are connected because it can consume maximum wattage.
- Humming Noise

The LED lights are meant to have a noise-free operation, which is why humming or buzzing noises should be taken seriously. These noises are caused by an overloaded circuit.
For instance, if the LED bulb is getting higher voltage than necessary, humming or nuzzling noises will be produced.
That’s because when voltage increases, the electric components start vibrating, hence the issue.
For this reason, you should check the voltage of the power socket as well as the voltage that your LED lights accept.
If there is a significant discrepancy in the voltage, you’ve caught your culprit.
It can be challenging to resolve the voltage issue on your own, especially if you don’t have technical or electrical experience. So, it’s better to hire an electrician or contact the electricity provider!
- Excessively Bright Light
If you have turned on the LED lights, but they are too bright, irrespective of the dim light settings, it’s a wattage-related issue.
The lights become too bright when they are supplied with more wattage than required.
We recommend that you check the required wattage of the LED lights as well as the wattage of the power socket you are using.

If the wattage in the socket is higher than the required level, you have to change the power socket immediately to fix the wattage issue.
On the other hand, if there is nothing wrong with the wattage, you have to check the dimmer because it might be malfunctioning.
A dimmer is used to increase or decrease the intensity of the LED lights. So, if the lights are too bright, you should reduce the light’s intensity with a dimmer.
If the dimmer is already in the low position, you must get the dimmer replaced as it might be malfunctioning, hence the issue.
- Light Is Too Dim
There are over 20 different colors available in phopollo LED lights, and it allows the users to set the intensity of the light.
However, if the light is too dim, even after increasing the brightness from the dimmer, it’s likely that the LED light’s lifespan is ending.
Unfortunately, there is nothing that you can do to save the lights.
- Not Working
In case the phopollo LED lights have stopped working, and they aren’t illuminating the light anymore, there is something wrong with the power connection.
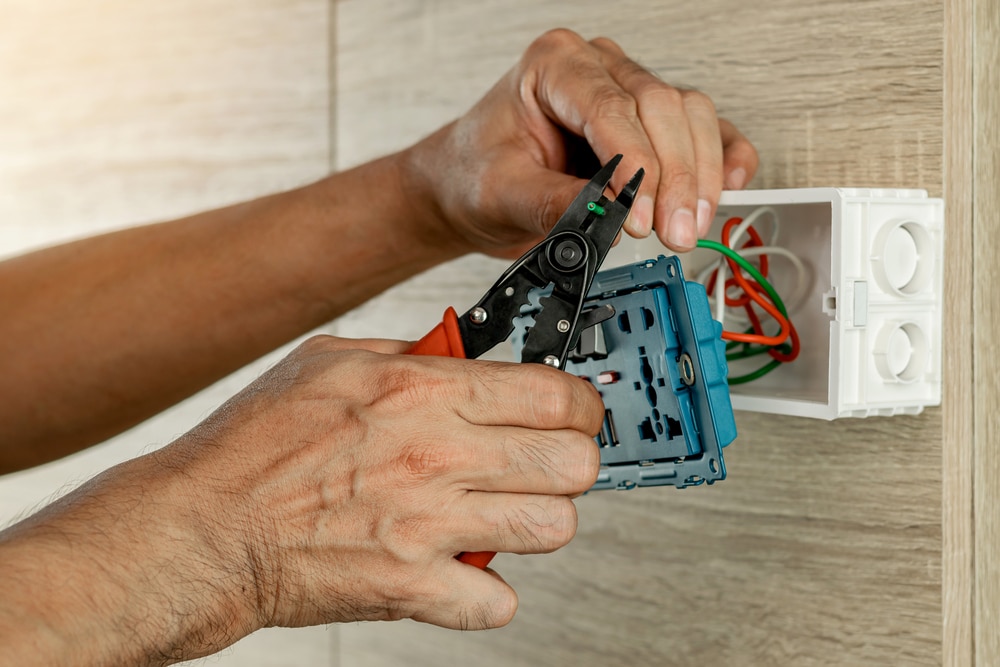
Power Cord
First of all, you must check the power cord that you are using to turn on or power the LED lights. The power cord should be firmly plugged into the power socket.
Secondly, make sure the power cord isn’t bent – it can interrupt the flow of power signals and prevent the lights from turning on.
Thirdly, check for possible physical damages. If there are cuts or other damages to the power cord, it should be replaced to make sure the power signals are streamlined.
Power Socket
A power socket is responsible for supplying power to the LED lights. So, if the power socket is damaged, the lights won’t turn on.
It’s recommended that you plug the LED lights into a different socket (the one that you are sure works). In addition, make sure that you turn on the power button with the socket.
Internal Damages
If the power cord and socket are working properly, but the LED lights are still not working, it’s likely that there are some internal damages.
The internal damages can be challenging to fix, and you will have to consult an electrician to make sure the problem is caught and fixed.
In most cases, the internal damages are challenging to inspect, which is why we recommend replacing the lights.
- The LED Lights Flash On & Off

If the LED lights are turning on, but they flash on and off, it means that the fixture drivers are damaged. In some cases, it also happens when the voltage supply is higher than the needed voltage.
The first step should be to check the voltage – if the voltage is high, it should be optimized to make sure the voltage supply is optimal. If needed, you can also call an electrician.
On the other hand, if the voltage supply is already optimal, you should get the fixture drivers checked. The faulty drivers must be replaced after you check the continuity.
- LED Lights Aren’t Dimming
The LED lights can be controlled with the help of a dimmer – a dimmer allows the users to increase or decrease the intensity or brightness of the lights.
However, if the lights are not dimming when you turn the dimmer, it means that the dimmer is damaged. In most cases, it happens when the dimmer is incompatible.
We recommend that you check the manual of phopollo LED lights and purchase a compatible dimmer.
On the other hand, if you are already using a compatible dimmer, it could be damaged and should be fixed.
Last but not least, we recommend that you call the electrician to get the fixture inspected for compatibility issues – the fixture should hold and connect the lights properly.
- LED Lights Turn Off After A Few Seconds
If the LED lights start turning off after turning on for a few seconds only, it’s likely that the bulbs are heating up.
We recommend that you turn off the LED lights for a few minutes to normalize the temperature.
In addition to optimizing the temperature of LED lights, you’ve to ensure that the LED lights are spaced properly.
The Bottom Line
This article shared the most common issues of phopollo LED lights as well as the recommended solutions. If you get other issues, it’s best to consult an electrician!