While there are many off-brand and cheap security cameras on the market, it is always better to stick with a reliable unit if you value your home security.
Otherwise, you will just be compromising the security of your house without getting any value on the money spent.
It is true that you’ll have to pay a few more dollars, but at least the smart cam won’t run into performance issues when you need it to work.
So, make sure to refer to the reputed brands only if you’re trying to maximize home security.
These brands include Wyze and Amazon cloud cam. You can stick with all of these options to find the right fit for your home.
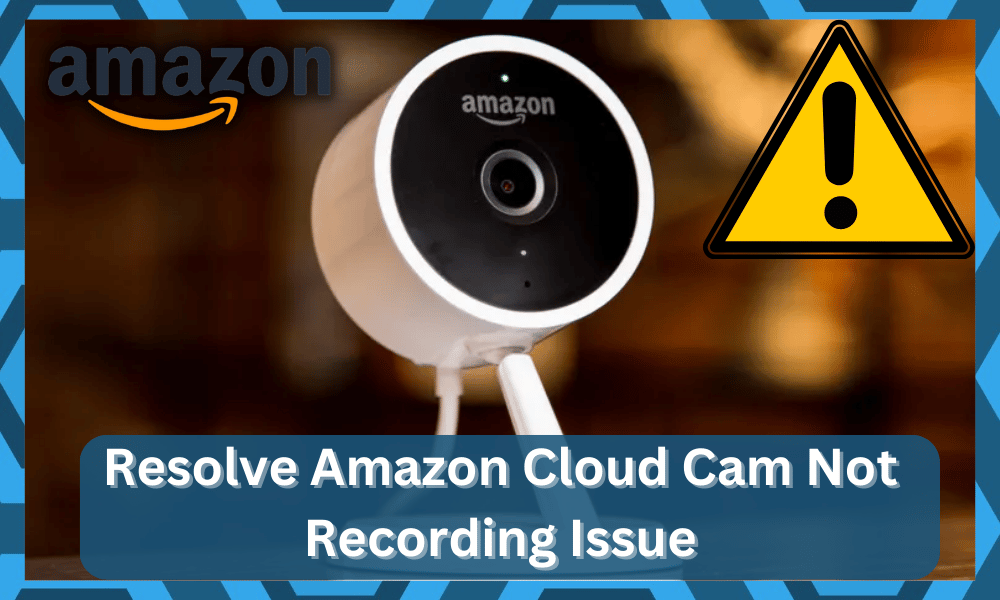
How To Fix Amazon Cloud Cam Not Recording?
However, even with the best devices, you will still need to make sure that the configurations are managed properly.
With that said, an issue that many users have pointed out with the Amazon Cloud Cam is that it won’t record.
If you’re also struggling with a similar problem and the Amazon Cloud Cam is not recording, then the following solutions should help.
- Check Motion Sensitivity
The primary reason why you might be running into these issues with the Amazon Cloud Cam recording can be traced back to inaccurate configurations.

There is a good chance that you’ve set the motion sensitivity settings too low, and the clips won’t record when there is minimal motion in the system.
So, you’ll have to isolate the problem by going through the motion sensitivity settings in your mobile application.
If the settings are low, then you can fix this recording issue by slightly increasing the motion sensitivity.
However, keep in mind that if you go over the optimal range, it can create some issues with false alerts.
So, experiment with slightly increasing the motion sensitivity each time, and that should be enough to get through the recording issue.
It will take a few attempts, but you’ll surely get ahead of the recording problems. Other than that, make sure to also check the camera for possible physical damage.
If the unit is in rough condition, then there is a possibility that the internal circuits have gone bad. So, you’ll have to call customer support to isolate this problem further.
- Try Power Cycling The Unit
Next, the issue might just be with the programming side of things, and you need to check up on the hardware of the camera one more time before moving on to power cycling the unit.
If the hardware is in good shape and you didn’t find any damaged sections, just proceed with the power cycle.

All that you have to do is to remove power from the unit and then power it up one more time.
That will be more than enough to address the majority of the programming errors, and you will not have to worry about the same errors.
It will not take you much effort to get through with these pointers. Just be sure to remove all of the power connections, either the wiring or the battery, to keep the camera dead for about 30 seconds.
That will be enough, and you can resupply the power one more time. Ideally, all errors will be addressed right here, and you will not have to deal with the same errors again.
Hopefully, all issues with the unit will be fixed in no time, and you can go about adjusting the unit accordingly.
However, if you’re not that lucky and the issue still persists, then you will have to proceed with a quick reset.
There are no other options here, and you will have to spend time resetting the unit. Otherwise, these issues will persist, and you will not be able to fix these complications on your own.
- Adjust Angle
Adjusting the angle of the camera is equally as important. Issues with the installation are just too common, where the positioning of the camera is not optimal.
So, you will have to deal with a ton of these issues if you’ve installed the unit yourself.
All that you need to do here, for the most part, is to make sure that the target region is well within the camera’s vision.
From there, you need to remove all of the reflective surfaces that might put a glare on the lens.
That might seem like a complicated task, but you can check up on the feed in real-time to adjust the view.
It will not take you much time as it comes to address these complications, and fixing the unit will come easily to you.
If you’re having issues with the mount, using a wedge kit might not be that bad of a solution.

It all comes down to how you’re planning on addressing the issues, and these pointers can prove to be pretty decent from time to time.
However, if you are just trying to save time, we suggest that you hire an expert to help with the installation.
He will save you a lot of time, and you will not have to go through all of these errors on your own. So, be sure to reach out to an expert, and he will make sure that you are sorted.
From there, you can check up on the recording features through the control application on your mobile device.
- Reset Application

There have also been a few reports where users were able to get ahead of their problems by resetting their applications.
So, you should follow a similar rote if the motion sensitivity on your unit is perfect. You don’t have to worry about losing any data, as that will be stored in your account.
Logging into the account will sync all settings with your application, and you won’t have to start from scratch.
With that said, you need to open up the phone settings and navigate to the application settings to clear all data from the smart app.
This would wipe all the cached files and likely fix all recording issues with the camera.
So, after wiping the data from your phone, you can start the application again to sign in to your account.
Once you’ve logged into the account, you can test the recording features of the camera, and they will work without any further issues.
As long as you’re dealing with a minor bug and there are no hardware issues with the unit, going through this troubleshooting method is enough to fix the Amazon Cloud Cam recording issue.
- Relink Unit
If the issue remains fixed, then the last thing you can do is remove the device from your phone application and then link it again.
It won’t take more than a few minutes to perform this troubleshooting step, and the system will start working perfectly.
So, you will have to open up the mobile application and access device settings.
From there, you can remove the camera from your device and then log out of the application. Clear the application from the background and then open up the application again.
Now, you can sign in to your account and then try to link the camera with the mobile application.
After going through the setup process, it should start working, and you won’t have to deal with recording problems again.

All in all, these are a few methods that you can use to fix your Amazon camera if it doesn’t record.
Ideally, setting up the motion settings should be enough to get through the issue, but you can always reach out to customer support to help with the troubleshooting process.
That way, you won’t have to spend much time fixing the troubleshooting the camera. So, it all comes down to how you’re planning on addressing the situation.
Hopefully, it will not be that much of a hassle for you.
Wrapping Up

Can’t seem to record anything with the Amazon cloud camera? The fixes listed here will be more than enough to help you get through these errors.
Figuring out the right fix can be hard at times, but the basic methods listed here will have you back on track in no time.
It all comes down to how you’re planning on addressing the situation. Most of the time, a quick power cycle and adjustment to the configurations will do the job.
You will not have to deal with more errors on your end, and the system will work perfectly.
Hopefully, all errors will be addressed right here, and you will not have to bother with more errors. However, there is a chance that you will have to reset the system.

Minor programming bugs can make the situation pretty frustrating, and resetting the unit is the only real option for some owners.
So, if you’ve not been able to get the right response even after following through the methods listed first, then resetting the unit might do the trick.
You also have the option of securing help from the dealer, and he will point you in the right direction.