Daybetter LED lights are a popular choice for first-time savvy lighting customers. The existing cutting points let users regulate the light’s size, making it a cinch to operate. These lights aren’t the cheapest, but you’ll still get a lot of bang for your buck, considering their quality and usefulness. For those skeptical about high-end brands like Philips, Daybetter is a viable alternative that, if installed correctly, will not disappoint you.
Installing Daybetter LED lights might cause performance issues, and many new users report that the lights don’t work. You may attempt the following troubleshooting techniques to get the Daybetter LED lights working again.
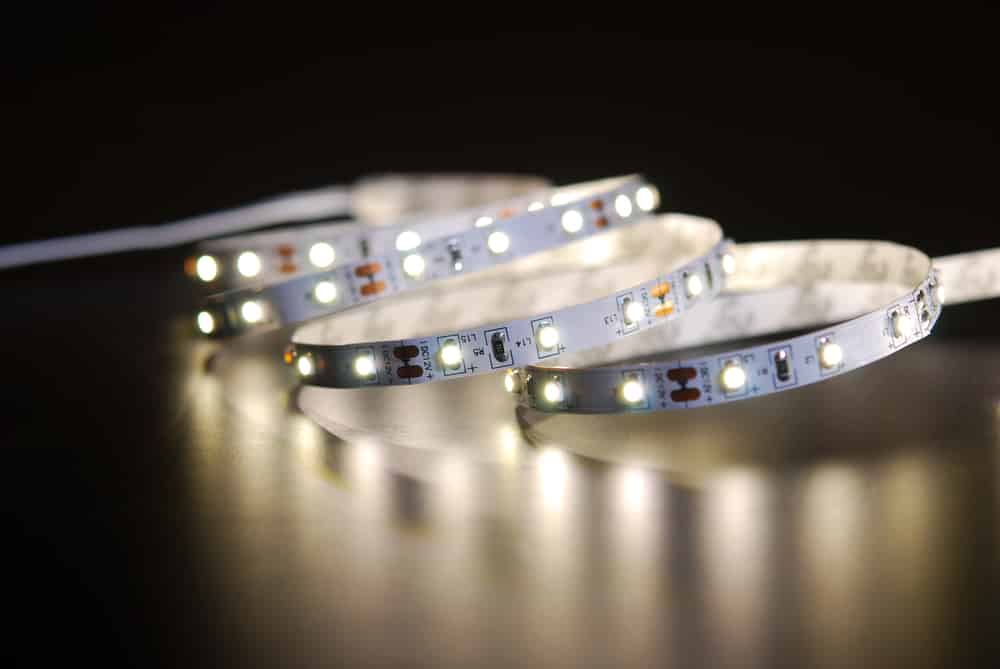
Fixing Daybetter Led Lights DIY Not Working
- Check Power
First, check the power supply and voltage from the source to see whether the Daybetter LED lights are working correctly. Most likely, the power supply is incompatible, and you’ll have to locate another power source for your lighting system. Connect a multimeter to the setup and look at the readout on the device to check the voltage. In this case, you may be sure that your LED lights are in good functioning condition and that the issue is with the power source since the reading from the measurement equipment does not meet your LED lights’ requirements.
- Fix Connection
Another probable reason for Daybetter LED light failure is loose connections. If you’re sure that the power source you’re using will work with the LED lights, double-check your setup for any loose connections. There is a risk that faulty LED light installation might impede the flow of electricity. You need to tighten the adapter connection to fix this issue with the Daybetter LED, which is a blessing since changing anything would be a hassle. By inspecting the relationships between the LEDs, determine whether the LED lights operate for you.
- Protective
Additionally, the condition of the pins on your Daybetter LED lights may be a significant factor. The pins will then be examined to ensure they are not cracked at the following stage. You won’t need a multimeter for this examination, and just looking at the physical form of the pins will give you an indication. If the pins get twisted out of shape for whatever reason, the sole choice is to use another strip. Even if you can use soldering equipment to repair the pins, it is advisable to save your time and choose an alternative region.
- Check Out the Cutting Parts
The strips of Daybetter LED lights are only meant to be cut at specific points along the length of the light. Because the strips can’t be arranged as desired, any damaged region when trying to cut particular shapes will stop the strips from working. As a result, if you see splices in your LED strips, your Daybetter Lights aren’t working.
- Repair the Controller
To find any issues with the device’s power supply, look at whether or not the LED lights come on when you plug it in. The controller’s batteries may be dead if you’ve had it for a while. As a consequence, your controller’s batteries will need to be replaced. The Daybetter lights will begin responding to commands after fresh batteries are installed in the controller, giving you complete control over the lighting system installed in your house.
- Change the Adapter
Some customers have mentioned an unreliable power supply as a possible source of the issue. If the LED strips are in good working order and the power supply is not malfunctioning, you may be in a similar situation. The only thing you can do at this point is to ask the dealer for a new adapter. To avoid compatibility issues, it’s advisable to visit the dealer rather than try to track out the suitable adapter on your own. So, get in touch with the vendor and let him know what’s happening.
- Restart the Daybetter Leds
Resetting the LED lights is also possible if you’re confident there are no hardware problems with the gadget. Just reset your Daybetter LED lights to factory default and try rerunning them if you’ve already tried all of the alternatives mentioned below. You’ll see lights turning on if the unit’s programming is off. The Daybetter LED lights may have a defective batch if the issue remains after returning them to factory default settings. You’ll first need to get in touch with the dealership to fix this issue.
- Claim Your Warranty
There is no other alternative than to make a warranty claim if the strips or adapters were defective at the time of purchase. After talking with the dealer about the occurrence, a warranty claim should be made. You may be able to receive a replacement free of charge if your warranty is still active.
Most of the time, problems with Daybetter LED lights are caused by issues with power, which can be easily fixed by switching to a different power source and tightening any loose connections. However, if the lights are still not responding, they are most likely broken.