NEST Thermostat runs on a battery to make sure that the power is not interrupted in case you have electric outages or anything like that.
So, you need to ensure that the NEST thermostat is always connected to the power. But you also must understand how it works.
The NEST Thermostat is designed to charge the battery using the electrical power from your main grid. The battery is then used to run the thermostat at all times, and that ensures a steady power supply to the thermostat.
Not only that, but this also ensures the right voltage to power up the thermostat instead of that alternating current that is running in the circuit.
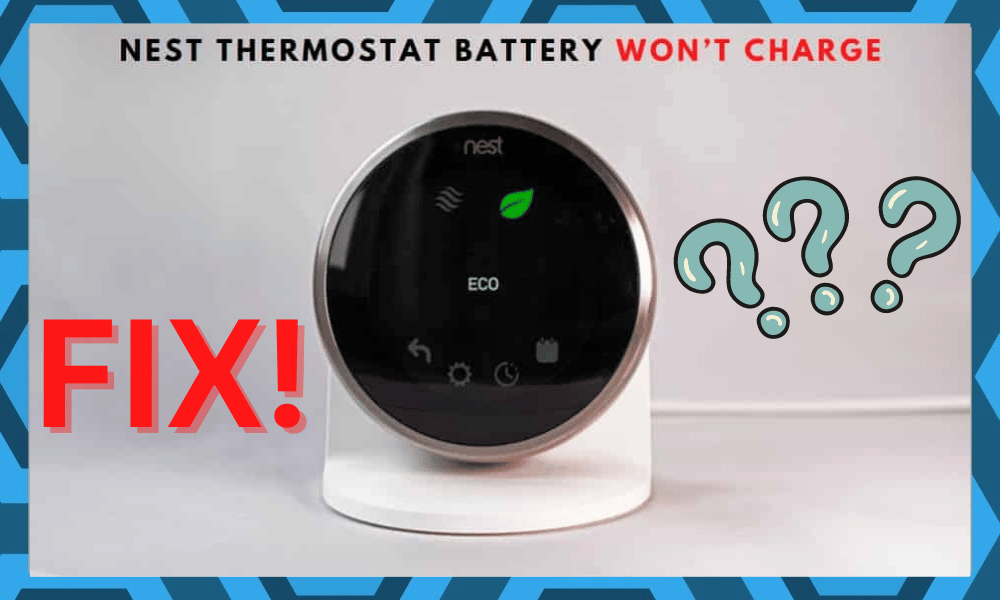
NEST Thermostat Battery Won’t Charge
This works out perfectly most of the time, but you might have to face some issues with that, like the battery won’t charge.
There are different sorts of issues that you might have been facing, and there are two most common them.
These can cause you to have a problem with your Thermostat battery not charging, and here is what you need to know about them and how you can fix them.
- Software Issues
The most common reason that can cause your NEST Thermostat to not charge is software issues.
But the sigh of relief is that you can fix them easily enough, and that would make it a simple job to solve the problem at your home without needing any technical skills. A few things that you need to start with are:
- Reboot the Thermostat
The first and foremost troubleshooting step that you will need to try in order to have this problem fixed is to restart the thermostat. Turn off your thermostat, let it sit for a moment or two, and then start it again.

Once you have restarted the thermostat properly, it will be fixing up any issues that you might be having with your thermostat charging, and that way, you can get the thermostat to charge again and use it without having any sort of issues.
- Check The Wiring Connections
Sometimes, all that you have to do is to check up on the wiring connections to limit and address these issues.
You will be able to get a reasonable response out of the system when the wiring connections are working properly.
However, if you’re in doubt about your ability to install the thermostat, then fixing the unit can be pretty challenging.
You will have to figure out the situation with the wiring connections by inspecting the contact points for build-up. If you do find there to be gunk on the contact points, then clean it up.

Just be sure to remove all power from the unit before messing with the power connections. There is no deficiency of owners that electrocuted themselves while trying to set up the system.
So, if you want to avoid becoming a part of that statistic, we suggest that you check up on the wiring connections.
You will not have to deal with more errors down the road if you keep the wiring connections in good shape. So, take a peek at the C wire, and then replace it or adjust its placement. Hopefully, that will be enough to have you sorted out.
It all comes down to the power supply going into the system. If the thermostat is not charging properly, then one of the biggest reasons is that the wiring is all messed up. Hopefully, this will give you more perspective on the situation as you go about fixing the unit.
- Time To Get A New Battery

Sometimes, all that you have to do is to get a new battery for the thermostat. If you’ve been using the thermostat for a few good years, then there is a chance that the battery is completely drained out. You will not be able to get any performance out of the system until the battery is replaced.
The good thing here is that the new battery will not be that expensive, and you will be able to get the new battery within a few days. So, don’t hesitate to reach out to the dealer, and he will be more than happy to enable you with a fresh piece.
All that you have to do is to purchase compatible batteries and then go about installing them on the thermostat.
That will be more than enough to have you sorted out here, and you will not have to worry about more errors down the road.
Keep in mind that even when the power going into the system is optimal, you will not be able to charge up the system when the battery is not managed properly. So, be sure to keep all that in mind as you contact the dealer to help you with a new battery.
- Clean Contact Points

This issue is more related to the installation of the battery. If you’re sure that the wiring is managed properly and there are no extensive issues with the battery itself, then the contact points might be to blame here. So, you will have to figure out the situation accordingly.
You need to make sure that the contact points are clean and in their proper orientation. A bit of adjustment here will go a long way when it comes to getting the battery charged, and you need to ensure that the battery is properly connected to the thermostat.
Hopefully, it will not be that much of a hassle to adjust the batteries, and you will be sorted out in due time.
So, be sure to follow along with the adjustment of the wiring and the contacts, and that might be the end of it. From there, you can move forward to addressing the issues with the programming.
- Reset the Thermostat

If the reboot has not worked for you yet, you will need to move forward with a factory reset on the thermostat. To start that, you just have to click on the reset button for 10-15 seconds.
Or, you can reset the thermostat from the settings in the application, and that will allow you to have the chance to set it up all over again.
Once you have reset the thermostat, you can easily set it up from scratch, and any settings that might be causing you to have the issue with your battery not charging will essentially be fixed, and you will be able to get rid of the problem without facing any sort of issues.
- Hardware Issues
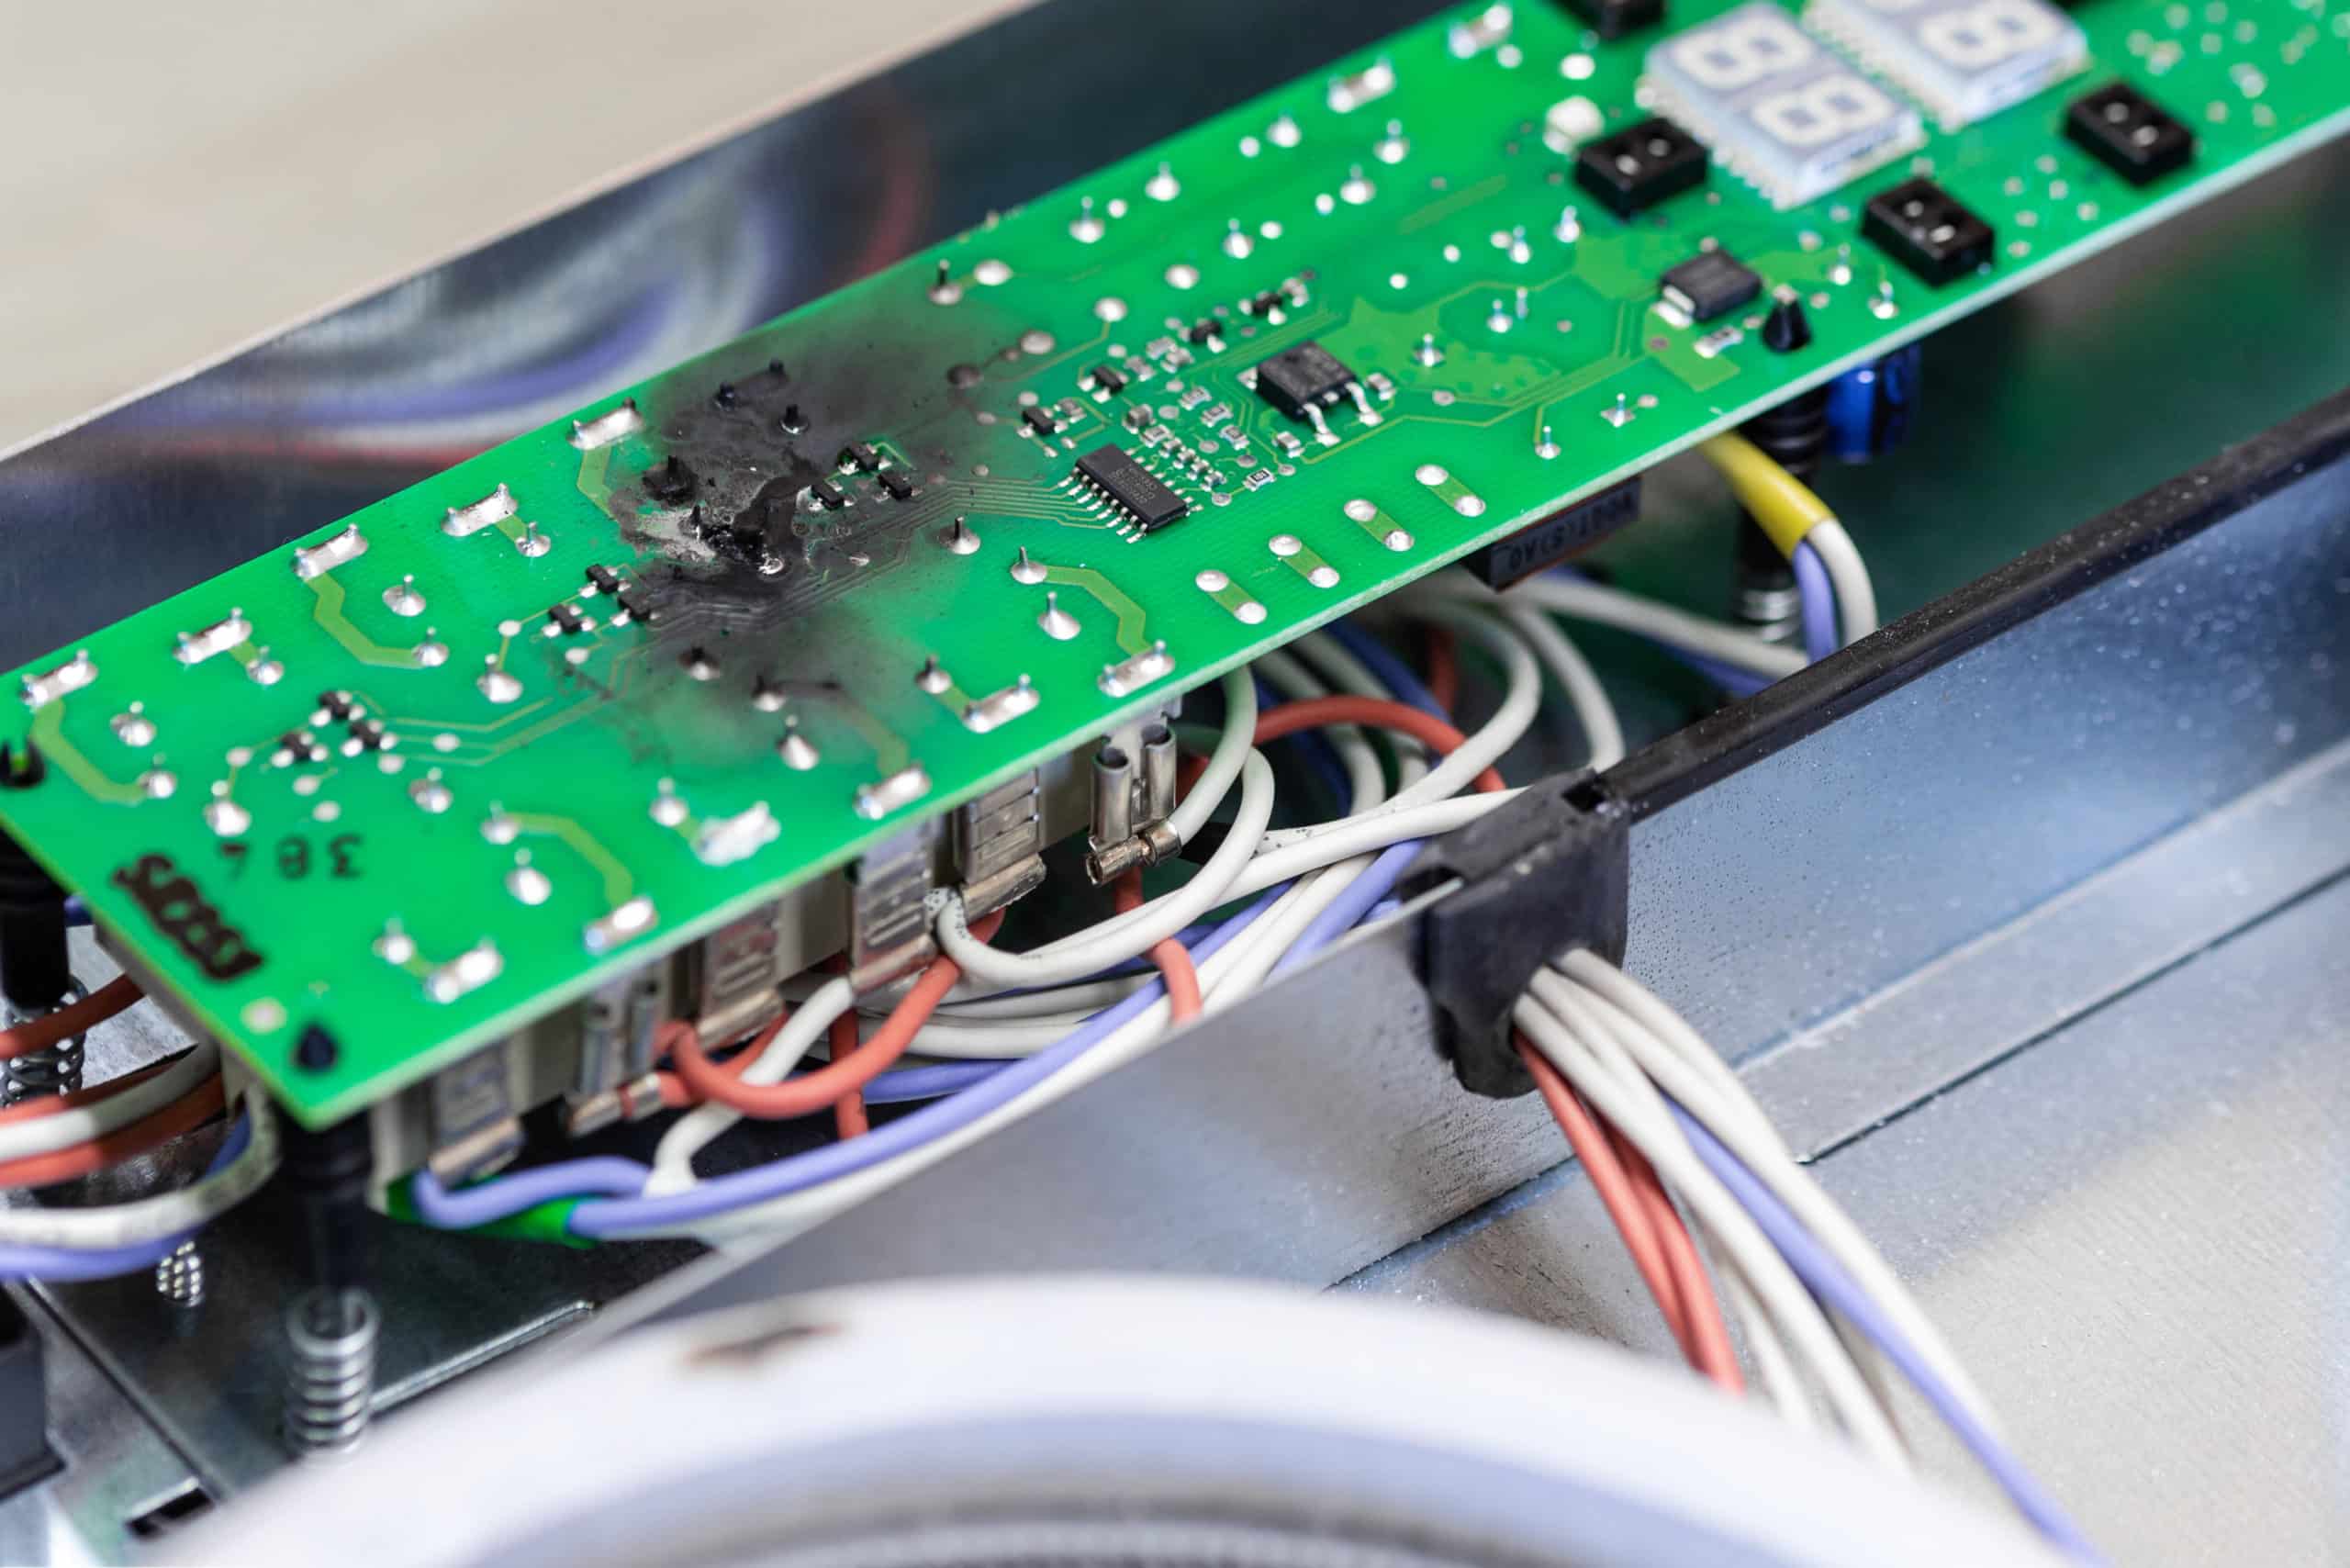
Now, there are different sorts of hardware issues out there as well that can cause your NEST thermostat to not charge up.
Now, these issues can be a little bit harder for you to figure out and troubleshoot, but you can fix these issues as well. A few hardware fixes that you will need to try are:
- Charge the screen with a cable
Now, you might need to charge the Thermostat Screen with an external charging cable. The best thing that you get on NEST Thermostats is that the screen can be taken off from the wall fitting.
So, all you need to do is take out that screen and charge it up with a micro USB cable for 4-5 hours, and that would make it work for you.
The reason for this is that your grid might not have the right voltage, and that can stop the Thermostat from charging. So, charging it up with an external charger will be able to do the trick for you.
- Get Support from NEST

The last thing that you can do in this case if you are not that good with wires is to contact support for NEST. So, give them a call, and they will be able to send a technician down to your place to check all the wiring, fuses, and connections.
They will also be able to check the thermostat for any possible errors or issues and will be able to get you the perfect solution to get rid of this problem.
Wrapping Up
Many owners have listed issues with the NEST thermostat battery not charging. If you’re in the same boat, and can’t seem to get any response from the battery, then the fixes listed above will have you sorted. Most of the time, the issue is pretty minor, and you will be able to fix it pretty easily.
However, if the situation is more serious, then you will have to either get yourself a new battery or claim the warranty on the thermostat.
Otherwise, you will remain stuck in these errors, and fixing the unit will be pretty challenging for you.
The support team behind this brand is pretty competent and will be readily available to guide you through all of these errors. There is simply no gain in experimenting with different solutions when you’re not even sure about the main issue.
For this reason, you should always ensure the involvement of the experts, and you will not have to deal with any extensive errors when it comes to fixing the system. Hopefully, you will be sorted out in no time after going through the proper channels.