With the advent of smart homes, every homeowner is trying to create a seamless home experience with the curation of smart products. One such product is the Nest Thermostat which will adapt to the different seasons and temperature needs of the users.
So, the thermostats will help with cooling and heating. On the other hand, some Nest Thermostat users are struggling with Nest Thermostat not cooling issue, and we have outlined the troubleshooting methods for you!
Fixing NEST Thermostat Not Cooling:
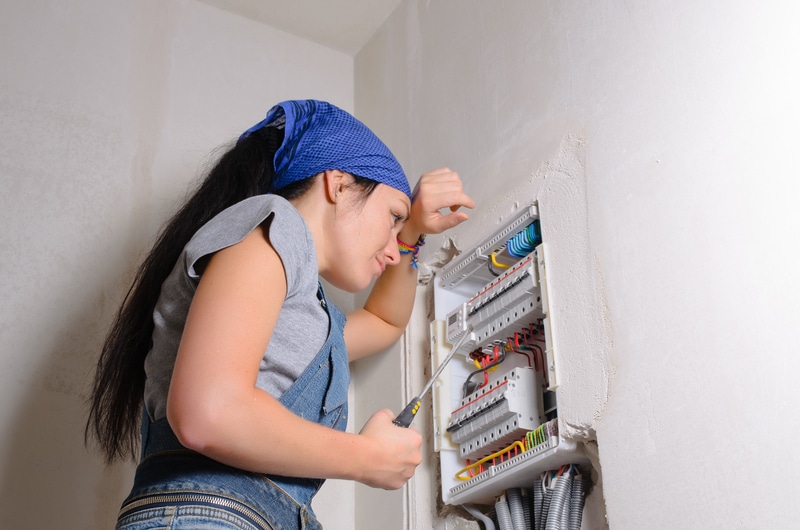
- Installation of Wires
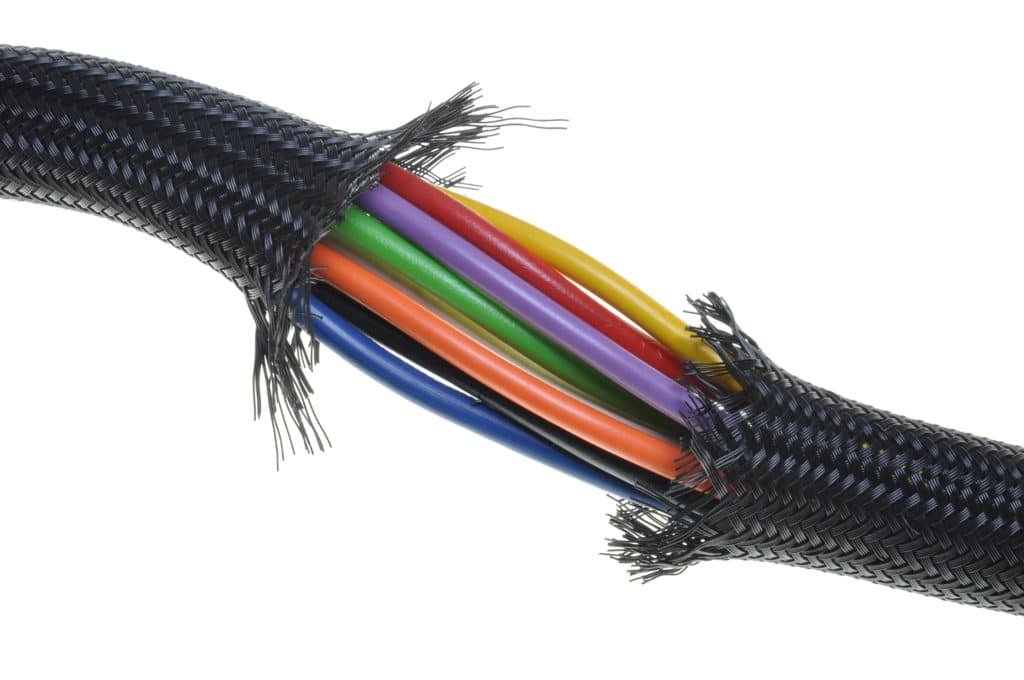
Smart products are nothing if the wiring is not right. So, if the Nest Thermostat is not cooling your space, there are higher chances that wires are not properly installed.
First of all, you need to switch off the system power through the switch or fuse to make sure you and the thermostat remain safe. Then, take off the display and look for the wire connections.
Keep in mind that all the connections must be in a downward position. We suggest that you re-insert the wires because it promises proper pressing of the button. In some cases, you might need to straighten out and strip the wire ends to ensure proper installation and insertion of the wires. So, always check the wires!
- Maintenance
To be honest, sometimes, all your Nest Thermostat needs is maintenance to start working again. Sure, the screen reflects blue color, but the cooling is nowhere to be felt. Well, the first step is to switch off the thermostat through a fuse or switch and wait for five minutes.
When you switch on the fuse box or switch, there are chances that the thermostat will start cooling again. On the other hand, we suggest that you remove the Nest thermostat and install the old thermostat (we know you didn’t throw it out).
This will tell you if there is a fault with the home system or thermostat itself. In case the old thermostat works, there might be something wrong with the wiring system. In this case, you should opt for the C-wire network.
In case even the old thermostat doesn’t work, there are higher chances that the system is not working properly and needs maintenance. For maintenance purposes, you need to call the local technicians and have them look at the issue.
- Compatibility

If you use the incompatible system for the installation and setup of the Nest Thermostat, there are higher chances that there will be unreliable cooling. To be honest, you should use the 24V system for reliable cooling through the thermostat. On the other hand, if you have the C-wire system, you can jump to the next step.
- C-Wire System
In case you want to check the C-wire system, you need to take off the display of the Nest Thermostat. Also, check if there is some wire in the C connection.
If there is a wire present, take out the wire and try to plug it again after some time and make sure the connection is tight and secure. You can also try replacing the wire with a new one to ensure there is no fraying or damage that’s causing cooling issues.
- Restart The Unit

Restarting the unit is the best move when you’re unable to isolate the issue with the wiring. While there is no debate that the wiring is to blame for most errors, that is not always the case. You have to also consider the possibility of programming errors.
Even the best devices like Nest thermostats occasionally run into programming bugs. So, you should remove power from the unit for about 2 minutes and then power it up again. That will be it when it comes to the majority of bugs with the programming side of things.
- Go Through Cooling Configurations
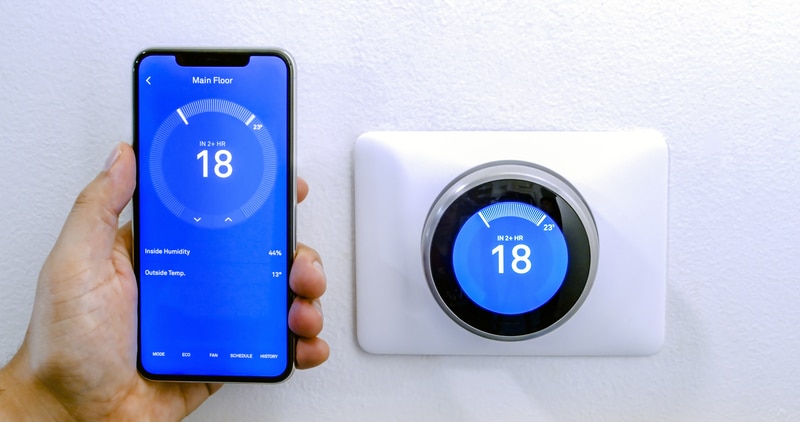
The cooling configuration might also be to blame here. You might have updated the cooling mode to a higher temperature. So, even in the cooling mode, the Nest unit won’t decrease the temperature of your room.
All you have to do in this situation is to adjust the cooling configuration and make sure that the temperature settings are accurate. There is no point in sticking with older configurations if the room is not getting any cooler.
You can further modify the cooling mode to the lowest possible setting to check the response from the HVAC system. Ideally, the problem will be fixed right here with the Nest thermostat cooling.
- Remove Auto Scheduling
The auto-scheduling features might sound amazing, but they rarely work. You will have to let go of these features to avoid problems with the cooling status. Just access the smart unit and remove all configurations that might interfere with temperature settings.
From there, manually bring down the temperature and then wait for the HVAC system to take over. If the wiring problems are addressed, the HVAC will start cooling. You will notice an immediate drop in the temperature if the room is small in size.
- Never Hurts To Look for A Blown Fuse
While you’re browsing through the wiring cluster to find the issue, the problem might simply be related to the blown fuse. The only thing to do about a blown fuse is to replace the fuse. It is pretty affordable, and you should keep some backup fuses for your home.
Once the fuse is replaced, you can power everything up again. That will likely be it when you’re trying to address all wiring-related errors. Hopefully, the cooling system will take over from this point.
- Check For Updates

You might just be missing some updates. It is best to keep your Nest firmware updates if you wish to avoid these minor programming bugs. So, if you’ve yet to update, there is no point in holding off on these updates.
You just have to navigate to the home screen and proceed to click on the settings icon. From there, just select the version update features, and the unit will start searching for possible updates. The search can take a few minutes, and you’ll be presented with a list of possible updates.
After narrowing down on the latest update, make sure to start its download and then let the update install. This will refresh all configurations, and you can test out the cleaning mode one more time.
- Just Reset Your System

At this point, the hassle-free method is to reset the system. There is no point in wasting more hours isolating the programming issue. Just go through the reset routine and set everything back to factory settings.
It will take a bit of your time to set up the unit from scratch. However, spending this time is much better than getting annoyed over no cooling from your Nest thermostat. If the issue is purely related to the programming, it should be fixed right here.
- Fix Your HVAC System
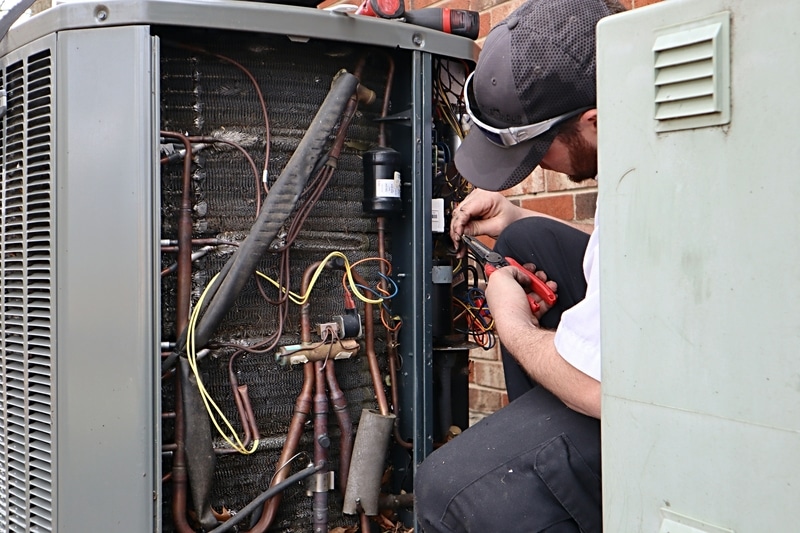
Lastly, the issue can also be traced back to your HVAC system. So, instead of blaming the Nest unit right away, take a look at the condition of your cooling unit. This is especially true for users that installed the Nest system themselves.
You need to make sure that the HVAC system is in fresh condition, the filters are not clogged, and the vents are clean. Furthermore, you need to check the power supply to the HVAC system.
The only logical decision here is to hire an expert. You won’t be able to thoroughly inspect the system yourself. You need help from a local contractor. So, if you’ve not maintained the HVAC system in a few months, just call a local expert.
He will take a look at everything from the condition of the unit to the thermostat connection. All you have to do is set aside some money for his fees. Hopefully, you won’t have to waste a single hour on this issue after that.
Wrapping Up
There is no doubt that Nest is the top contender when you’re talking about the best thermostat. However, you will still run into common errors like the Nest thermostat not cooling. You’ll have to isolate the issue to wiring issues, power problems, HVAC systems, and configurations.
HVAC systems should be professionally fixed, and you should avoid fixing the unit yourself for safety concerns. The same is the case with power-related issues, and you should rely on a local electrician.
On the other hand, if the issue is related to the configurations, just reset the system, check cooling settings, and remove schedules. A power cycle or quick reset is a surefire method of addressing these concerns.
Lastly, you can browse through the owner’s manual to fix the wiring-related concerns. Make sure to also seek help from the official support team here. They will be more than happy to help you through any and all issues with the system.
If you find the unit to be defective, make sure to claim the replacement by forwarding a warranty claim. You will be able to secure a fresh piece within the same day.