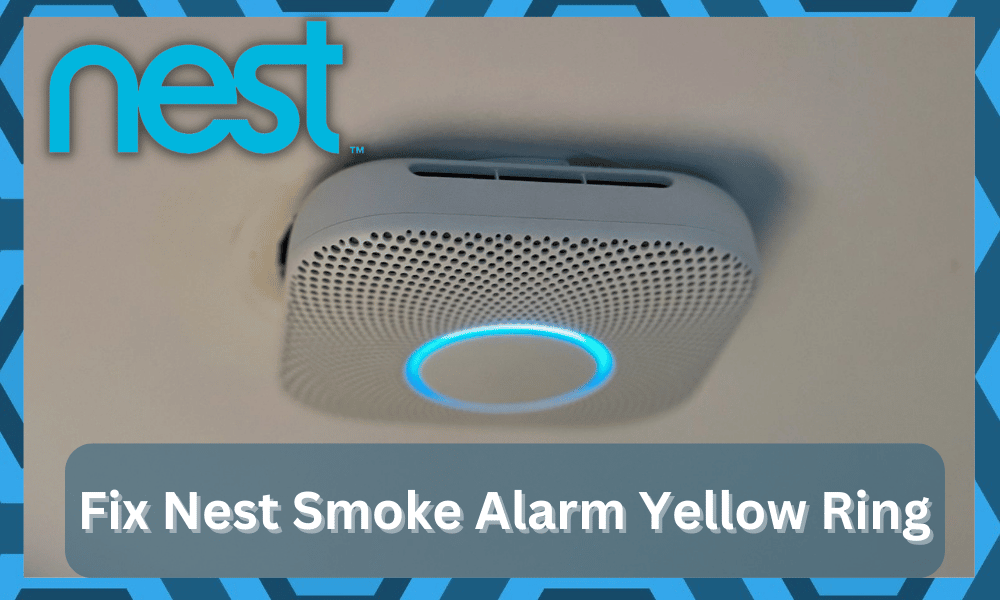
If your Nest smoke alarm begins displaying a yellow ring, it might signal one of three different things:
The battery is low, the battery is almost dead, or there is a fault with the Nest Protect device itself.
It is essential to make a speedy diagnosis of the issue and restore proper functionality to the nest as soon as possible so that you may have restful sleep at night.
Nest Smoke Alarm Yellow Ring
If you detect a yellow ring around the smoke alarm on your Nest product, you may perform the following actions.
- Quickly Troubleshoot your Smoke Alarm.
If the chirping sound from your smoke alarm started recently, one of two things is probably at blame.
The first thing you should do is check to see whether there are any fresh batteries.
If necessary, replace them, as well as any backup batteries, so that you can be certain that everything is functioning properly.
Second, check to see that your smoke detector isn’t being hampered in any way by items like furniture or other things that might prevent it from detecting smoke.
Last but not least, check to see that the smoke detectors in your home are not located in close proximity to any sources of heat, such as fireplaces or ovens.
In some circumstances, this may result in a false alarm being triggered. The second step is to reset your device.
When you press and hold the button on your Nest Protect, the alarm will be muted for about ten seconds.
Because of this, you will be able to continue using your device normally while you explore the origin of the beeping sound it just started making.
To do this, push and maintain pressure on both buttons located on your apparatus until you hear a double beep.
This indicates that the reset was completed successfully. You should try disconnecting the device from the power source for at least a minute before plugging it back in.
This should reset the majority of devices, including the Nest Protect.
- Test Each Sensor
If you have more than one sensor, you should check to see that each one is operating properly.
 In most cases, they will be labeled as “in” and “out” or “front” and “back,” although on sometimes, they could not have any labels at all.
Due to the fact that various types of Nest smoke alarms have distinct colored ring patterns that indicate whether or not they are functioning correctly, this may be a challenging task.
In the event that your alarm has a yellow ring around it, for instance, this indicates that there is a problem with one of your sensors.
If your alarm has a red ring around it, you should be aware that there is a problem with the alarm itself (i.e., its battery).
- Examine Your Battery Position
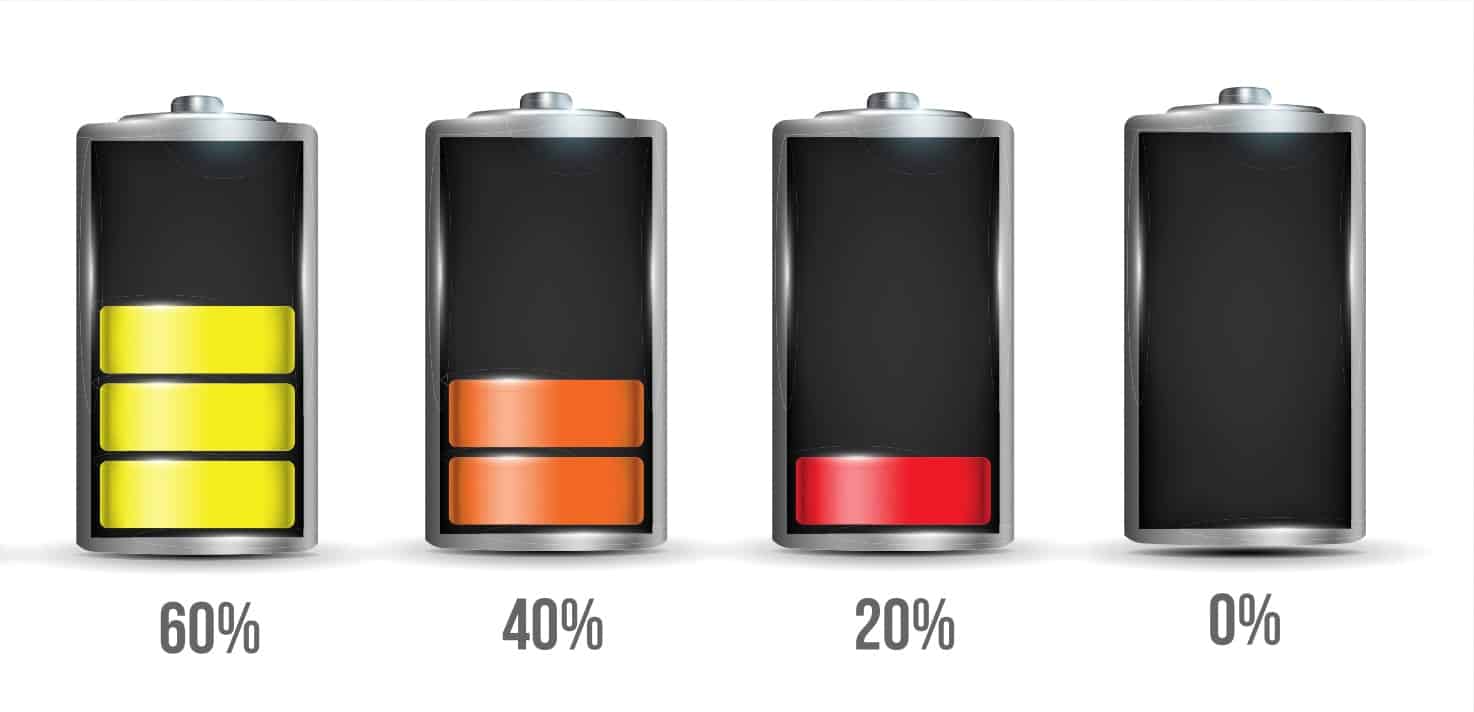 Additionally, you should test your batteries by pressing and holding the test button on your detector for about ten seconds.
The alarm needs to sound, and after a few seconds, it should reset itself. If you push the test button and nothing occurs, you should try changing the batteries with fresh ones.
- Perform Another Inspection Of Your Sensors
After you have changed the batteries, retest each sensor by clicking the individual test buttons again until everything is operating properly.
This should be done until all of the sensors pass the test.
- Reset Alarm System
Find the test button, which is often located on the back of the device, and push it for at least five seconds in order to reset your smoke alarm.
When you release the test button on the device, it should cease ringing if it is not connected to a central smoke alarm system and is just being used as a standalone device.
How to do it:
- Identify the power switch located on your smoke alarm. It is often located close to where you connect in either your AC adapter or your battery backup;
- Turn off the electricity to your detector by flipping the switch; 3. Either remove the batteries or unplug the AC adapter;
- Observe a ten-minute waiting period before turning the power back on;
- Press and hold the test button on your detector for three to five seconds.
- Either plug in the AC adapter or change the batteries.
- You should hear a succession of small sounds followed by one long beep to indicate that the smoke detector has successfully entered self-testing mode.
This process will begin as soon as you press the button on the smoke detector. This pattern will continue to occur every thirty seconds until you reset your detector.
- Reset The Nest App
When a smoke alarm begins to malfunction, it is sometimes sufficient to just reset the device.
 Your first order of business will be to check that your application is both active and connected before doing anything else.
If it isn’t, then proceed with the procedures below: To access the Settings menu on an iOS device, tap the gear icon.
After that, choose Wi-Fi, and after that, Forget This Network (you can also forget using Airplane Mode).
From this point forward, you will need to reload the app and go back into Nest’s settings.
- Contact the Support Section
 If the problem persists, check out our support page to see if there is anything we can do to assist you.
If you have an issue that our support website is unable to handle, please contact us so that we can help you.
We ask that you get in touch with us at [email protected] and provide as much information as you can.