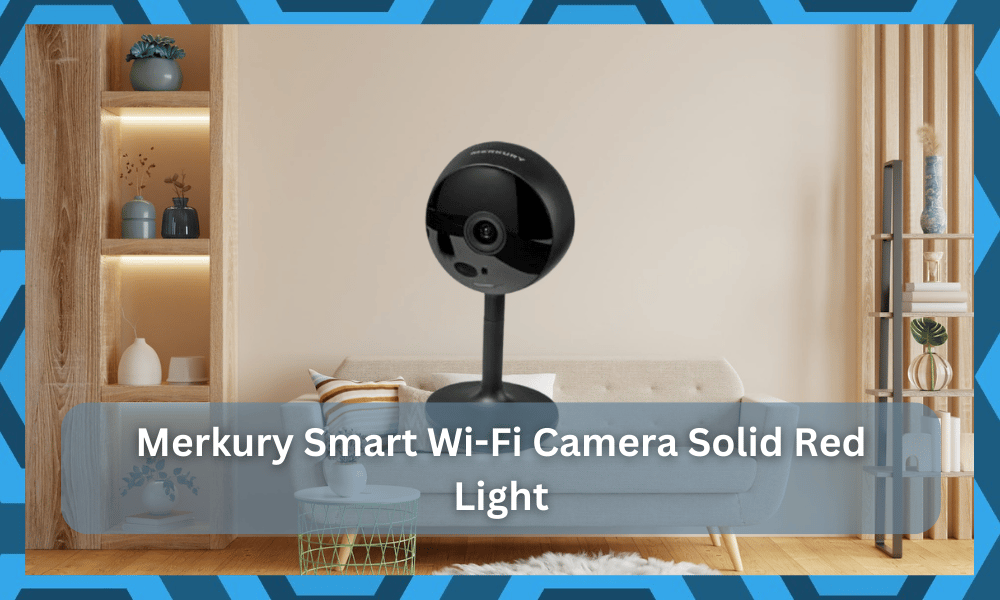
Apart from the many security solutions that are now possible thanks to smart technology, having a smart Wi-Fi camera can help make you feel a whole lot safer.
Through such cameras, you can effectively keep a tab of what’s going on in your house while being anywhere.
It might not be one of the best cameras on the market, but you’re sure to get decent performance if you set it up correctly.
The price is also pretty reasonable, and you won’t have to go over budget when comparing this system with some of the other options like Wyze
So, if you’re short on the budget and need some amazing devices, then going with Merkury over the other smart cameras will serve you well. It all comes down to how you’re planning on spending your money.
But even with these cameras, you can often run into trouble. That being said, a concern that we have seen users raise against the Merkury Smart Wi-Fi camera is about a solid red light glowing on the device.
Today, we will be focusing on the reasons why you might be getting a red light. So, let’s dive straight in!
How to Fix Merkury Smart Wi-Fi Camera Solid Red Light?
- IR Mode
A solid red light on most smart Wi-Fi cameras means that it has simply gone to IR mode. More specifically, the night vision mode has been turned on in the camera. You can turn on this mode both manually and automatically.
If the room where you have installed the camera is currently dark, the camera should automatically go into night vision mode, emitting a solid red light as an indicator.
At the same time, if you were to cover the camera’s lens with your hands, it would still go into IR mode.
However, it is important to mention that this is completely normal and shouldn’t be a cause for worry. Unless you are sure to be in a well-lit spot with the mode still activated, you shouldn’t pay any attention to it.
- Securing Your Camera
Even though we have mentioned how the red light indicates the IR mode, we still recommend you try securing your camera through the application just to be on the safer side.
Something that you will have to do is to make sure that you set up a new and secure password for the camera.

This will eliminate the chances of someone having access to your cameras. Similarly, you can also try resetting your camera.
- Check Lighting Conditions
The lighting conditions also have a role to play here. You need to check up on the lighting conditions and the installation spot of the unit.
If there is poor lighting in the room, the camera will engage even when it is daytime. So, you will not be able to get the IR system to turn off.
To avoid this issue, you need to make sure that the lighting conditions are optimal and that the room is well light. Even when the lighting conditions are not that poor, the installation of the camera can play the dominant role here.
So, you will have to find a better spot in the room that is not covered by any shade. Most of the time, that will be it, and you will not have to deal with more errors down the road. Hopefully, you will not have to struggle with any more errors at this point.
- Quickly Power Cycle The Camera
Power cycling the camera will come easy when you can’t seem to get a response from the unit, and the issue seems to be related to the programming side of things.

If you believe that the hardware status is in good shape, then the issue might be purely related to the camera programming.
You can fix this issue by removing all power from the camera and then engaging it one more time after five minutes.
This does not mean that you can turn off the camera and then turn it back on. Instead, you need to get rid of all the power from the camera and wait.
From there, you can resupply power, and that will help you get rid of the minor bugs.
This is assuming that there is proper light in the room and there is no need for the IR mode. So, be sure to keep that in mind when trying to adjust the red light errors.
- Check For Hardware Issues
The hardware status can also be linked to these issues. If the condition of the camera is a bit rough and you’re not too sure about the hardware, then you will have to get a new camera. There is no point in trying to go at the fix yourself.
So, be sure to claim the warranty and have the dealer provide you with a new one.
The warranty on these cameras is pretty decent. Furthermore, it is not that rare for these cameras to get damaged during delivery. You will be happy to know that you’re not liable for any of these damages.
The dealer will take charge of this situation as soon as you forward a warranty claim. From there, you will be provided with a fresh piece that won’t present the same issues. It all comes down to how you proceed with the setup after reaching out to the dealer.
You can further speed up the warranty verification routine by providing the dealer with a receipt.
He will take a look at the proof of purchase and then dispatch a replacement as soon as everything is verified on his end. Hopefully, you will not have to wait long to get your hands on the new piece.
- Check Connectivity Status
The connectivity status of the camera can also present you with a lot of issues.
While the red light might not be directly related to the issue, that doesn’t mean that the connectivity status is optimal. Moreover, you’re not left with that many options here except to reset the camera.

However, before you go through all that and wipe away all the settings, there is no harm in checking the connectivity status. You need to make sure that the camera is paired up with the local network and that there are no issues with the router itself.
From there, you can improve the signal strength by limiting the range between the camera and the smart unit. Next, you can check up on the smart device by removing all the extra accessories, and that will mostly be it.
At this point, your issue will be addressed. However, you might also benefit from refreshing the network by power cycling the router or trying out a different network entirely.
That will surely give you more idea about the issue, and you will not have to deal with as many errors again.
If you’re unable to get a response even after changing the network, then you will know for sure that the problem is with the camera and not the router. From there, the only choice left is to go through with the reset routine.
Just make sure to exhaust all other possibilities before it comes to the reset, as it is not always the most desirable method. Hopefully, the issue won’t come to that for your camera either and it will switch the solid red light after you fix the connectivity status.
- Re-Setup Your Camera
Another thing that you can do regarding the red light is to make your camera go through the whole setup phase again. It could be that the red light is showing because of a simple bug. If that is the case, then all you will have to do is to set it up again.
- Getting it Checked
The last thing you can do about the red light on the camera is to get the camera physically checked for any issues. There could be a technical fault with the camera. You might have also received a faulty camera, in which case a replacement might be the only fix.
The Bottom Line:
Annoyed with having your Merkury smart Wi-Fi camera giving you a solid red light? Even though the light is a clear indication of the night vision mode being activated, we still recommend that you perform basic troubleshooting.
Most of the time, the issue is related to the lighting condition, but you need to further figure out the situation with the hardware status and the programming status.
Next, you can check up on the connectivity status and make sure that there are no errors with the Wi-Fi itself.
From there, the picture would be pretty clear to you. However, if you’re not too sure about the hardware and there are visible cracks on the camera, then you are out of luck. There are no quick methods that can help you in this situation.
You will have to reach out to the dealer and demand a replacement. He will take a while to verify your purchase, and you will be provided with a suitable replacement within a few days at max.
So, be sure to contact the official dealer, and he will take charge of this issue.