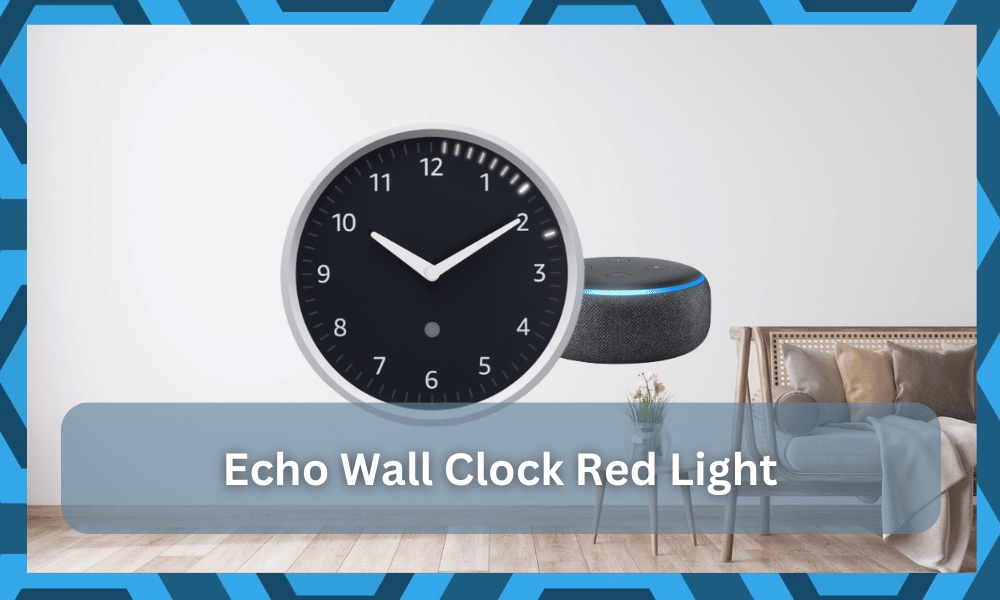
The Echo Wall Clock is a great clock that you can add to your smart home collection.
It offers different and interactive features which help the users be able to organize and be at one time.
So, if you’re looking for something to help you stay on schedule, then going with this smart unit might just be the right fix.
Although the device shows analog time, there are plenty of smart features that come with the clock.
You will be able to customize the routine and set it up with the mobile device for remote access. So, if you’re planning on purchasing an upgrade for your existing clock, the Echo wall clock has got you covered.
The only complaint that you will find about this unit is that it can be a bit challenging to set up. However, once you’re through with the setup, using this unit is pretty easy.
You will not have to go through any extensive routines or setup cycles when it comes to managing this system.
How to Fix Echo Wall Clock Red Light?
A number of users have been experiencing different issues while trying to use the Echo Wall Clock.
The most common issue that all these users had in common was that their devices were showing red light whenever they tried pairing or using the clock.
Using this article, we will be exploring the issue in detail. We will be listing a whole number of troubleshooting steps on how you can successfully fix the issue. You can find all of the steps mentioned down below:
1. Low Battery
Most usually, having a red light on the device means that you currently have a low battery on the clock.
The red light is there to show you that you need to charge or replace the batteries of the clock as its juice is about to run out.
Fixing the issue will require you to buy new batteries for the clock and replace them with older ones. Try pairing the clock afterward, as there should no longer be an issue whenever you use it.
2. Check Contact Points
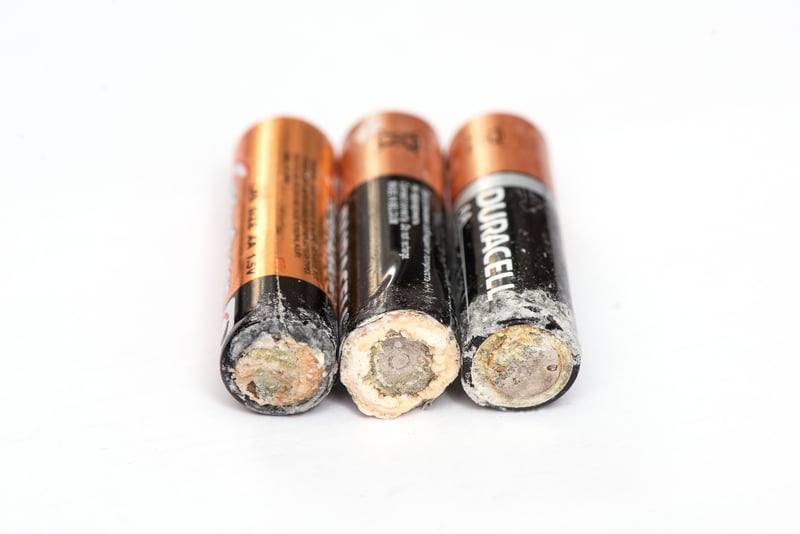
Here, you need to check the condition of the contact points. If you’re sure that the batteries are in perfect shape and you have bought the new pack today, then the issue might just be with the contact points.
So, you will have to either clean them up or repair them accordingly.
Most of the time, all that you will have to do here is to blast the unit with compressed air.
Make sure that there are no foreign objects between the battery and the contact points, and you will be sorted. It all comes down to how you’re planning on addressing the situation with the power flow.
Ideally, all issues will be sorted right here. However, it is also possible that the issue is more with the adjustment and not the batteries themselves.
So, if you’re stuck in these errors, it is not that bad of an idea to fix the placement of the battery as well as the contact points.
You have to make sure that the contact points are not deformed and make contact with the terminals of the batteries.
From there, it is not that hard for the power to flow in from the batteries to the clock, and you will be sorted right here.
3. Check For Hardware Issues
There might also be hardware issues with the clock itself. If your clock is in rough shape or you think that you got a defective piece out of the box, then you need to engage the official Amazon support for help.
They will guide you on these issues, and you’re liable for a replacement.
Keep in mind that the delivery process can be exceptionally difficult on the smart units, and you will not be able to get any response out of the units when the device is in poor shape.
So, if you’re in the same boat and the response from your smart units is not optimal, then you need official help.
There is simply no gain in trying to fix the unit by yourself, and seeking help from the officials might just save you a lot of hassle.
Trying to fix a damaged unit yourself will only waste your time and put the warranty status at risk.
4. Try Different Batteries
Here, you should also consider that the type of batteries that you’re using in the system are compatible with the clock itself.
If you’re not that sure about the brand or the battery type, the issue might not even be with the clock.
Keep in mind that the clock will not work when the power going into the system is not optimal. So, if you’re stuck in these errors or can’t seem to find the right fit, it will be a good idea to get pointers from the dealer.
He will point you in the right direction, and you will not have to make any guesses on the best batteries that will work perfectly on the clock.
Hopefully, your situation will be addressed right here, and you will not have to deal with more complications.
5. Adjust Network Status
The network side of things might not be directly related to this issue with the red light, but some owners did point out that they were able to address the situation by fixing the network status and power cycling the clock.
So, you should give that method a shot as well.
All that you have to do is to make sure to remove the power from the unit as well as the router and then power up the router after about 20 seconds. From there, you can wait 30 more seconds before powering on the clock.
Allow the clock to connect to the network, and you will mostly be sorted here.
Nine times out of ten, the issue will be fixed as soon as you address the network status and the power status. So, be sure to keep these pointers in mind, and you will not have to deal with as much hassle.
From there, you can also proceed with a resist and make sure that the unit is not running into any programming bugs.
This will wipe away all of the configurations, but it also has a decent shot at fixing minor programming bugs and errors. So, be sure to keep all that in mind.
6. Reset the Device
The device being bugged out is also another really common reason why you could be facing this issue.
Hence, if you want to fix the issue, you will have to reset the device. For those of you who don’t know how they can reset the device, simply follow the instructions attached below:
- Open your Alexa application.
- Open the Devices tab on the app.
- You will have to look for the Echo device, under which you can find a tab for Bluetooth devices.
- There should be an icon right next to the Echo Wall Clock where you can forget the device.
- After going back to the device settings page, proceed to the Connected Devices.
- Select the Echo Wall Clock, where you can unpair the device.
- On the Echo Wall Clock, press the pairing button five times in order to reset it. You should be able to see the status go blue.
- The center post should rotate to the 12:00 position.
- After you have reset the device, ensure that you go through the whole setup again.
Hopefully, you will be sorted at this point. However, if you’re still stuck, then we suggest that you call it a day and get help from official support.
You will not be able to fix these errors yourself, and seeking pointers from the official members will help you get a much better grasp of the situation.
The Bottom Line
This article has all the information that you need in order to fix the red light on Echo Wall Clock. By simply following the instructions that we have written in the article, you should be able to resolve the problem.
Most of the time, it is just the batteries, and you can go about getting new batteries for your system if the issue persists.
However, if that is not the case, then you might be dealing with a programming bug. Fixing it can be a bit challenging, to say the least, but you’re not left with many options here.
All that you need to do here is to go about the reset routine and then set up the clock from scratch.
That will take a bit of your time, but a reset does bring the most chances of fixing minor issues with the application. So, you will not have to worry about any long-term errors when sticking with this method.
Lastly, you might just be in possession of a defective piece. It is not that rare for smart units to get damaged during delivery, and you can get pointers from the dealer on this issue.
Usually, you should be able to grab a fresh piece after claiming the warranty from the dealer.


