If you don’t want to bother with the doorbell wiring, then you can always install a battery-powered doorbell.
The overall procedure will be easier, and the only downtime will be during recharge periods. So, be sure to stick with brands like Ring for a better security experience.
You can manage the downtime quite easily by scheduling recharge periods. A battery-powered doorbell can prove to be more reliable if you experience power cuts frequently.
That way, you won’t be missing out on any footage, and the unit’s response will be more consistent throughout the year.
It might seem like a complicated task to manage a smart doorbell, but you’ll get used to it in no time.
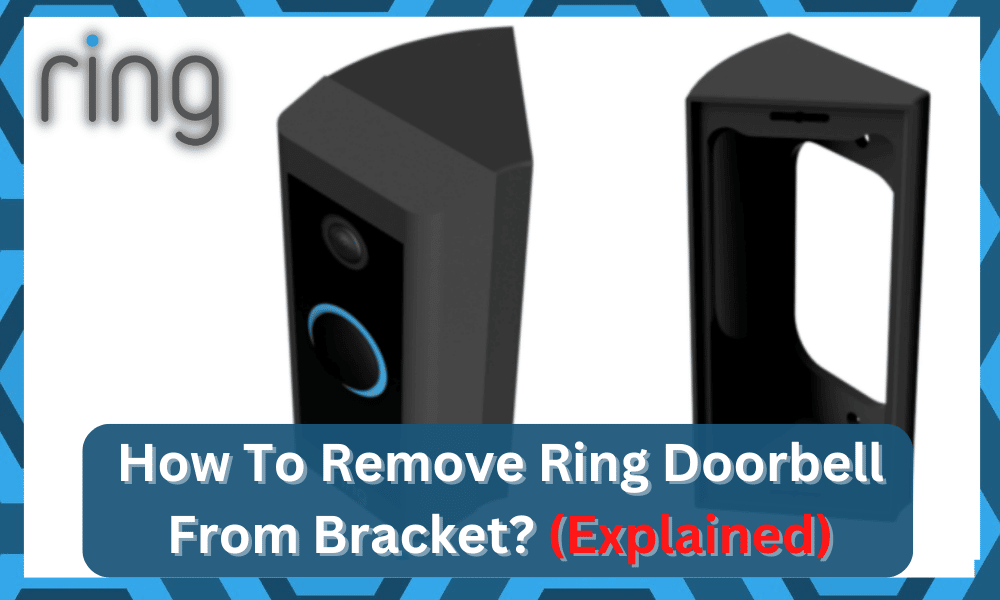
How To Remove the Ring Doorbell from the Bracket?

All you have to do is to go through the manual or some guides on community forums to learn how to charge the unit.
That will make your job much easier, and you won’t have to test everything out for yourself.
To charge the doorbell, you will have to take it off the bracket or mount it on your wall. Then you can plug it into a charger to replenish the battery.
Let’s cover how you can remove the Ring Doorbell from the bracket.
The battery is not removable in the earlier versions of the Ring doorbell, which is why you need to remove the whole doorbell from the wall bracket to recharge the battery.
Ideally, you shouldn’t have any trouble removing the doorbell from the bracket, and the whole process will only take a few minutes.
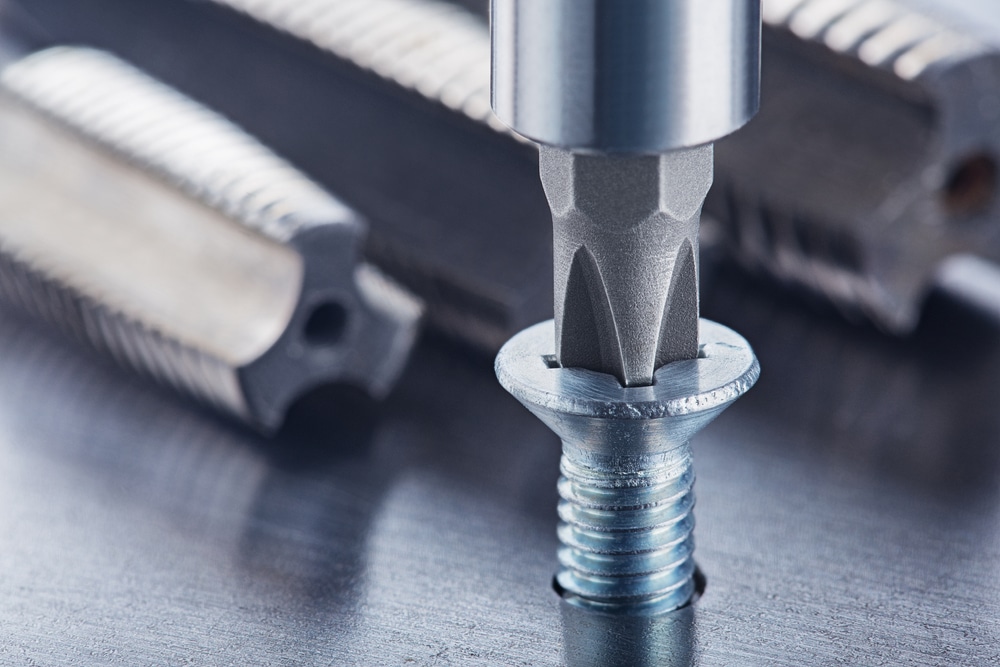
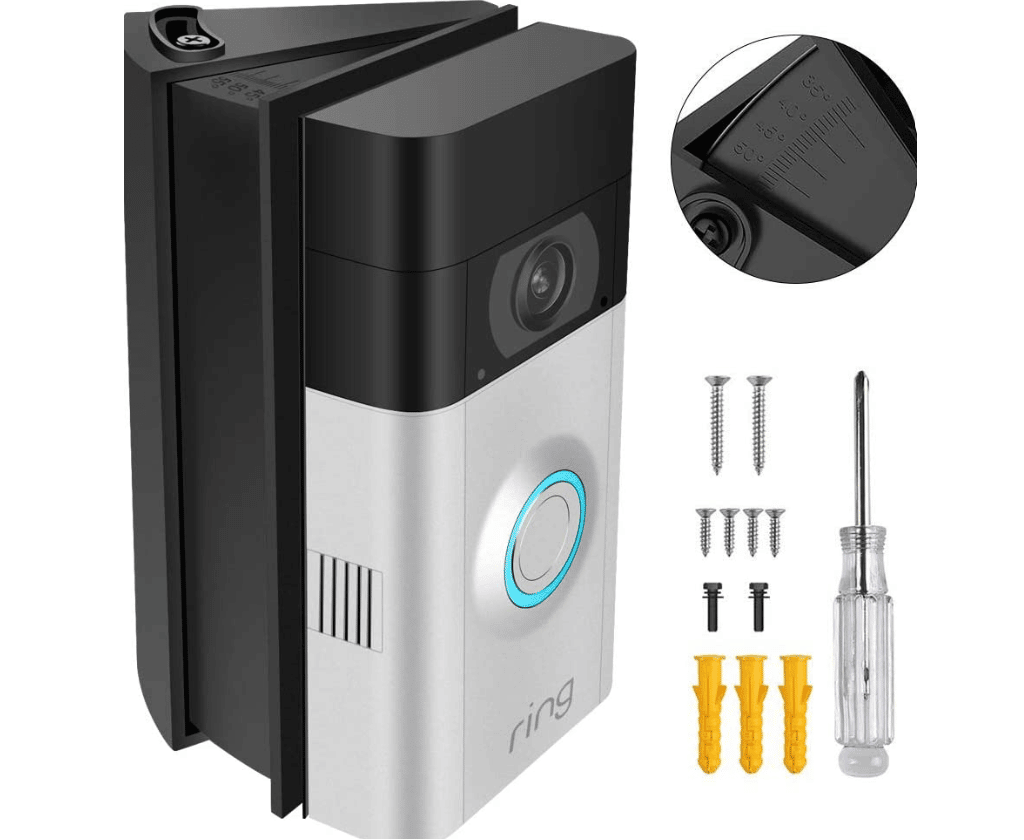
You need to start by using a star-headed screwdriver to remove the screws on the bottom of the doorbell.
If you’ve just bought the doorbell and the bracket is attached, then there is a chance that the screws won’t be attached at this stage.
Anyhow, after removing the screws from the bottom of your doorbell, you can just lift the doorbell off in a seamless manner.
You don’t need to use any force, and the doorbell should come right off the bracket as you lift the doorbell up and then away from the bracket.
After removing the doorbell, you can charge it using a USB cable.
When the LED indicator on the doorbell shows that the battery is fully charged, you can mount the doorbell back on the bracket, and then your job will be done.
It is recommended that you don’t use any sharp tools to separate the doorbell from the bracket.
Especially if you’re using metal tools, they can work hard on the doorbell permanently, and you will have to buy a new one depending on the damage.
There are just too many cases of owners damaging the system as they try to adjust it during the installation.
If you have to use excessive force, then you are doing something wrong. Being rough with the unit will only lead to more issues down the road as you try to adjust the system.
So, if you’re not exactly sure about how to set up the Ring doorbell, we suggest that you hire an expert.
There are many professionals that you can rely on here, from local contractors to repair center experts. They will help you figure out the issue, and you won’t have to waste any more time.

Instead of looking at the hiring fee, you should think of the value that you’ll realize by getting the system professionally installed.
Moreover, you can ask for a proper demonstration on how to remove the Ring doorbell from the bracket. So, be sure to keep that in mind as you try to adjust this system.
Some customers did say that using plastic tools gently on the edges helped them with separating the bracket from the doorbell.
In the newer models, you don’t have to take the whole doorbell off to charge the batteries.
You can just remove the faceplate from the doorbell and then remove the battery. Charge the battery and then put it back into the doorbell.
The mounting and dismounting process won’t take you more than a few minutes at max. So, be sure to keep that in mind as you try to adjust the doorbell.
Keep in mind that the process can vary from some of the older models. However, almost ninety percent of the Ring units can be removed from the bracket by following through with these fixes.
So, be sure to keep that in mind as you try to adjust the smart system.
Moreover, to confirm, you can always rely on the manual. There is no point in guessing the issue, and you should shift more focus to isolating and fixing the errors directly.
So, all that you need to do here is to check the manual for instructions. From there, the picture will become clearer.
Alternatively, you can also rely on the official support team from Ring. These experts will not only inform you about how to get through the dismounting routine but will also guide you step by step.
So, if you have not worked with smart doorbells, this should be preferred over the other options.
Still Can’t Remove the Ring Doorbell From The Bracket?
If you’re not able to get through the dismounting routine after following all of the pointers mentioned above, then you’re dealing with a defective unit.
There are no quick fixes or easier methods that can help you with the system. So, all that you need to do here is to check the hardware for possible damage.
You’re primarily looking for cracks or discolored sections that are warped. The presence of either one of these indicators will show that you’re dealing with a damaged system.
The warped piece will get stuck on the bracket, and you will struggle to get the Ring unit off.
Instead of putting more force on the system, you need to call the dealer in this situation. Explain the issue with the unit not coming off from the bracket, and he will guide you through the fix.

There is no point in trying out any other methods, as you might void the warranty in the process.
So, be a bit more patient, and wait for a response from the dealer. He will guide you on how you can maneuver through the issue without worrying about any long-term errors.
So, all that you need to do here is to adjust the system by seeking help from the dealer.
He will guide you through the intricate details of the issue, and you’ll be provided with the new unit in due time.

It is not too uncommon for these devices to get damaged during delivery. You’re not responsible for any of these damages, and you should be able to grab a fresh piece.
It all comes down to the current situation of the unit, and there is no point in bothering with the system when the unit is damaged.
From there, you can wait for the new device to be delivered and then adjust the response of your system accordingly.
To Conclude

The Ring doorbell can be removed quite easily from the bracket by loosening the screws on the bottom of the doorbell and then lifting the doorbell up and away from the bracket.
That is all that you need to do, and ideally, you won’t have to use any force.
Using metal tools to remove the doorbell from the bracket can damage the device, and you will likely have to buy a new one.
So, if you’re having issues with separating the doorbell from the bracket, then asking Ring support would be the right thing to do.
Most of the time, the situation with the Ring unit not separating from the bracket is caused by hardware errors.

If your Ring unit is not in the best shape, then you might be struggling with the same errors. Sadly, there is not much that can be done on your end.
You need to figure out the problem and then proceed with the reset by checking the unit for water damage and cracks.
Any one of these issues can cause the bracket to get stuck to the back of the unit, and you will struggle to pull it off directly. So, be sure to keep that in mind.
Hopefully, you’ll be able to get a better response from the new unit if you install it correctly.
Dread taking mine off to charge always hassle !!
I had the same problem. Just pull down slightly and swing up from the bottom after you unscrew the bottom.
My ring bell doesn’t come off easy it stuck help!
Ok my ring doesn’t just lift up and off?
It appears to be stuck.