Ecobee3 is a smart thermostat device for either cooling or warming your house’s temperatures. The great thing about using it is that it can save more than 20% percent of energy by being incredibly efficient. So, you’ll get amazing performance from the system.
It is also compatible with a variety of smart hubs. Also, it goes without saying that you will have remote control over the device. By using a mobile device or a smart application, you can engage the unit from anywhere and anytime. So, if you’re looking for an upgrade, Ecobee3 is for you.
Just one thing to keep in mind here is that you need to have this unit installed by an expert. Experimenting with the system yourself will only lead to more errors, and you will not be able to get any response out of the system. So, be sure to keep all of these pointers in your mind.
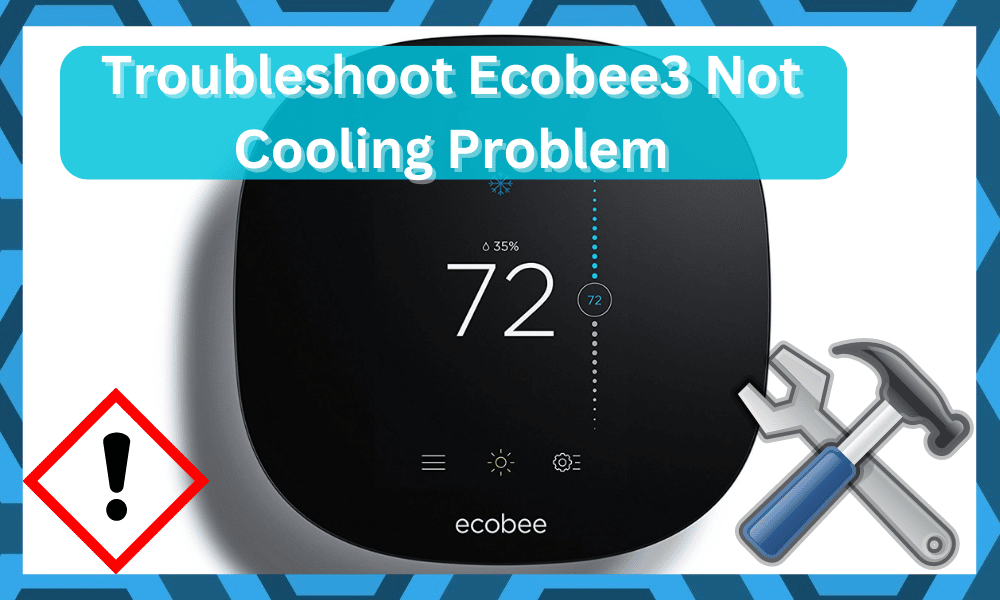
Unfortunately, quite a few users have complained about Ecobee3 not cooling at all. They have stated that even if the AC is turned on and the fan is blowing, the room temperature does not change at all. As a result, they have no idea what’s causing the issue.
How To Fix Ecobee3 Not Cooling?
In this article, we will be taking a look at how you can fix Ecobee3 from not cooling your room.
We will be listing a few troubleshooting methods that you will have to try in order to successfully fix the issue. So, without any further ado, let’s get started!
- Your Adaptor May Have Gone Bad
The first reason why your house may not be cooling could be because your adaptor has gone bad. Actually, there is an extender that comes with the Ecobee3 called a Power Extender Kit (PEK).
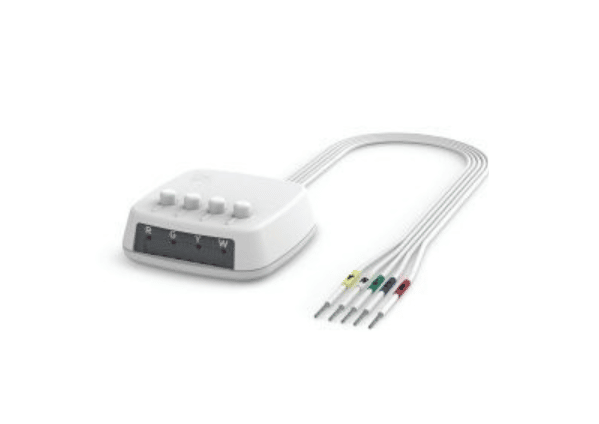
If your adaptor has really blown up or gone bad, you might have to rewire everything. You can install a new PEK if you want to, but it isn’t necessary.
But rewiring everything minus the adaptor is compulsory if you really want your thermostat to work.
- Check Your Compressor And Wires
If your compressor is activated during the cooling, and it’s still not cooling the room, then the problem might be with your compressor. Just to make sure, we also recommend you check if the copper line wire is cold or not.
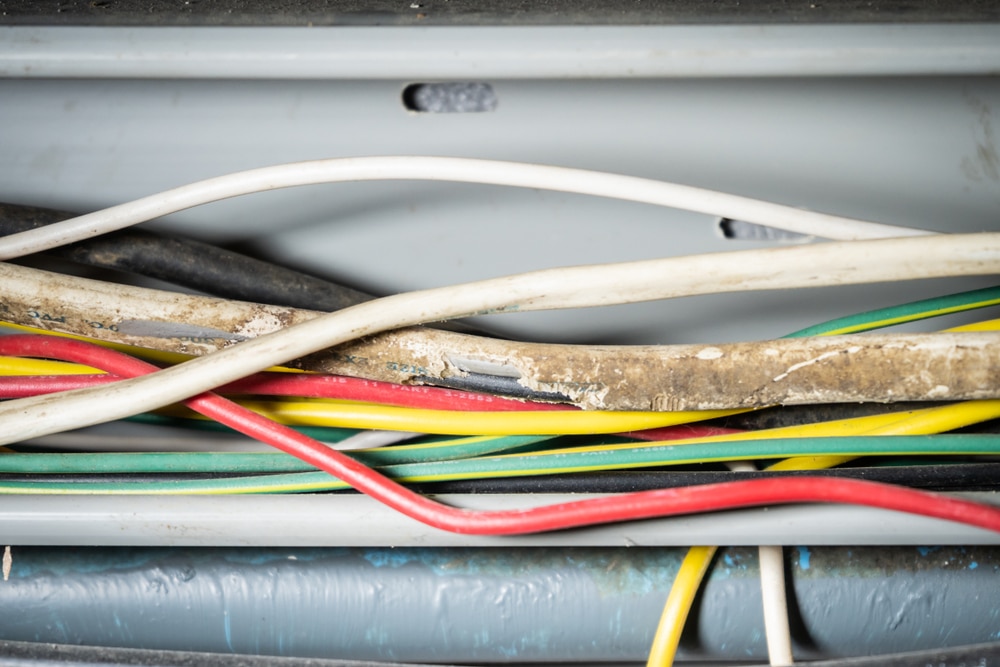
It might also be a wiring issue. Ensure that you do have a “Y” wire. If the wire isn’t connected to anything, you will need to connect it to the terminal.
- Check Evaporator Coils
At this point, you should check up on the evaporator coils for damage or clogging issues. Most of the time, the issue will not be that serious, and the coils might just be clogged with gunk and debris. So, you will have to adjust the situation accordingly.
The only real thing that you can do here is to quickly cycle through a cleaning routine. You need to make sure that the drainage lines are working properly and that the pipes are not blocked in any direction. Otherwise, you will run into a ton of issues.

The best thing that you can do here is to hire an expert and educate yourself on the proper maintenance routine. You don’t have to do guesswork, and getting pointers from an expert is the most optimal method for getting your system in order.
From here, you can just keep track of the serving requirements and keep the unit clean. It will not take as much time if you clean it up every two weeks. So, be sure to add that to your weekly routine, and you will be sorted out here.
- Refresh Configurations
Sometimes, the issue is more with the configurations and not your unit. If you’re sure that the servicing requirements have been met accordingly and there are no hardware issues, you just have to refresh the configurations. Otherwise, you will remain stuck in these errors.
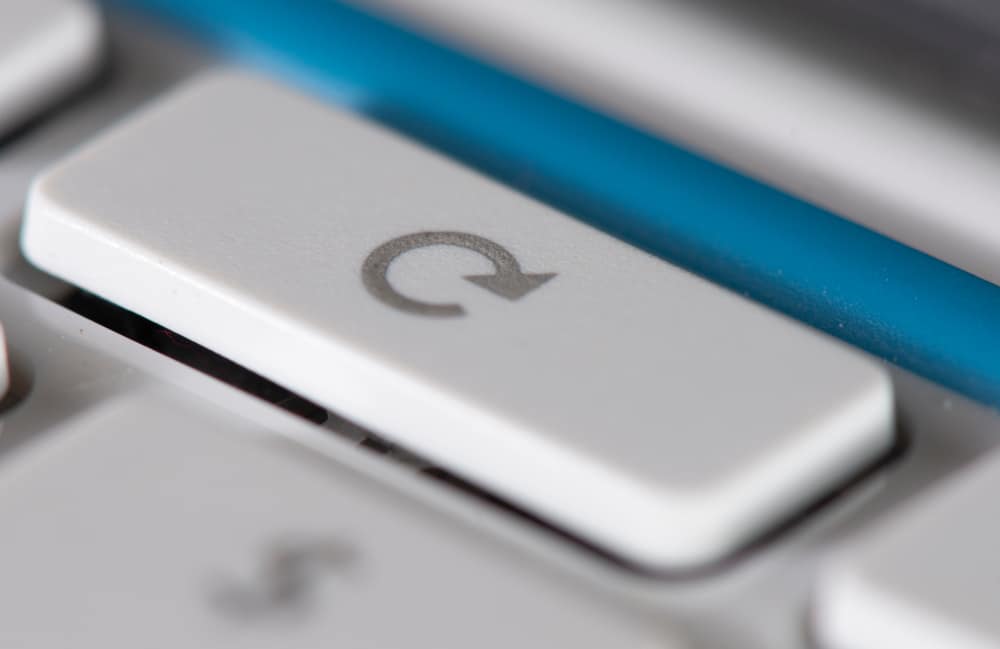
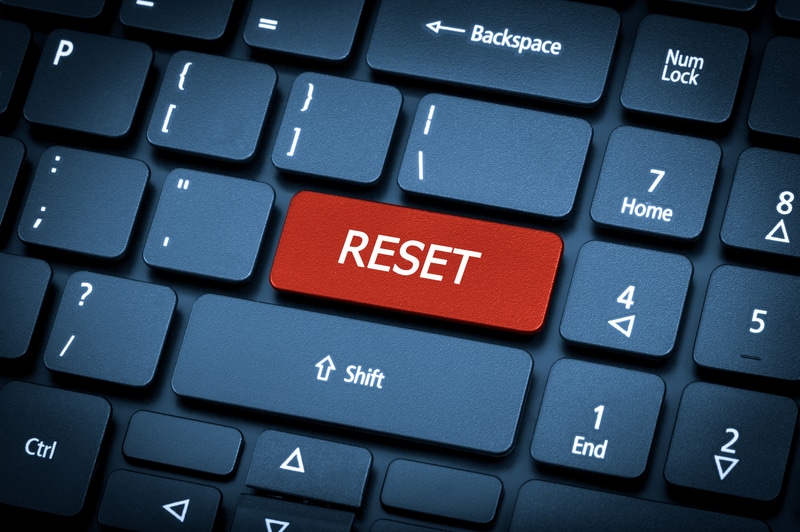
The most effective and simple method here is to power cycle the system. This means removing all power from the unit and then powering it back up.
It would be enough to help you get through these errors, and you will not have to worry about as many complications down the road.
However, if you do still get stuck in the same complications, a reset might be in order. This will wipe away all of the configurations, but you’re not left with many options here. So, reset the system and then check up on the performance one more time.
Hopefully, you will be sorted out in due time, and the unit will start working properly. So, be sure to keep track of these pointers and go about fixing the system through a reset. From there, you can also make sure that the cooling mode is managed properly.
- Check For Leaks
Next, you have to check the system for leaks. It is not that rare for leaking coolant to present itself when you’ve been ignoring the maintenance for a while.
So, if you’re in the same boat and didn’t give any mind to the maintenance side of things, now might be a good time to do so.
All that you have to do is to check up on the hardware side of things and ensure that the unit is not damaged.
From there, you can also confirm that the pipes are in good shape and the joints are tightly secured. Otherwise, you might run into more complications down the road.
Once the leaks are managed, and the issues with the system are addressed, all that you have to do is to cycle in the new coolant and start the cooling routine.
Hopefully, you will not have to deal with the same complications when working with this new system.
Just make sure not to ignore any maintenance requirements and keep the system in good shape. Otherwise, you will drive yourself into a corner and won’t be able to get any performance out of the system. It all comes down to how you’re planning on addressing the situation.
- Try Servicing The HVAC System
At this point, you should just call it a day and have the HVAC system serviced by an expert. The issue is likely with the cooling system and not the thermostat, and you have to hire an expert to help you address those issues.
Keep in mind that you will not be able to fix a damaged system yourself and will have to rely on an expert. So, be sure to reach out, and explain your end, and the expert will guide you through the rest. Hopefully, you will be sorted out at this point and won’t have to deal with more errors.
Having an expert take a peek at your HVAC system once every six months is a great idea. You will not have to deal with any serious errors that way, and the expert will make sure that everything from the piping to the wiring is in perfect shape.
Lastly, you can just reach out to the official support team as well. There is simply no point in trying to fix the unit on your own when you can have a team of professionals assists you through each step.
So, be sure to reach out when you’re stuck in these errors, and the experts will guide you through the rest.
- Contact Customer Support

If none of the above-mentioned steps seem to work for you, then we are afraid you really might be running out of options here. But there is one last thing you can do. Try contacting the customer support of Ecobee.
Make sure you mention everything about the issue you are facing and also mention the things that you have already tried. The support team should reach out to you shortly after and will suggest a few solutions.
The Bottom Line
These are the ways you can fix Ecobee3 not cooling. Make sure that you follow the instructions that are mentioned above in order to troubleshoot and fix the issue.
By the end, your room should start cooling as it should, and you can enjoy your day without dealing with more complications down the road.
If you’re sure that the hardware and the wiring are in good shape, the issue will only be limited to the programming side of things.
A quick reset or power cycle routine will have you sorted here, and you can go through the setup one more time.
Similarly, if you’re not sure about the wiring or the adapter, you will have to reach out to a local technician for help. Fixing these issues yourself can be pretty challenging, and you will only drag yourself down while trying to fix the system.
So, be sure to reach out to a local expert and explain your situation. He will fix the wiring connections as well as the power supply.
There is no need to put yourself at risk of electrocution while trying to save a few bucks. Just get help from a certified technician, and he will be happy to take charge here.