Daybetter LED Lights are pretty popular among homeowners that are interested in starting their first smart lighting project. These are pretty easy to manage, and the existing cutting points help users manage the size of the lights.
While the price point is not the cheapest, you will still enjoy the decent value and features of these lights.
So, if you’re not really sold on premium brands like Philips, give Daybetter a try, and you won’t be disappointed with its performance as long as you install it correctly.
While owners are not that happy with the initial setup routine, there have been no serious complaints about the performance of the system.
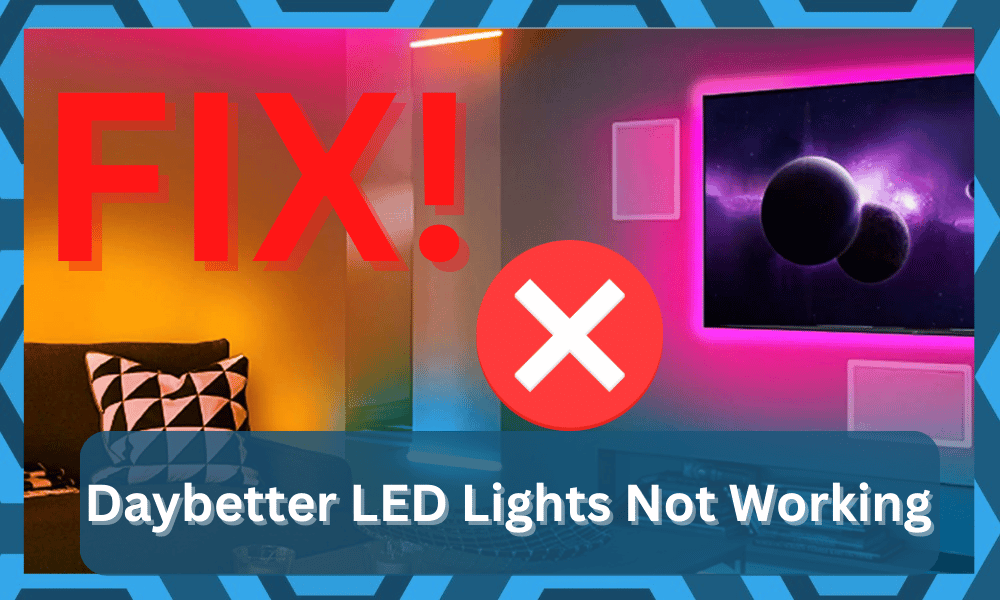
Fixing Daybetter LED Lights Not Working:
So, we would suggest that you seek help from a professional when upgrading the smart system in your house. He will make your life much easier.
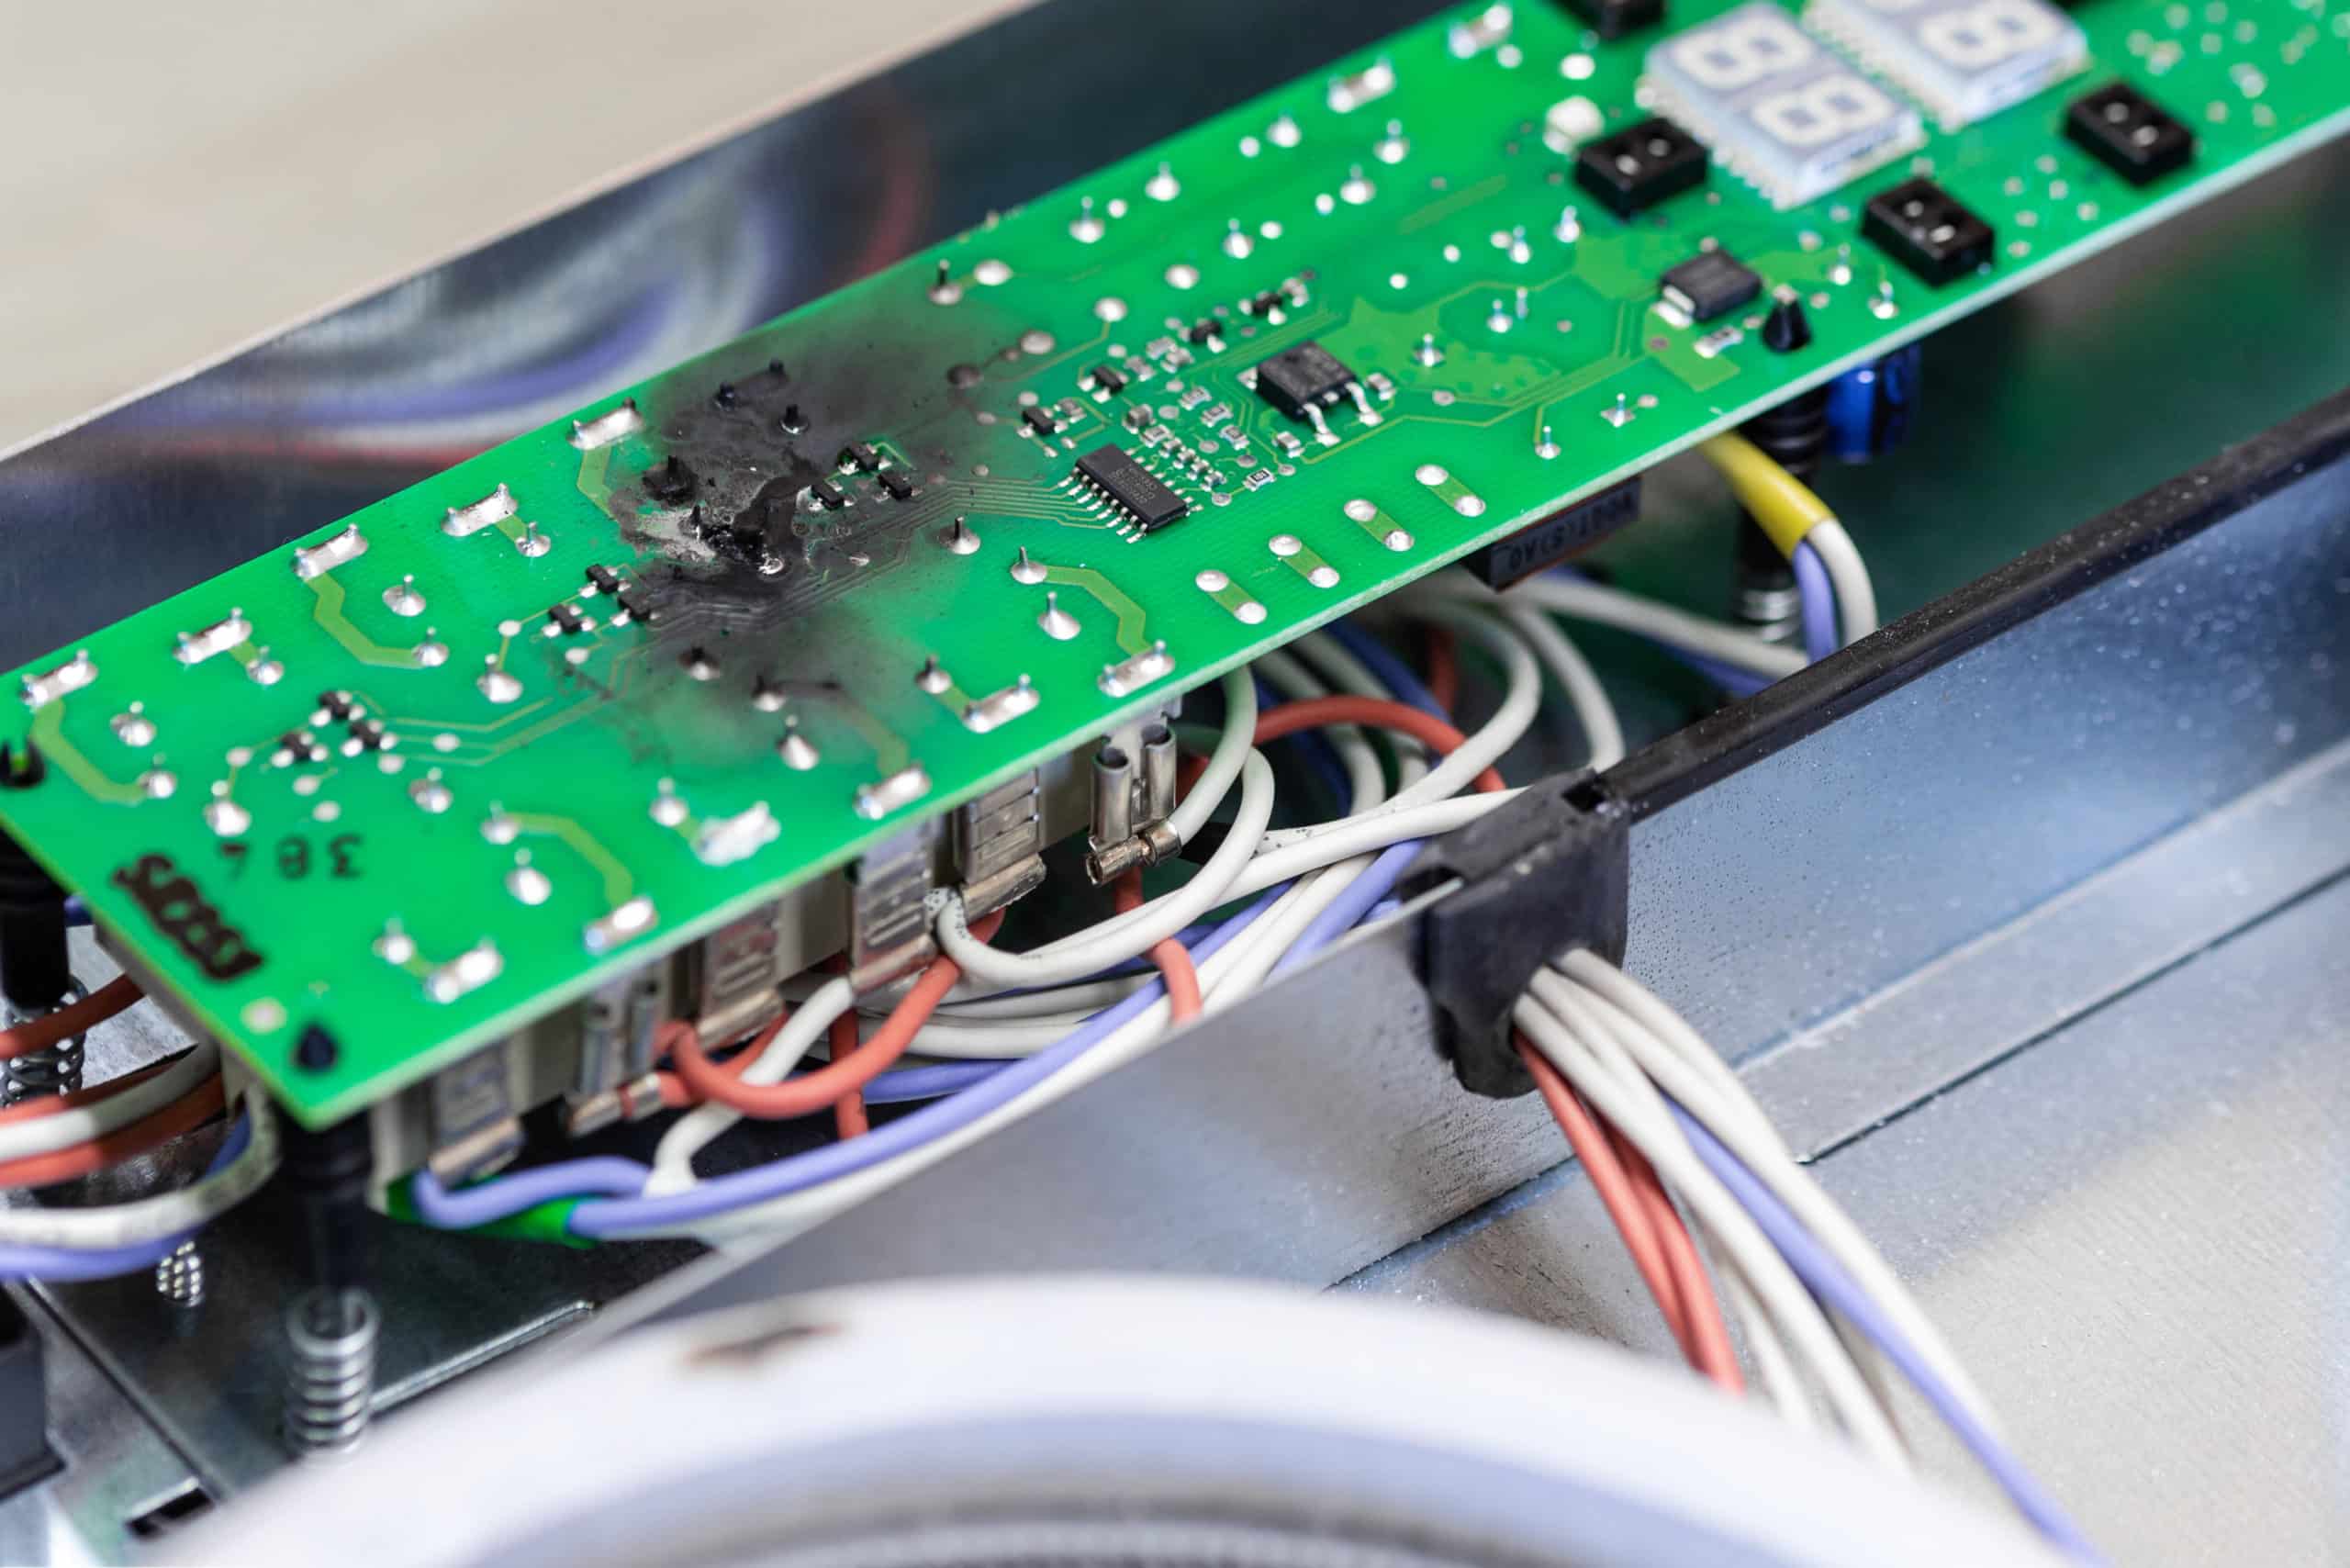
Installation issues can link to performance problems, and you will often notice new users complaining about Daybetter LED lights not working.
In this situation, you can go through the following troubleshooting steps to get the Daybetter LED lights working again.
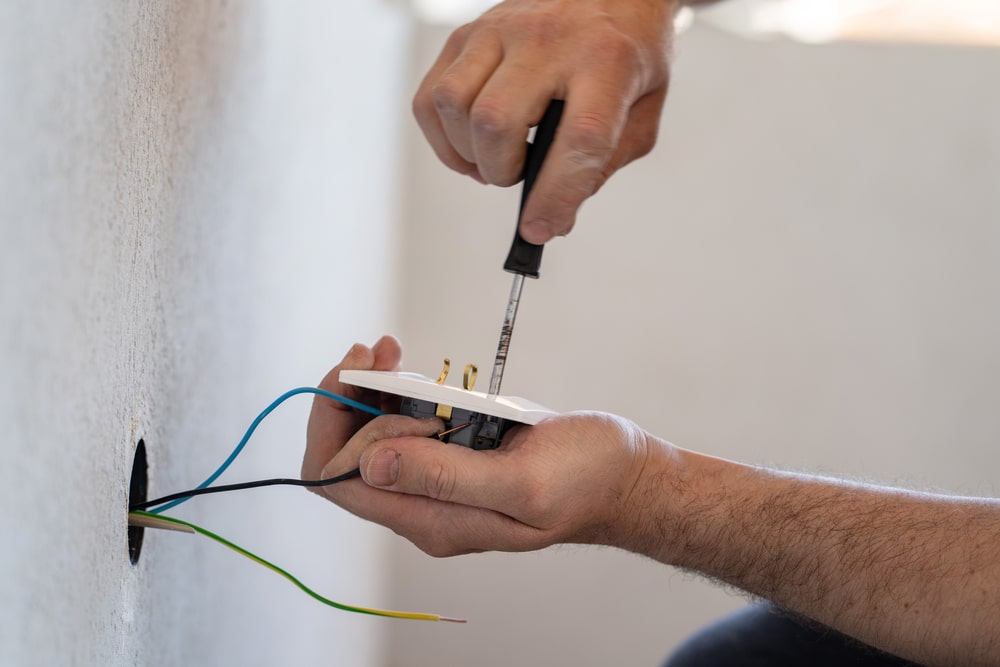
- Check Power Supply
The power supply and the voltage from the source should be the first things that you need to look at if the Daybetter LED lights are not working.
There is a good chance that you’re running into compatibility issues with the power supply, and you have a look towards another power source for the lighting solution.
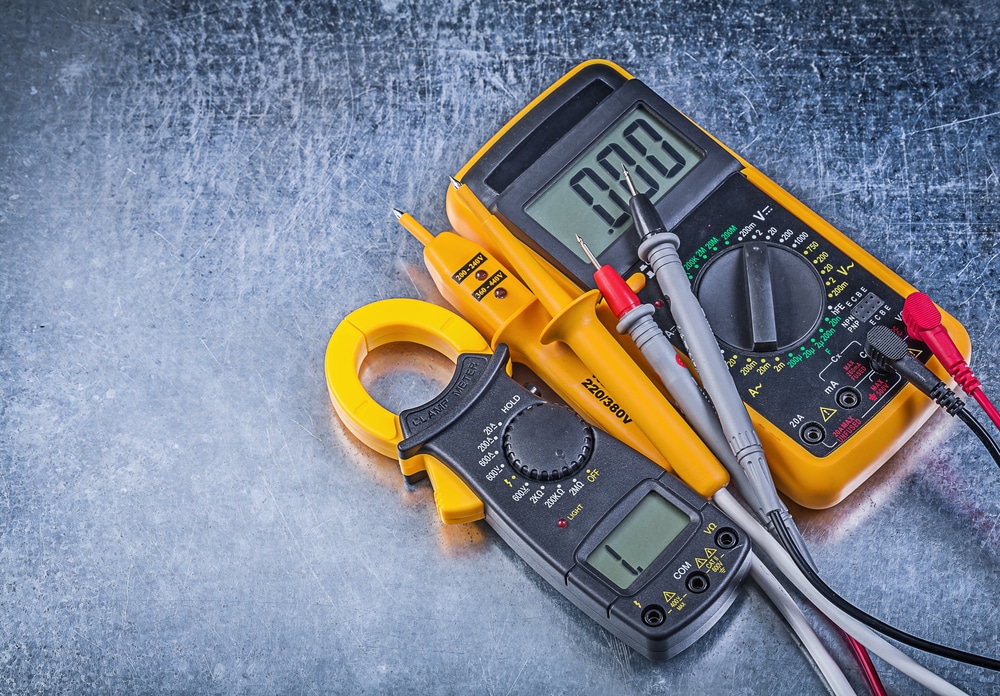
To check the voltage, you can directly link up a multimeter with a setup and check the reading on the device.
If the reading on the measuring device doesn’t match the demands of your LED lights, then you’ll be sure that the LED lights are fine and the issue is with the power supply.
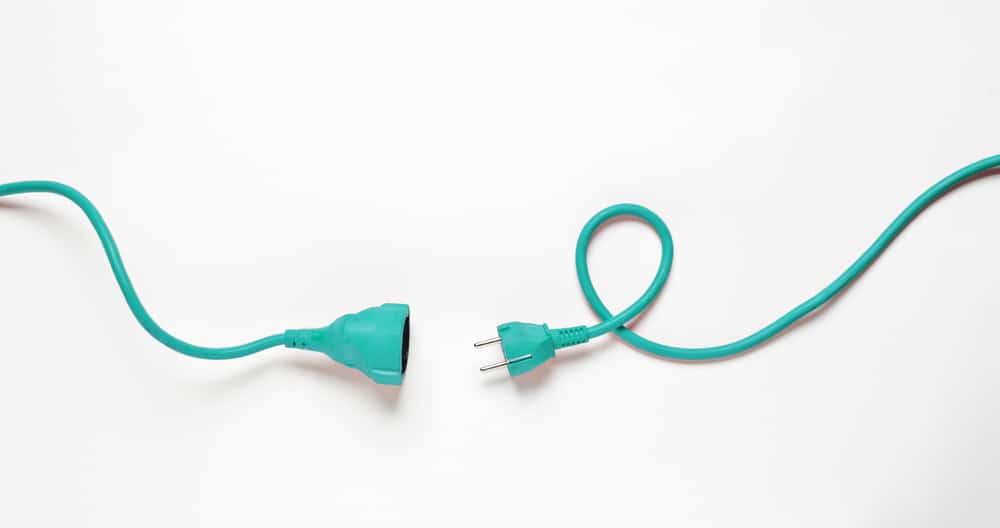
- Fix Connection
Loose connections are next on the list of potential issues that can lead to Daybetter LED lights not working.
So, if you’re sure that the power source is compatible with the LED lights, check the loose connections on your setup.
There is a chance that the power flow will be interrupted because of improper installation of the LED lights.
Luckily, you won’t have to replace anything to get ahead of this issue with the Daybetter LED, and simply tightening up the connection with the adapter is enough. So, go over the LED connections and check to see if the LED lights work for you.
- Secure Pins
The condition of the pins on your Daybetter LED lights also plays a role in the issue with the lights not working.
So, your next step should be to check the integrity of the pins to make sure that they are not damaged.
You won’t need a multimeter for this inspection, and simply checking the physical shape of the pins will give you a rough idea.
If for some reason, the pins are bent out of shape, then the only option you’re left with is to use another strip. Even though you have a chance to fix the pins with a soldering unit, it is best to save time and use a different section.
- Check Cutting Sections
The LED lights provided by Daybetter are only meant to be cut at the predefined sections on the strips.
You can’t really put the strips anywhere you’d like, and the strips will stop working if any region is damaged in an attempt to make a custom cut.
So, if you’re in a similar situation with cuts across your LED strips, then that is likely why the Daybetter Lights are not working for you.
The only thing you can do here is to grab a fresh section of the LED strips for your home lighting. Otherwise, you won’t be able to get the Daybetter LED lights to work for your smart home.
- Fix Controller
If you’re not in a situation with power issues with the device and the LED lights seem to turn on when you plug them in, then checking your controller is the next thing on the list.
In case you’ve had the controller for a while, the batteries might be running low. So, you’ll need to get fresh batteries for your controller.

Once the fresh batteries have been installed in the controller, the Daybetter lights will start responding to the commands, and you will have complete control over the lighting solution installed in your household.
- Check Network
If you’re able to get a good enough response from the lights, but the issue is more related to the smart controls not working with the Daybetter lights, then you need to check up on the network.
There is a good chance that you messed up the Wi-Fi configurations, and the lights are not paired up.
Similarly, there might be other issues with the network not working properly that can include interferences, signal strength, and much more.
So, you should rely on a quick power cycle routine on the router and then try to connect the lights one more time.

That will be more than enough to have you sorted here, and you will not have to deal with more complications.
It all comes down to how you’re planning on addressing the situation, and seeking help from an expert will always make your job easier. Most of the time, limiting the interferences and then improving the signal strength will have you sorted.
So, be sure to keep all of these pointers in mind and then check up on the response from the main unit one more time.
Once the network is perfectly connected, and the signal strength is decent, you will not have to worry about any long-term errors.
This is especially true if you believe that the hardware of the lights is in good shape and there are no errors on that end.
- Replace the Adapter
Similarly, customers have also pointed out that a defective adapter can play a role in this issue. If the condition of the LED strips is perfect and there are no issues with the power source, then it is possible that you’re in the same situation.
The only thing you can do here is to ask the dealer for an adapter replacement.
Finding the right adapter yourself can be somewhat challenging, and if you want to avoid compatibility issues, asking the dealer is your best bet. So, reach out to the dealer and explain this situation to him.
- Reset Daybetter Lights
Resetting the LED lights is also a decent solution if you’re sure that there are no hardware problems with the device.

So, if the problem is not fixed at this point and you’ve tried all of the methods mentioned here, simply reset the Daybetter LED lights to factory default and then try to operate them again.
Ideally, the lights will start working at this point if you are dealing with any bugs in the programming of the unit.
However, if the issue remains after resetting the Daybetter LED lights to factory default, then you’re likely dealing with a defective batch.
Unfortunately, there isn’t much that you can do about this situation, and you will have to involve the dealer.
- Claim Warranty

If your purchase was recent and the strips or adapter were damaged from the start, then claiming the warranty is the only solution.
You need to involve the dealer and forward a warranty claim after explaining the situation. If your warranty is valid, then you can secure a replacement without having to spend additional money.
The majority of the time, you will only have to worry about the power issues with the Daybetter LED lights, and all issues will be fixed once you change the power source and fix the loose connection.
However, if you’re still unable to get any response from the lights, then the lights are likely defective.
Wrapping Up

The issues with the Daybetter lights not working are more common than you might think. It all comes down to how you’re planning on addressing the issue, and having an expert to help you is not that bad of an idea.
So, if you can spare a few bucks, be sure to hire a local contractor for help here. If the issue is purely related to the programming side of things, fixing it will not be that difficult for you.
A quick reset and the adjustment of the continuations will be all that you need to address these errors. From there, you can check up on the response from the main unit one more time.
On the other hand, if the issue is with the hardware, then the situation can become a bit more serious.
You will not be able to secure any decent response from the system when the hardware is damaged, and you will need to ask for a replacement by claiming the warranty.
The warranty deal on these units is pretty decent, and you can reach out to the dealer at any time to secure a new piece if the current one is defective.
He will take a while to verify your claim, but it will not be that challenging to get a new piece when you’re struggling with these complications.
My new lights keep shuting off.