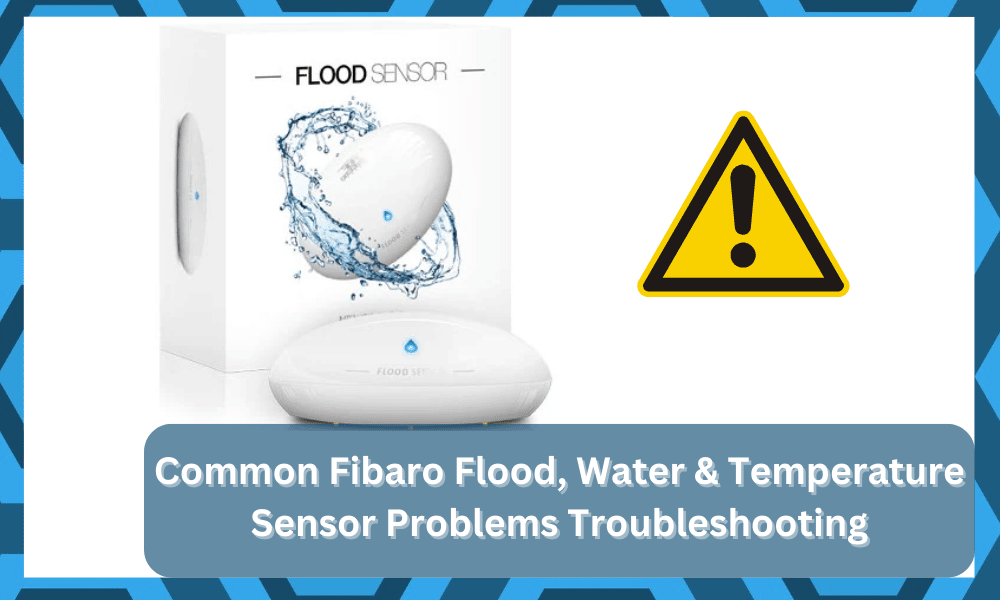
Fibaro has designed a wide range of sensors, but their floor, water, and temperature sensor are the most popular as it’s available in the form of a homekit.
The sensor is designed with a water leakage detector that promises protection from water damage. The sensor can be connected to the iPhone for real-time notifications and alerts.
In addition, there is a sound and visual alarm in the sensor, which means you can use it as a standalone device. Also, it has a simple installation process.
Common Fibaro Flood, Water & Temperature Sensor Problems Troubleshooting
However, there are some issues with this sensor that users must know about.
So, to help you out, we have common Fibaro flood, water & temperature sensor problems troubleshooting in this article.
- Sensor Is Not Connecting
The sensor homekit has to be connected to the devices to provide information about the water and temperature levels.

However, if the sensor is not connecting to the devices, we recommend that you locate the “remove to pair” tab and remove it. You have to pull on it to take it out before making the connection.
Once the tab has been removed, you have to tap on the connect button and press it for ten seconds while installing the battery.
As a result, the LEDs on the sensor will start blinking, indicating that the sensor has connected. In most cases, people forget to remove the tab, which leads to connectivity issues.
- Battery LED Is Blinking
If the battery lights on your sensors are blinking, it’s likely that the batteries are loose and the battery connections are adversely impacted.
We recommend that you check the back of the sensor to take out the batteries and make sure the batteries are inserted firmly into the bracket.
Secondly, you have to check the battery terminals because corroded terminals create connectivity issues.
If the terminals are corroded, you’ve to clean the terminals with alcohol pads and install the batteries again.
Thirdly, you have to check the orientation of the batteries. This is because the negative terminal of the battery should be connected to the positive terminal of the battery bracket.
Once the battery installation is optimized, the battery LED will become stable, and the sensor will keep working properly.
However, if these solutions don’t resolve the blinking battery LED issue, you should contact the customer support team to check the battery LED because it might be fuse.
- Giving False Alerts


If the sensors are giving you false alerts, it’s likely that you haven’t placed the sensor in the house properly.
First of all, you have to ensure that the sensor isn’t installed in a puddle of water or there isn’t excess moisture built up on the sensor. If the sensor has moisture, you must clean it to get the correct readings.
Secondly, you have to check the sensor for dust and dirt buildup. If the sensor is dirty, you must use a damp and clean cloth to clean the sensor.
Once the sensor is clean and dry, install it correctly in your home to make sure the readings are on point.
- Reporting Issues

The reporting issues are common with this sensor, but they aren’t very serious. In most cases, double-checking and optimizing the range between the sensor and hub will resolve the reporting issues.
We recommend that you move the sensors and homekit closer to each other to optimize the readings. However, if this doesn’t work, you should change the location of the hub or homekit.
Ideally, you have to ensure that there are no thick walls and physical obstructions around the sensors to make sure the readings aren’t interrupted.
- The Sensor Keeps Saying Wet
If your sensor is stuck on the same status, either dry or wet, it’s likely that the sensor is damaged. In most cases, it happens when the sensor is drenched in water.
The solution is to leave your sensors turned off and in upside down position for a few hours to make sure the water is cleared from the unit.
However, if water removal doesn’t work, you will need to call Fibaro for a warranty claim and get the sensor replaced.
- Application Is Not Responding
The sensor has been designed with a smartphone app, which makes it easier to keep an eye on the water and temperature levels.

However, if the smartphone app has stopped responding, we recommend that you reset the app.
Resetting the app takes only a few minutes because all you’ve to do is to remove the stored cache and data.
For this purpose, you have to open the settings on your smartphone, go to the Fibaro app from the app list, and tap on the “clear data” and “clear cache” buttons.
When the stored cache and data are deleted, the app will be reset, and its backend issues will be resolved. Also, it will reset the smartphone app, and the app will start responding properly.
- LED Lights Aren’t Working

There are various LED lights on the sensor, which help keep an eye on the progress of the homekit. However, if the LED lights have stopped working, it’s caused by hardware issues or battery issues.
The simplest solution is to replace the batteries in the sensor. We recommend that you take out the old batteries and install the new ones.
You can consult the manual to determine which batteries have to be used.
On the other hand, if changing the batteries doesn’t work, it’s likely that the internal components or the LEDs are damaged.
For this purpose, you should reach out to a professional electrician, and he will help you identify the hardware issues and resolve them.
Also, the damaged components should be replaced because the repair isn’t a long-term solution.
- Sensor Isn’t Turning On
The sensor has been designed with a homekit, and if your sensor and homekit aren’t turning on, it’s likely that the batteries are drained.
The immediate solution is to change the batteries and make sure you purchase high-quality batteries.
Also, if possible, you should purchase rechargeable batteries, as you can recharge them whenever they are drained.
However, before you install the new batteries, check the battery terminals to make sure they aren’t loose. If the terminals are loose, you must get them tightened up before installing the new batteries.
- Flashing Incorrect & Zero Readings
The sensor is designed with a digital panel, which shows the readings in the form of numerical values. However, if the readings are zero or incorrect, it’s likely that the sensors are dirty.

You can use a compressed air can or alcohol pads to clean the dust and dirt. In addition to cleaning the sensors, make sure that the sensors are aligned horizontally to prevent errors in reading.
In case nothing optimizes the readings, it indicates that the sensors are damaged, and the only solution is to replace the sensors.
However, before you replace the sensors, double-check all the wiring connections and tighten up the loose ones. On the other hand, if some connections are broken, install new ones!
- Temperature Indication Is Too High
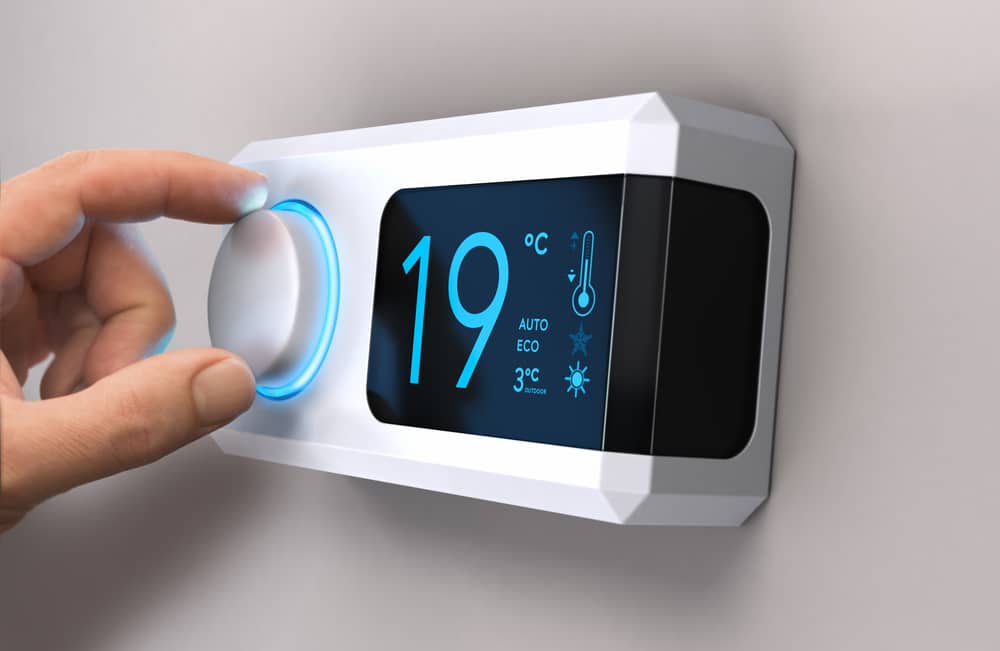
The Fibaro sensor has been designed to monitor the temperature, but if it constantly shows high temperature, it’s likely that the lead resistance is too high.
The immediate solution is to install large-size wires to make sure the readings are correct. In addition to this, you have to invest in sensor head transmitters.
Secondly, many people make the mistake of using extremely long lead lengths, but it can result in high-temperature indication. If your lead lengths are long, we recommend reducing the length.
- Temperature Reading Keeps Changing
If the ambient temperature seems the same, but the temperature reading on the sensor keeps changing, you have to check the sensors.
This is because if the sensors have contamination or moisture buildup, the temperature reading will be impacted. So, just inspect the sensors and clean them.
The moisture can be cleaned with a dry cloth, while contamination has to be cleaned with damp cloth or alcohol pads.
On the other hand, if the sensors are already clean, we recommend that you insulate the terminals thermally – it will bring the temperature into the same change and prevent erratic fluctuations.
- Indications Are Changing Over Time
If the indications on the sensors are changing with time, it’s likely because of thermal aging. Thermal aging includes drifting of the measuring resistor.
To fix the indications, we recommend that you recalibrate the sensors properly – you can consult the manual for the calibration process.
On the other hand, if recalibration doesn’t work, the only option is to replace the sensor.
- Weird Noises
If the sensor has started making weird noises, it means that you haven’t leveled it properly. This is important because the sensor shouldn’t rub against the installation belts.
So, check the installation and level the sensors properly. On the other hand, if the sensor’s leveling is correct, but the sensor is still making noises, you should hire a technician for professional help!