Bissell Crosswave Cordless Max offers a self-cleaning structure and is incredibly easy to maneuver with its 11-pound structure.
Even if you don’t have much experience with vacuum mops, this device will fit in your hands perfectly.
Moreover, the error indicators will keep you updated regarding any internal issues with the device.
So, if you ignore the maintenance of the unit, these indicators will quickly light up, and you can go through the manual to isolate this issue.
The good thing here is that you won’t have to go through extensive troubleshooting routines if the hardware is in good shape.
So, when the Bissell Crosswave Cordless Max internal error presents itself, just try following some of these fixes.
Bissell Crosswave Cordless Max Internal Error
- Try Power Cycling Crosswave

The simplest fix to help you through these internal errors is to power cycle the machine. You can remove batteries directly from the device and then let the device sit for a few minutes.
Most of the time, these are just programming issues and refreshing the system should be enough to address this complication.
So, power cycle the machine and then check the response from the cordless cleaning system. It should work without any further errors.
- Re-adjust Machine On The Dock
Sometimes, the fix for Bissell Crosswave cordless max internal error is to simply readjust the machine on your charging pad.
This should be enough to align the contact points, and if your battery is in good shape, the problem will be first right here.
However, if you have not serviced the unit in a while, the smarter thing to do is to grab a wet cloth and get rid of all the gunk from your unit.
That way, you won’t have to worry about obstructions creating alignment issues with the machine.
- Clean Contact Points
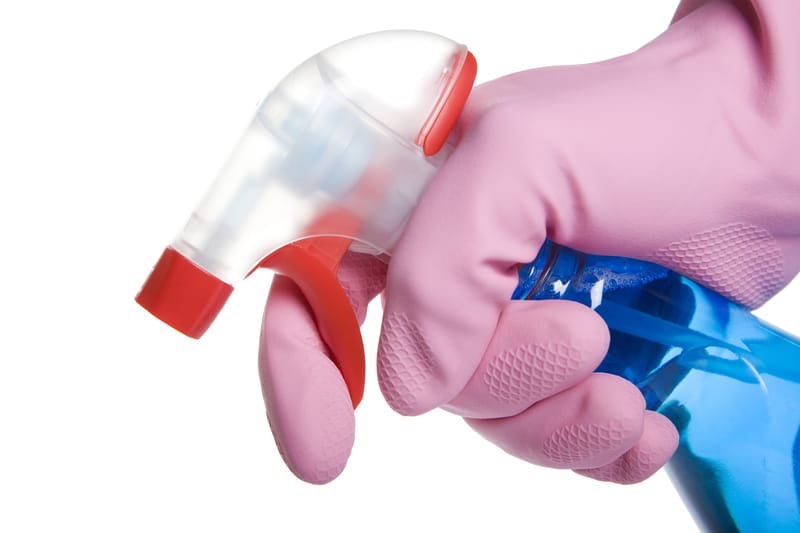
The contact points should be inspected next as they can be a significant determinant behind this issue. You can rely on any cleaner from the market to fix these contact points.
Simply spray the cleaner on the contact points and then gently rub it with a microfiber towel will be sufficient for this situation.
This will streamline the power flow between the charging station and the main unit to address these internal error issues.
- It Might Be Time To Get A Battery Replacement
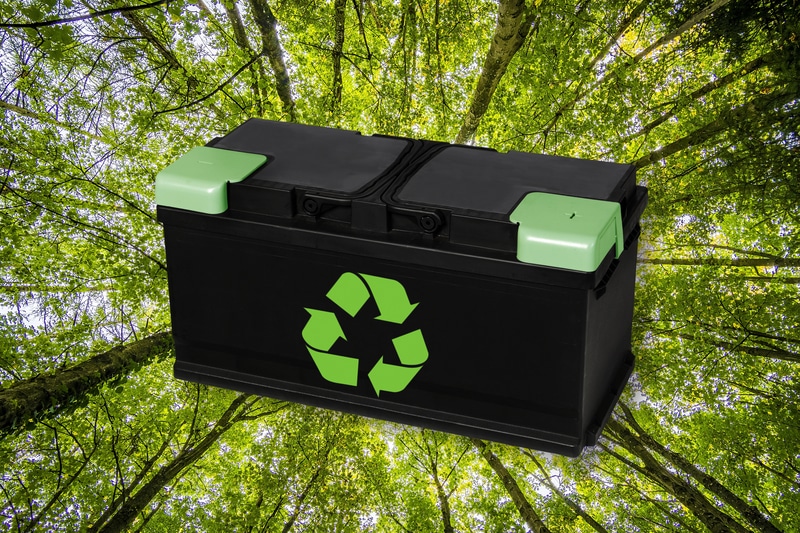
At this point, there is a decent chance that you’re dealing with a defective battery. If the battery is indeed defective, there isn’t much that can be done here except to purchase a replacement.
However, if you’re lucky and the battery is in good shape, just reinstall the battery.
Make sure that the compartment is not damaged and the orientation of the battery is correct. Most of the time that should be enough to address all battery-related issues.
- Try Resetting The Bissell Crosswave Unit
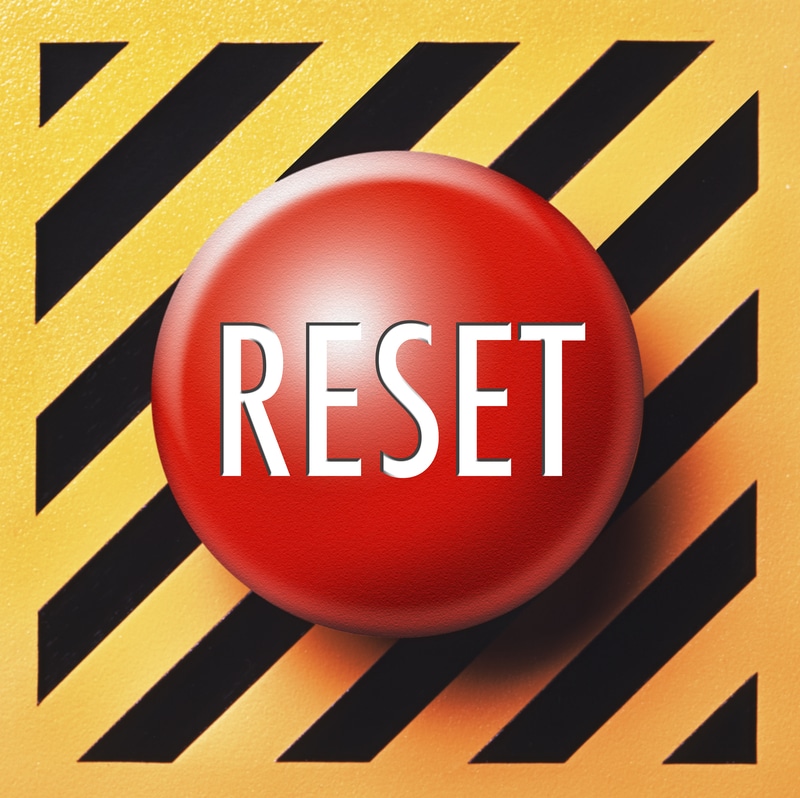
If you’re sure that the hardware of your Bissell Crosswave system is optimal and there is nothing wrong with the device itself, a quick reset will address all programming-related errors.
So, when the problem with the Bissell Crosswave internal errors persists at this stage, just go through the reset routine.
You don’t have to worry about wiping the configurations as it is not that hard to get through the initial setup.
Depending upon the model you own, simply holding down on the reset button for around 10 seconds will do the trick.
You will hear two audible beeps from the unit, and it will proceed with the reset process. Just for a few minutes for the vacuum mop to become functional again, and then you can test out the device after the initial setup.
- Check For Hardware Issues

The hardware issues might also be at fault here. Ideally, all software-related problems will be addressed once you reset the unit.
However, there is no harm in cleaning the device and ensuring the integrity of the battery to isolate the issue.
If none of the methods mentioned above help you with the machine, then all fingers point towards hardware issues.
Sadly, there isn’t much that can be done about hardware issues. You will have to rely on expert support to get through these problems, and contacting the dealer for a warranty claim might be your only move.
So, make sure to contact the Bissell Dealer and have him provide you with a replacement after verifying the warranty claim.
- Try Seeking Help from Official Support

Seeking help from official support will help you further narrow down the exact problem with the machine.
It can take a while for these professionals to respond, and you should focus more on refreshing the device programming by resetting it one more time.
Hopefully, you will be able to secure a response within one or two business days. All you need to do is to provide them with a complete description of the issue along with details on all the fixes you’ve tried so far.
That will make it much easier for them to narrow down the actual problem.
- Take Your Unit To The Nearest Bissell Repair Center

Lastly, if you’ve had the unit for years and the warranty has expired, then it would simply be more efficient to take your device to the nearest Bissell repair center.
They will take a look at your unit and will fix the device for you. You won’t have to wait for days to get your device back, and usually, going with a certified repair center is more suitable for a budget.
So, browse through the official Bissell web page to find a repair center near your residence.
In the majority of cases, customers were able to address their problems by simply power cycling the device and changing the battery.
So, if you’re lucky, you won’t have to go through all of these fixes, and the device will start working right away.
However, if the issue seems to be out of your control, then seeking help from official support is the best option. Hopefully, they will make the troubleshooting process much easier for you.