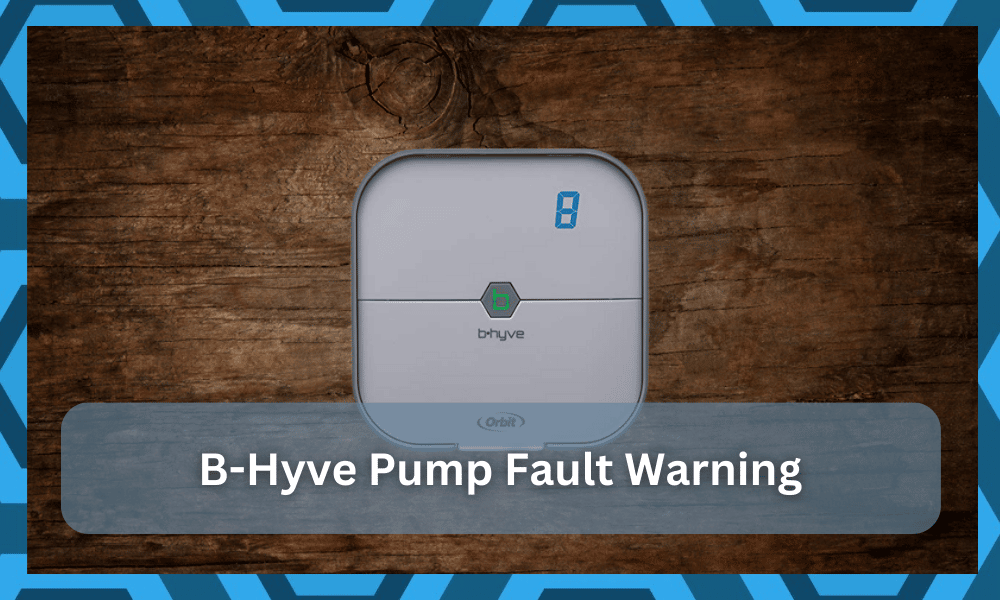
The pump fault warning on the B-Hyve system informs users about possible sorting issues with the wiring connected to one or more pumps in the irrigation system.
So, you’ll be able to easily keep track of these errors by adjusting the wiring cluster and making it more secure.
According to the professionals working at Orbit, this error presents itself when users try to surpass the number of valves attached to a single terminal.
All that you have to do is to limit the number of valves, and you will be sorted most of the time when it comes to the pump fault warning.
However, other wiring issues also play a role in this situation, and you will still need to identify the voltage flow through the system.
So, the fix is not that straightforward for all customers, and you will have to spend a bit of time trying to manage the unit.
Most of the time, it is not that hard to narrow down the problem using a multimeter.
So, if you’re stuck in the same issue with the B-Hyve pump fault warning, try out the following fixes to get the system working again.
Dealing With The B Hyve Pump Fault Warning
- Try Running the Station Manually
To narrow down the issue, you should first check the station manually.
Remove the terminal from the station, and then try to run a quick cycle. Ideally, you will get a complete idea of the performance after one to two minutes.
If the station works perfectly when the wires are removed from the terminal, then you need to grab a multimeter and check the wiring.
On the other hand, if you still get the same issue and the station won’t respond, then the station is defective.
- Check Pump Relay
The pump fault warning can also be traced back to a defective relay. If the message doesn’t appear when you remove the wiring from the terminal, it is time to grab a pump relay replacement.
The good thing here is that this replacement is not that expensive, and you will be able to quickly install the replacement.
So, if you’re in the same situation, there is no need to call an expert, and you will be able to change the relay yourself.
- Limit The Number Of Valves
The B-Hyve unit only supports a limited number of valves through each terminal. Most of the time, users are not aware of the limit, and they connect an extensive list of valves with each terminal.
This situation leads to a pump fault warning, and you won’t be able to get the device working if multiple valves are attached to one terminal.
So, even if the wiring is in good shape, try to remove a few connections and then check for the same error message. Hopefully, the issue will be fixed at this stage.
- Check For Crossed Wiring
Sometimes, the issue with the pump fault warning is as simple as crossed wiring and damaged connection points.
You will have to isolate the problem by thoroughly inspecting the wiring structure and narrowing it down to kinked or frayed sections.

If the wiring seems to be in poor shape and you’re sure that the amperage limit has not yet been breached, then changing the wiring is a good decision.
Make sure that the wiring structure is managed properly and that there is sufficient spacing between the wiring.
Otherwise, you will be dealing with similar situations in no time, and the pump fault warning will present itself.
- Replace Solenoid
The condition of the solenoid is another reason behind the pump fault error. So, make sure to test out the functionality of the solenoid through the multimeter.
If the solenoid is not working perfectly, then replacing the solenoid is the only real option. Ideally, testing out the solenoid with a multimeter will give you a complete perspective on the issue.
However, if you don’t have a multimeter, then any other voltage-measuring device will do the trick.
- Reset The Controlller
At this point, you need to shift your focus toward the controller’s programming. You can never really rule out the possibility of programming issues, and trying to adjust the timer accordingly will help you here.
All it takes is a quick reset to adjust the majority of the programming errors.
However, before you wipe away everything from the unit, try to power cycle. The machine is not that bad of an option.
All that you have to do here is to remove all the power from the unit and then keep it removed for about 20 minutes.
From there, you can resupply power to the unit and then turn it on. If you’re lucky, the issue with the programming will be addressed right here, and you will not have to deal with more errors down the road.
However, if you’re not that lucky and the issues with the pump fault warning are still there, then you have to proceed with the reset.
The reset routine can vary depending on the model of the unit you own, and you will have to refer to the manual for detailed instructions.
Still, the basic method will follow opening up the front panel and then making use of the reset button.
It will take a few seconds at max, and you will be able to secure a good enough response out of the unit. So, be sure to proceed with the reset, and you will be sorted in no time.

It all comes down to how you’re planning on limiting the programming errors, and a reset might just be the only solution for some owners.
- Check For Water Intrusion
Checking the unit for water intrusion is not a bad idea either. While this irrigation system is primarily meant to control the water flow, the connection points are still not that robust.
You will have to rely on basic maintenance and insulation to avoid issues with water intrusion.
If the controller is installed near a valve, you have to make sure that the valve is not leaking and that the connection points are safe.
Sometimes, blasting the unit with compressed air will further improve your situation as you address minor issues with the power flow inside the system.
So, be sure to keep track of all of these pointers when you can’t seem to secure a good enough response out of the unit.
Hopefully, you will not have to deal with much hassle if you keep track of the installation instructions perfectly.
Similarly, if you do find there to be water damage, try removing all power and drying out the unit completely.
From there, you can replace the connectors with waterproof options and then try the connection routine one more time.
Ideally, you’ll be sorted out right here and won’t have to deal with more errors.
However, we will still recommend that you involve an expert in the final purchase decision.
Seeking some pointers from an expert is never a bad idea, and you need to take guidance from the official support members here.
They will make your life much easier, and you will not have to struggle with a ton of errors as you’re trying to secure a decent enough response from the unit.
So, be sure to keep these details in mind, and you will be sorted in no time.
- Get A Timer Replacement
Lastly, if you’re still stuck in the same situation, then now might be the time to get a timer replacement. There is a decent chance that your timer is not functioning properly.
So, if you’re absolutely positive that the wiring is in good shape, then call the dealer for a timer replacement.
Depending upon the warranty status on your timer, it shouldn’t be that difficult to secure a free replacement for the unit.
All in all, you can follow these options to get the system working again.
Most often than not, fixing the wiring would get everything working again. So, check the connection points and test out the station one more time.
Wrapping Up
These are some pointers that you need to consider when trying to manage your B Hyve system.
The issues with the pump fault warning are not that rare, and you will find a fair bit of customers complaining about this problem. However, that doesn’t mean that this error is that hard to fix.
All that you need to do is to keep track of a few pointers here and there while also adjusting the power flow, and you will be done.
You can also get help from professionals when struggling with these issues, as they can be hard to manage sometimes.
Ideally, you will not have to deal with any extensive errors, and fixing the unit will come easily to you.
However, that doesn’t mean that you should spend hours of your time trying to experiment with different configurations and wiring orientations.
Spending a few bucks to hire an expert will always be the best option if you’re aiming for performance consistency.
So, be sure to keep track of all of these pointers, and an expert from the official support team will help you figure out the errors with the unit.
pump always on. doesn’t matter if no stations are on.