If you often notice your smart camera’s batteries running out of charge, then Arlo offers the best solution for such circumstances through their solar panels.
Even though these are great for charging your camera’s batteries, certain users have started complaining about these not working.
Most of the time, you will find that all of the issues are related to the installation of the panels, and you will have to go about addressing the situation accordingly.
There are no quick fixes when it comes to addressing the installation errors, and you will have to go about reading the manual again.
This is especially true for owners that tried to save a few bucks on the installation cost and tried to install the system themselves.
So, if you’re in the same boat, and the response from the system is not optimal, it is a good time to check up on the installation.
Usually, owners mentioned how their Arlo solar panel is not charging for some reason.
To help such users be able to resolve this problem, we will be listing some of the most effective solutions that can be tried for fixing this annoying error. So, let’s have a look!
How to Fix Arlo Solar Panels Not Charging?
- Inspecting the Arlo App
In case you weren’t aware, you can use the Arlo app to check the different states of your solar panel.
For instance, if you see a full solar icon with a filled bar, then that means your battery is fully charged. Similarly, a full sun icon with an empty bar means your battery is charging.
Though if you aren’t able to see any icons at all, then this points to the charger or battery status being currently unavailable.
This will help you get a better perspective on the situation, and fixing the issue will become much easier.
So, before anything else, you should start out by checking the Arlo controller application and then go about fixing the situation accordingly.

Hopefully, you will find the issues to be minor programming errors, and adjusting the cables, as well as the positioning of the panels, will have you sorted out.
- Checking for Compatibility
Unfortunately, not all smart cameras are fully supported by the Arlo solar panel. This leads us to believe that you could be using a device that does not support the feature of solar charging.
However, if you want to make sure whether that is the case, then you will need to visit Arlo’s official site and check the compatibility list.
If you aren’t able to find the model of your camera in the list, then that means you won’t be able to get it charged regardless of what you do.
There are no quick methods of getting around this situation, and you will have to grab a fresh piece.
Otherwise, you will remain stuck in these errors, and fixing the unit will be pretty challenging for you. You can get more details on the compatibility side of things by asking the official Arlo support team.
- Re-plugging the Cables
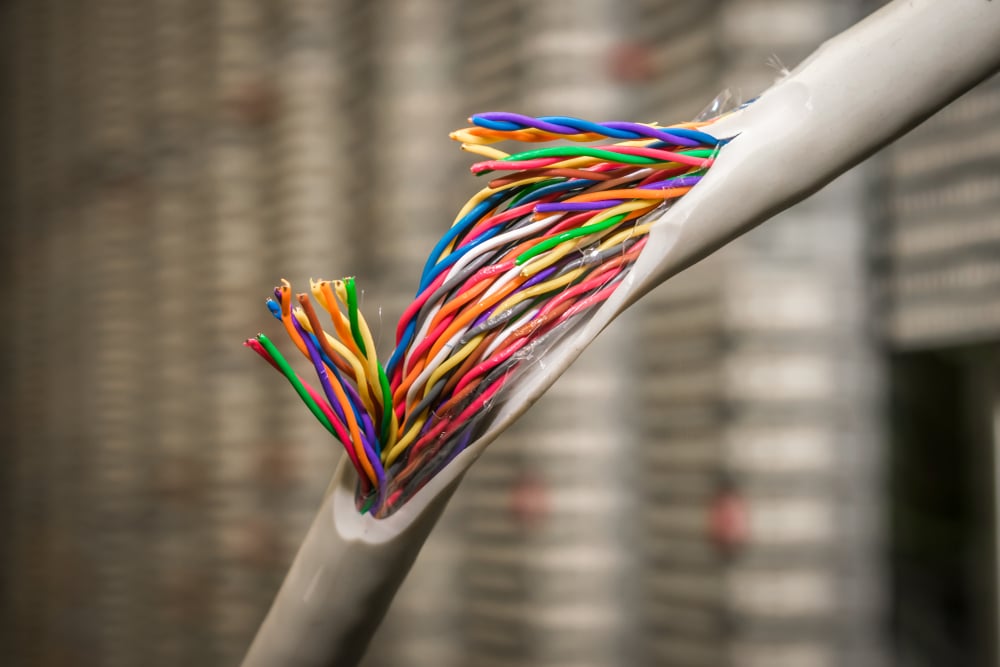
As simple as it may sound, there’s still a chance of the cables not being properly inserted into the solar panel.
In such cases, you will have to unplug the cables, followed by reinserting each one of them at the respective ends of the solar panel.
Once you have verified the connection, your camera should detect the solar panel. Just in case, we also recommend that you check the wires for any kind of possible damage.
In case of any damage, you will have to replace the wires completely.
There are no quick methods when it comes to fixing the wiring, and you will have to go about getting yourself new cables to connect with the panel.
Without a proper channel, the power won’t be able to flow out of the panels, and you will remain stuck in these issues.
So, to avoid this problem down the road, all that you have to do is to re-plug the cables and then check up on the wires for damages.
- Obstruction
Your solar panels won’t charge if there is any sort of obstruction along the way.
Even if you have the solar panel directly pointed at the sun, if there is an object like a tree or a building blocking the view, your solar panels will start to act up.

To fix this, you will have to reposition the solar panels at a spot where there isn’t any kind of obstruction.
This includes any shade or any decoration piece that might look attractive but casts a shadow on the panel.
This will not only decrease the charging performance, but you will also struggle to get any response from the unit.
So, be sure to keep these pointers in mind, and you will not have to deal with more errors down the road.
You can also go through the installation guide one more time if you’re unsure about the proper orientation and the desired positioning of the panels.
That should give you more perspective on the issue, and you will not have to worry about the Arlo panels not charging.
- Ensuring a Full Charge
One thing to keep in mind regarding the solar charge is that it isn’t supposed to charge your cameras from low to high.
Instead, the solar panel charger is designed to provide trickle charging to your camera.
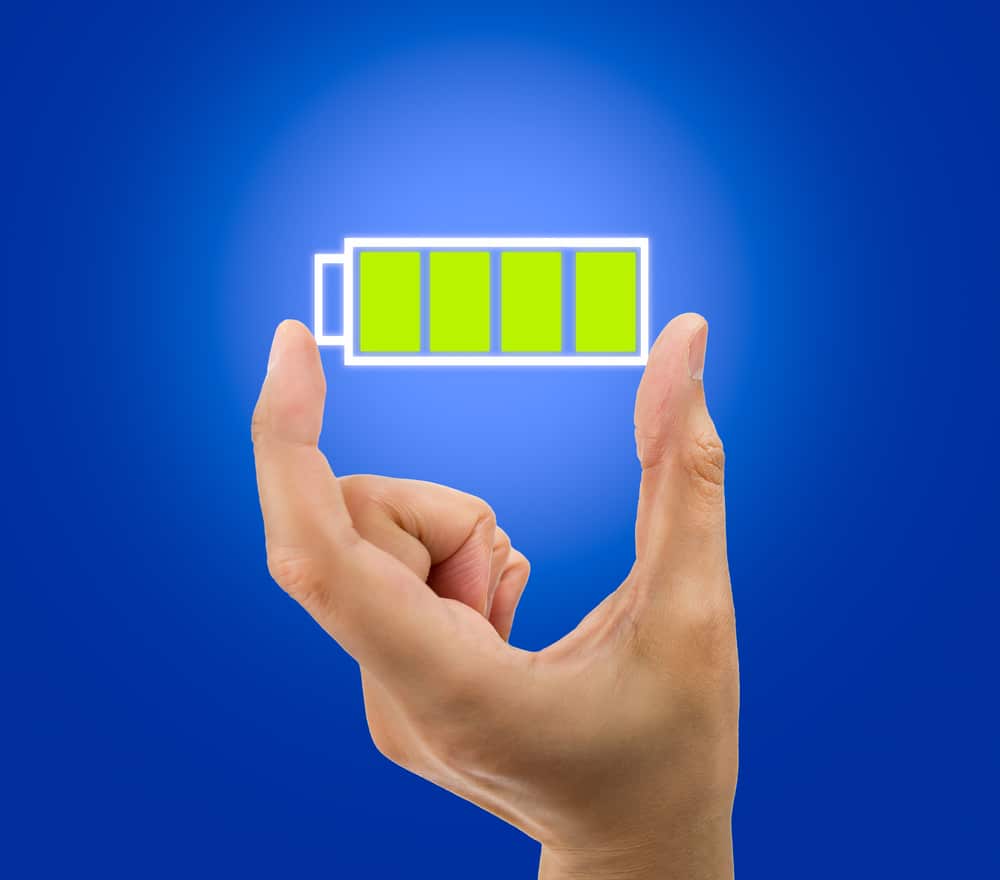
This is why you have to make sure that your camera is fully charged when you connect the solar panel to your camera.
Likewise, we also suggest checking if the batteries are even inserted inside the camera.
- Cleaning the Panels
One last thing you can do is thoroughly clean the panels using any damp cloth that you can find.
You will need to remove any sort of dirt or debris that could be blocking the sunlight from getting directly into the panels.
Over time, these panels can get dirty, especially because they are placed outside. So, now and then, make sure that you clean these panels thoroughly.
This is especially true if you have not been keeping track of the maintenance over the past few months.
All that you have to do in most conditions is to wipe away the gunk from the units and then plug them up again.
Hopefully, that will be enough to help you get a decent performance out of the panels.

It will take a bit of time to get a reasonable response from the panels, and there are no quick fixes here. So, be sure to keep all of these pointers in mind, and you will be sorted accordingly.
- The Panels Might Be Damaged
Lastly, the only thing left to check is the hardware side of things. There is a good chance that the panels are damaged, and you can’t do much about this situation on your own.
It is one of the more serious situations, and you will have to check the system for cracks and damaged sections.
Otherwise, you will not be able to figure out the issue, and fixing the unit will become pretty annoying.
After thoroughly inspecting the unit for damage, you can reach out to the dealer and then explain your end. He will inquire a bit more about the issue and then guide you accordingly.
The warranty deal behind the majority of Arlo units is pretty decent. As long as you’re working with a valid warranty, it is not that hard of a job to get a reasonable deal from the dealer.
So, you will have to reach out to the dealer, explain your end, and he will be happy to accommodate your claim.

Most of the time, the verification will be done on his end, and you can further speed up the process by providing a valid warranty.
Ideally, you’ll be sorted from that point forward and won’t have to spend a single penny on getting a fresh system.
The Bottom Line:
If you notice your Arlo solar panel is not charging, then you should start by checking if your cameras are even supported.
There could be some kind of object that could obstruct the view of your solar panels. Likewise, having a panel that is too dirty will create issues with the charging performance.
To learn more about this and how you can fix the issue, be sure to refer to the article above!
Hopefully, you will be able to get the panels working properly and won’t have to worry about any extensive errors when it comes to managing the system.
However, if you’re in a situation where the panels are damaged, then the fix can become quite tricky.
You will not be able to get any response out of the system when the hardware is in poor shape, and it is a good idea to get a fresh piece from the dealer.
The good thing about this brand is that it stands fully behind its products and will support you through every error.
So, all that you have to do is to explain your end and then ask for their assistance.
Hopefully, you will not have to wait a long while to secure a reasonable response from the dealers.