
Your solar-powered path lights are nice, but if they haven’t been charged by the sun in a while, they won’t be able to illuminate the way.
Even if your Ring Solar Pathlight units not charging at the moment, you can use this tutorial to diagnose the problem, fix them, and have them back up and running in no time.
Fortunately, these lights have a very high level of dependability when it comes to charging. In the next five simple steps, you will learn how to troubleshoot your Ring Solar Pathlight.
Ring Solar Pathlight Not Charging
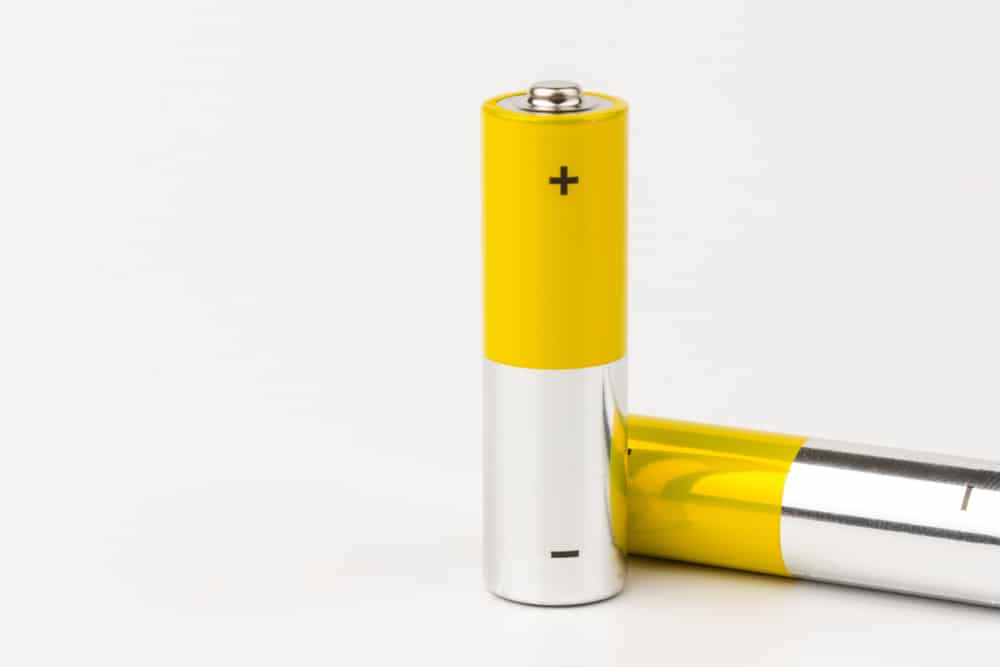
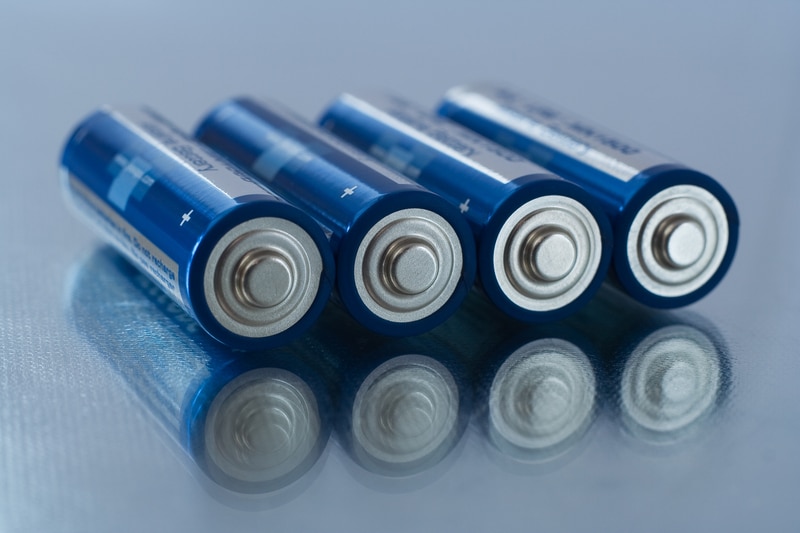
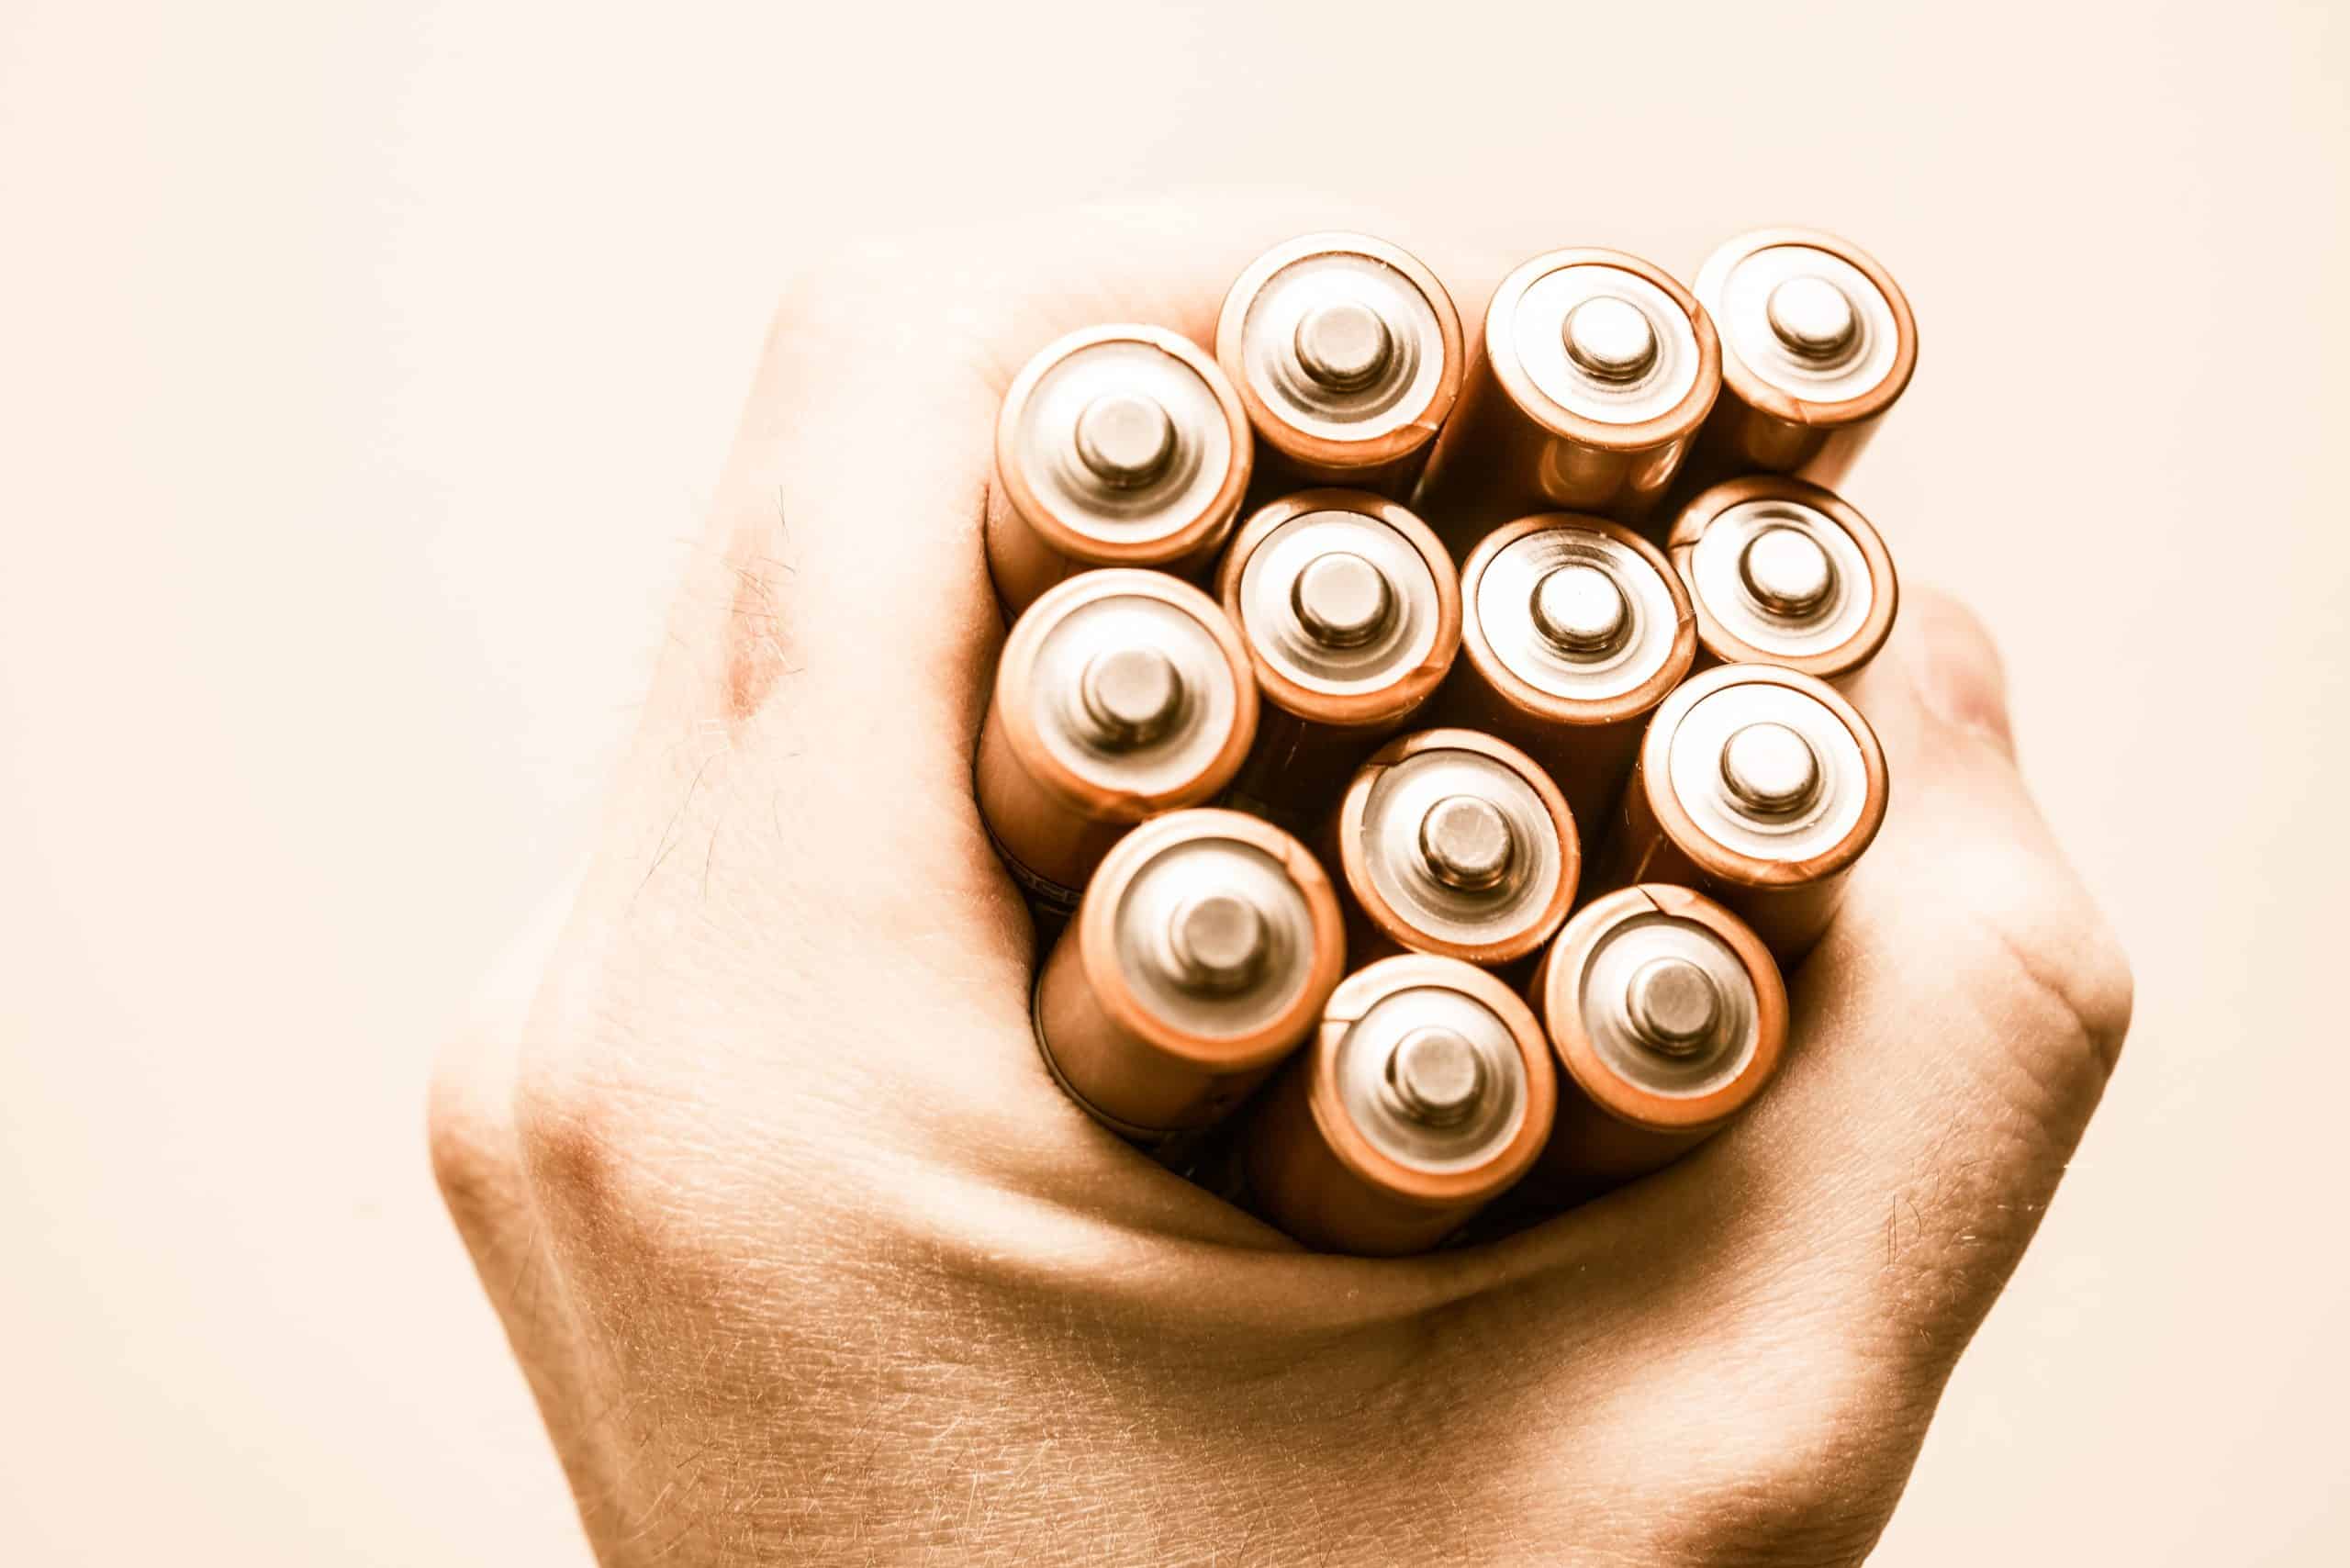
- Test Batteries
In order to check your batteries, you will need to connect a voltmeter across each battery cell. This will allow you to get an accurate reading.
You may borrow one of these gadgets from the majority of electronic retailers if you don’t already own one, and then return it after you have determined the voltage levels in your device.
For the purpose of testing, set each multimeter to 20 volts DC (if they are linked in series), then measure the voltage across each individual battery cell.
If the battery is completely charged, the measurement should be at least 2 volts per cell. If they are not at that level, you need to charge them until they are before continuing with the other stages of troubleshooting.
In addition, you may verify the voltage by removing one or two solar panels from their mounting brackets and making a measurement between the terminals that are labeled positive and negative on each panel.
It is important to avoid touching any metal components when testing since linked panels will continue to emit some electricity even after they have been unplugged.
- Test Charger
In the event that your path light is not charging, it is important to check the charger.
Plug in your lamp, and then use a multimeter to check the voltage as well as the current coming from the charger (you can buy a multimeter from any hardware store).
If you are reading 0V or 0A, this indicates that your charger is either broken or unplugged. If you are reading anything other than these values, then you may go to the next phase in our process.
Check the Battery: Since we’ve established that electricity is reaching your light, the next step is to check that your solar panel is producing the necessary amount of juice to keep it lit.
To do this, remove the battery from your device and expose it to the sun for a period of at least half an hour.
After the first half an hour has gone, place it back into your solar ring and check to see whether it still works.
If this is the case, then you should be relieved since the issue was probably only with the charging time.
- Test Fuse
If the solar-powered light fixture you are using has a fuse, check to be that it is in excellent working order.
If you have an ohm meter, you may use it to determine whether or not there is continuity across it. If there is no continuity, you should try again after replacing it.
If you are still not seeing any improvements, you should try one of the additional troubleshooting methods described further down.
Charge Controller Put to the Test The charge controller is responsible for regulating the voltage coming from the solar panels to ensure that the batteries are neither overcharged nor undercharged.
Disconnecting one of the leads from the battery terminals will allow you to test it. After that, you should attach your voltmeter to this gap between the two leads.
Set your voltmeter to read DC volts (not AC). A measurement between 12 and 14 volts shows that everything is working as it should; a value of fewer than 10 volts indicates that the charge controller is faulty and has to be replaced.
First, Attempt to Clean the Battery Terminals: If the battery terminals are dirty or corroded, it may be impossible for them to make a secure connection with the solar panel connections, or it may even be impossible for them to connect at all.
Sandpaper or a wire brush may be used to remove any buildup that may have occurred on the battery connections.
Check for electricity by connecting solar panels straight to the batteries, as was explained in the previous section.
If you are able to restore power, you should first clean your connections by brushing away any leftover residue and then replacing the terminal covers.
Solar Panels with Defects Should Be Replaced If none of these measures resolves your issue, then it is quite probable that one or more of your solar panels is malfunctioning.
- Readjust The Solar Panels
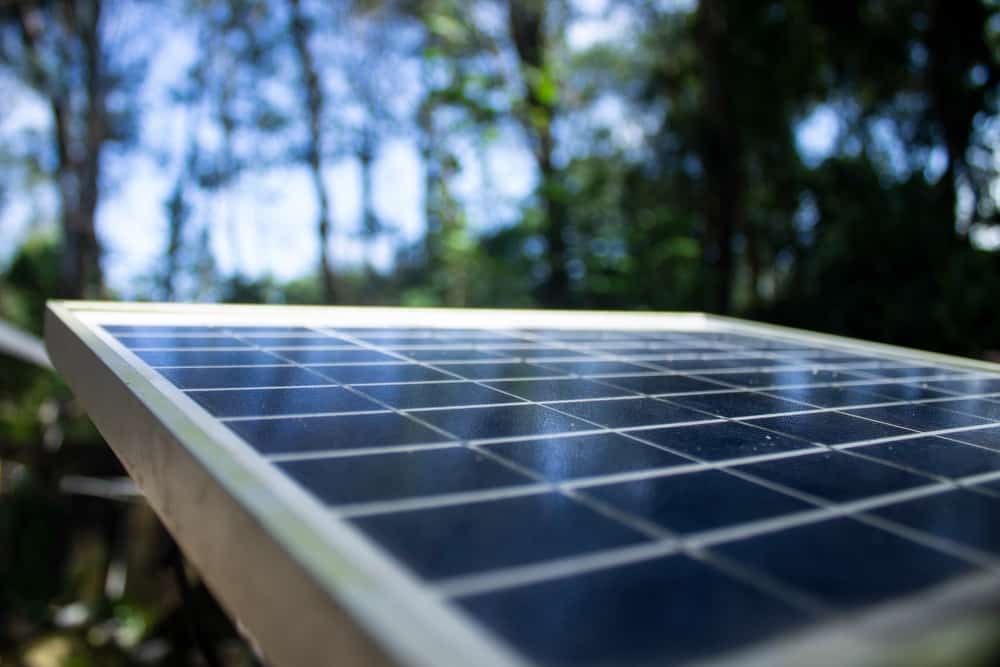
Make certain that the solar path lights you have installed are getting enough exposure to sunshine before doing anything else.
They will not be able to charge if there is not a sufficient amount of light striking them. To remedy this, you may try moving them to a location where they will get more sunshine directly on them.
In addition, examine the charging ports themselves to ensure that they are free of any debris or dirt that may be creating an issue and that they are clean.
- Replace Fuse And Batteries
If you have checked your electrical system, and everything is working properly, it may be time to replace your fuse or batteries.
The best way to be sure is to swap them out and see if that fixes things. If not, move on to other troubleshooting steps.
Fuses are fairly inexpensive (less than $1) so replacing one isn’t going to hurt too much, but make sure you buy a fuse of equal amperage as your original.
Batteries can cost more (around $6-$10) but should last about two years before needing replacement again—unless they were already damaged before installation.
So always make sure you’re buying new high-quality batteries when replacing old ones.