The latest scheduling features through the Ring application allow users to set up different timed commands and make the best use of their security system.
However, these features are new and can sometimes run into programming bugs for the users.
So, you shouldn’t expect much at first. The Ring team is constantly working on improving its units. Just be on the lookout for the latest firmware and app updates.
Usually, that will be enough to help you through the majority of these situations.
With that said, you will often struggle with these schedules, and the lights won’t come on or go off at the specified time.
Troubleshooting Ring Light Schedule Not Working
The good thing here is that you will have to go through a few basic troubleshooting steps to get the Ring Light Schedules working again.
So, if you’re stuck in the same frustrating situation with the Ring light schedule not working, try out these solutions.
- Check Motion Detection Configurations
The motion detection configurators are the primary reason behind the Ring Light Schedules not working.
According to users, the scheduling features on the smart application are overridden when the motion detection kicks in.
So, if you’re in the same boat, try turning off the motion detection for a few days and then check the performance.
This will fix the issue, and then you can tweak the motion detection sensitivity to minimize the scheduling-related issues while also benefiting from these features.
Just check the motion detection configurations if the schedules don’t work consistently for your Ring lights.
Most of the time, slightly reducing the sensitivity will do the trick. That way, you won’t have to worry about overriding the scheduling features.
However, increasing or decreasing the sensitivity settings by a huge margin will only have a negative impact on the unit.
So, make sure to make only small adjustments when managing the sensitivity settings.
- Try Power Cycling The Device
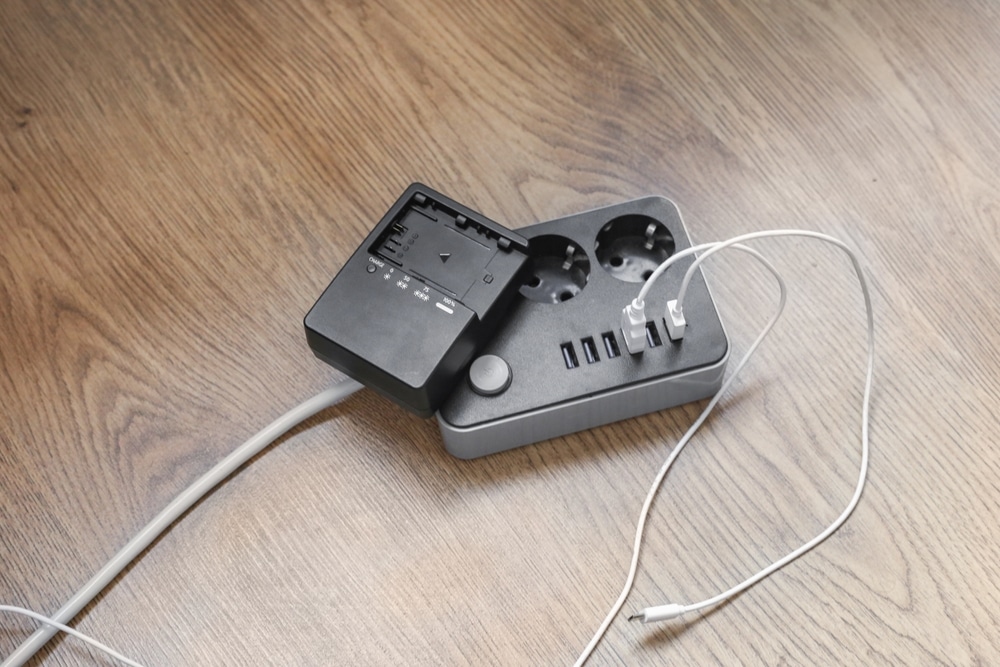
The majority of programming issues with the device can be fixed by a quick power cycle. So, you should follow the same pattern.
All you have to do is to remove the power entirely from the unit and then wait for around 20 minutes before powering it back up.
You can’t really just turn off these devices and turn them back on.
Instead, you need to remove all the power connections, including the backup battery, from the panel and then leave the dead device for a few minutes.
Once the 20 minutes are up, you can power up the device one more time and wait for the scheduled response.
If the unit is connected to the domestic network, you should be able to see the lights go off at the defined schedule.
- Check For Hardware Issues
If you’re unlucky and the lights were in rough shape out of the box, then you need to check the unit for hardware damage.
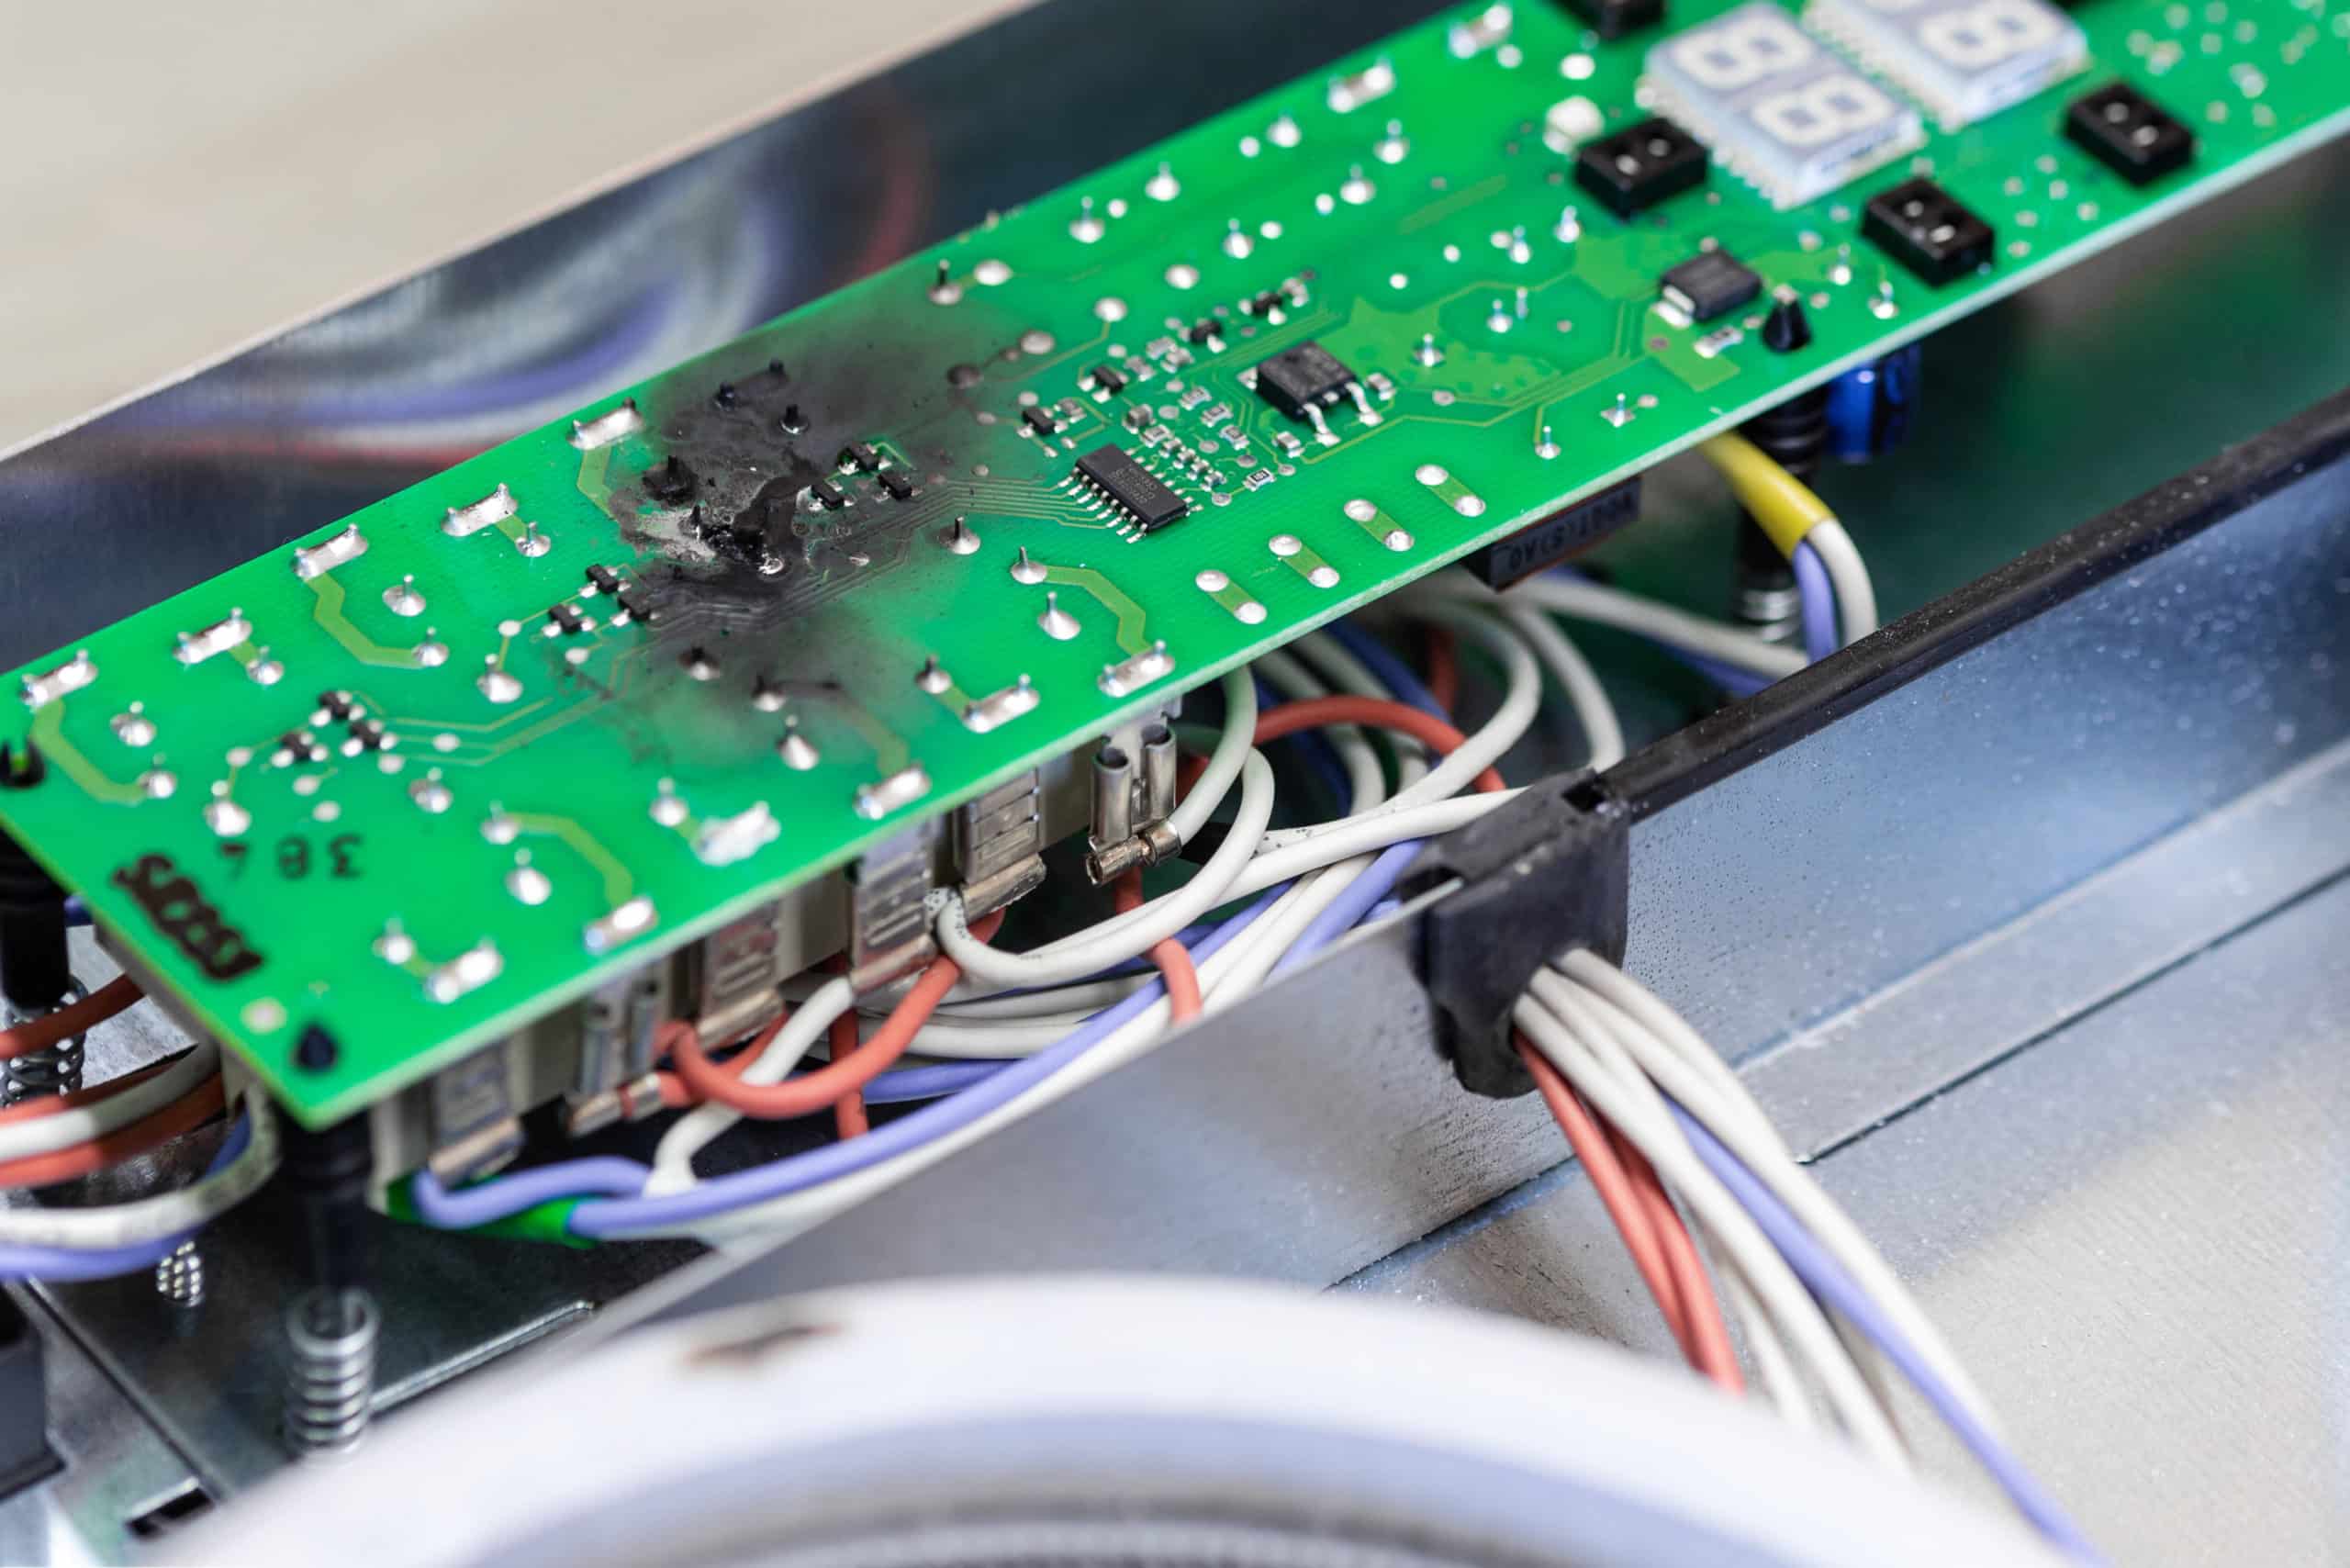 If you can find any kinks, cracks, or frayed sections, try claiming the warranty immediately.
The best thing about Ring units is the amazing dealer support that comes with them.
So, you can easily reach out to these professionals regarding hardware-related issues, and they will guide you accordingly.
Most of the time, you won’t even have to show proof of purchase. These professionals will verify everything for you and then provide you with a new unit within the week.
So, to avoid all the hassle of going through tons of troubleshooting guides, just claim the warranty.
Keep in mind that you’re not liable for any delivery damages. It is not that common for electronics to get damaged during delivery.
So, if you’re in a similar situation with the delivery, just ask the professionals to help you with a new piece. That is the only logical move here.
- Update Application
This application feature is relatively new and can be bugged in the older versions of the application.
So, if you don’t have your app set to auto-update, there is a chance that you will run into programming-related issues with the app.
For this reason, your best bet is to update the application to the latest version and hope that the Ring developers address the problem with the scheduling feature.
This method helped many owners get ahead of the programming issues, and it will do the same for you.
- Re-Create Schedules
Sometimes the schedule configuration is not stored correctly in the app, and users have to recreate these schedules to get consistent performance.
So, there is no harm in deleting the current schedules and then adding the same schedules again.
It might take some of your time, but once the new schedules are created, you won’t have to think of the problem related to the Ring Schedules.
- Remove Interferences & Check Network
 The network connection and the interferences between the router and the lights have a huge role to play in the performance of the schedules.
If the lights are not connected to the router, then the app won’t be able to specify the schedules and send input to turn the lights on or off at the designated period.
So, you will have to remove these interferences and then recheck the network connection to get the Ring application working again.
Make sure to also remove any VPN installed on your phone and reset the proxy server settings on your router.

This will have a positive impact on the connection between smart devices and your smartphone.
So, if you have any VPN installed on your phone, delete it for a day and then recheck the schedules.
Similarly, there is no harm in temporarily limiting the 5.0 GHz channel band if you’re running a dual-band router.
Many owners have said that they were able to maneuver through this issue by switching out the router. So, you can get the same outcome by following a pretty basic routine.
Just focus on making it easier for the smart device to connect to the 2.4 GHz network. From there, it is not that hard to consistently follow through with the scheduling features.
- Check For Linked Devices
When making new groups, many users forget that they can only add similar devices to one group if they are interested in the smart features.
So, you need to check the lined devices to the same group and remove the Ring camera if it is connected to the group.
The lights and the camera can go in the same group, but you won’t be able to access the scheduling features.
For this reason, your only move is to remove the Ring camera from the lighting group and then test out the schedules for the next few days.
- Submit A Support Ticket

At this stage, you should just send a support ticket to the customer care team. This issue is likely out of your hands, and there might be some hardware-related issues with the lights.
So, let an expert help you with this problem.
All you have to do is send the details of the problem to the customer support experts and have them help you with this problem.
Hopefully, you won’t have to think of the same problem again, and the lights will start working perfectly with the schedules.
Wrapping Up

Most of the time, you’ll have to get through a basic troubleshooting routine to get the light schedules working again.
This includes resetting the device, power cycling the unit completely, checking for app issues, fixing the network, and adjusting the motion detection configurations.

Ideally, the issue will be fixed after a quick reset, and you won’t have to go through all of these extra steps.
However, if you’re unlucky and the unit is damaged, getting a new piece is the only viable option.
You can’t rely on a damaged device, and the dealer will help you with a new one.
Hopefully, you won’t have to bother with any other errors when setting up the new Ring system!