When investing money on a new system, you can’t just focus on the cost. Instead, you should pay greater attention to the security system’s features, quality, and dependability. Short-term cost savings will come with a lot of inconvenience.
This is particularly true for those who reside in high-risk areas. So always stay with trusted manufacturers if you are shopping for new security enhancements. These names include Wyze, Ring, and other well-known suppliers.
Ask the dealer to help you even if you’re unsure about the suppliers. Simply go over the things that are within your budget and pick the finest one.
We do, however, advise that you attempt to spend a little bit more than you had planned and concentrate mostly on the caliber of the new security equipment.
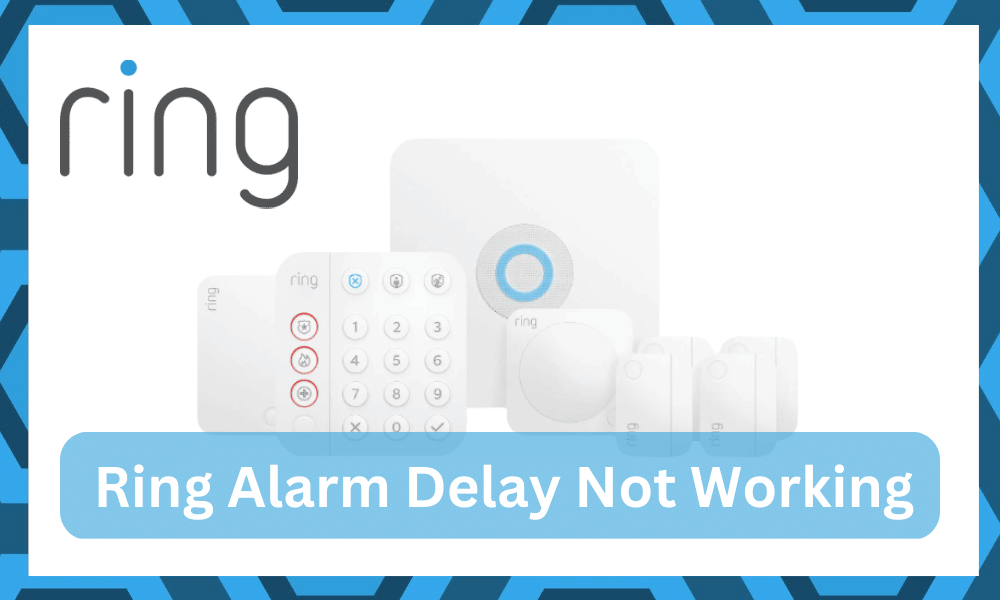
The Ring Alarm is a security device that can be used to make your house more secure. One of the features of this device is the entry and exit delays.
These delays can be set up from the dashboard in the mobile application. The reason for these delays is that it makes it easy for the users to turn off the alarms without causing false alerts.
Ring Alarm Entry Delay Not Working
However, some users have recently been saying that the entry delay on their Ring alarms is not working properly. If you’re also having issues with entry delay then follow these steps.
- Set Sensor to Main Door
The main reason why so many users have issues with the entry delays not working is that they have the sensors set up as secondary.
So, whenever someone tries to access the home using the secondary entrances, the alarm will go off immediately for safety purposes and you won’t have enough time to turn off the alarm.
To fix this problem you’ll need to open up the Ring application and make sure that the sensor is set to your main door and then apply the entry delay settings again.
If you have the sensor set to the main sensor already then you should try setting up the sensor to the secondary door and then switch it back to the main door.
That will troubleshoot the temporary error and you will be able to get the entry delay to work on your Ring alarm again.
- Increase the Delay Timer
There have been situations where the users were having difficulty with the delay timers because they set the timers for very short durations. Because of this, they were unable to disable the alarm in time and the alarm will go off.
So, if you believe that the alarm is malfunctioning then you can try to increase the delay timer through the mobile application and then monitor the behavior of your Ring Alarm.
Everything should work like it is supposed to and you won’t have to deal with false alarms again. Depending upon your setup, you can optimize the delay timer to give you sufficient time to disable the alarm.
Usually, a minute is more than enough for most users to disable their alarm when they enter their home.
However, if the delay timer is set to more than a minute and you’re still getting the same problem then there might be something wrong with your device.
- Power Cycle The Alarm
Now, the power cycling routine can vary depending upon the model of the alarm that you’ve purchased. However, the basic method will still remain consistent where you have to disarm the alarm and then remove all power from the unit.
Trying to mess with the alarm before disarming it will send false alerts and you will just be stuck in the hassle. So, when you go through these errors, try to focus more on disarming the alarm first.
Once that is done, you can proceed with the power cycling routine. You can remove all power including the batteries and then wait for about 10 minutes. From there, you can supply the power back one more time and then check up on the response from the alarm.
You can try to engage the alarm by entering the premises and waiting for the desired period. If the alarm does get engaged, then there might be some complex issues with the alarm.
However, if it doesn’t get engaged, then you’ve just sorted out the issue. From there, you can go about configuring the alarm accordingly to find that sweet spot.
- Try Resetting The System
After going through with the power cycling routine, the next method is to test out the reset routine.
You can think of resetting the Ring Alarm as the surefire method that will fix all programming bugs. So, after you’ve done your due diligence when it comes to fixing the hardware, just reset the system.
The probability of the programming issue is pretty high. Even if you believe that you did nothing wrong in the initial setup, some bugs can still present themselves.
You have to tackle these bugs by resetting the system and there are no quick methods that can help you otherwise.
The reset routine will include holding down on the connect button as you try to power cycle the alarm. Now, we will mention that the routine will vary depending upon the alarm system that you’re using. It is a good idea to check the model and then look up an owners’ manual for this model online.
Once you’re through with the reset, all that you gotta do is to configure everything. This will include all the settings, the delays, and much more. So, check up on that end, and fix issues with the reset.
- Check For Hardware Damage
If you’re not lucky at all and all of the methods listed here don’t help you out, then we suspect that there are hardware issues with your system. These hardware issues are not that easy to fix, and you will have to replace the Ring Alarm.
One thing that we will like to mention here is that Ring units are not designed to be serviceable. This statement is also true for all other smart security systems. Think of these devices as highly fragile but exceptionally efficient.
If you do manage to damage them however or receive them in rough shape, the only logical solution is to ask the dealer for a replacement.
We won’t tell you that you can get the same performance back by getting this alarm repaired. Just don’t waste more of your time trying to fix a damaged piece.
All that you’re trying to do is to follow through with a warranty claim. Have the dealer verify your purchase, and then explain your end to the dealer. The verification might take a bit of time to complete, but you’re not left with many options.
After the verification is through, you can expect to get the new piece within the same week. Just don’t wait too long when it comes to claiming the warranty and have the dealer take charge of the situation as soon as possible. This will save you a fair bit of hassle in the long run.
- Official Support
The entry delay issue should be fixed after you check the configurations on the mobile applications. Almost all the users that had this issue were able to fix it by switching their sensor to the secondary door and then switching it back to the main door status.
This change in status fixes the minor bugs and ensures that the entry delay works properly. As long as the timer is set to your main door, you will have sufficient time to disable the alarm.
But if you’re sure that there is nothing wrong with the configurations and you’ve tried switching between the two modes then now might be a good time to ask for professional assistance. Refer to Ring about this issue and inform them about the app configurations and your alarm model.
- Wrapping Up
Figuring out how to manage the situation with Ring Alarm entry delay can be a bit challenging. While the developers intended this unit to be one of the easy to use devices on the market, beginners can still get confused.
However, there is no need to worry yourself. Just try out the fixes listed above and you will be sorted out in no time. All that you gotta do is to increase the delay and refresh the configurations. Still, some owners mentioned that they had to reset the system.
You can consider that option as well when the entry delay is not working as intended. Keep in mind that you’re also secured with a decent warranty on these alarms. If you are sure that the issue is not on your end, and the problem is with the hardware, then just claim the warranty.
There is no point in trying to go through the extra hassle when you’re not liable for these issues. The dealer will help you with a fresh piece, and you will not have to go through any complicated steps on your own when trying to limit these errors.


