
For a truly exhilarating audio experience, Sonos offers the Sub, which is a great device that you can couple with your Sonos system.
As the Sub delivers pure bass, your speakers can focus on providing better highs and lows.
So, you’re sure to get amazing performance by optimizing the Sonos system for your smart home.
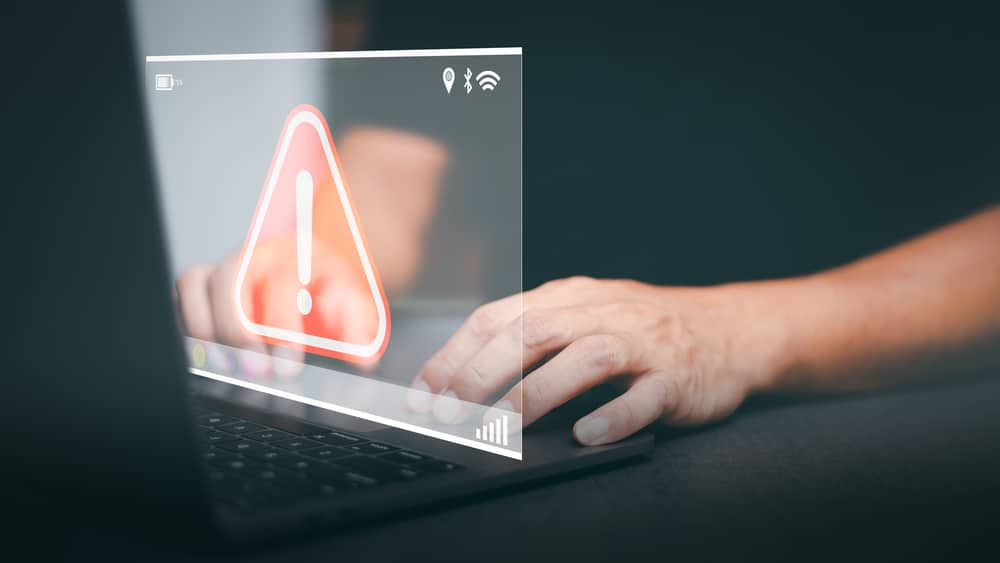
Though if you already own the Sonos Sub, chances are that you might be wondering how you are supposed to reset the device.
The reset routine can help you get rid of a ton of programming bugs, and you will be able to secure a more consistent response from the device afterward.
All it takes is a bit of effort on your end, and you can go about setting up the sub from scratch.
To learn exactly how you can do this, we will be listing all the step-by-step instructions that you will need to achieve this. So, without wasting any time, let’s get right into it!
Reset Your Sonos Sub
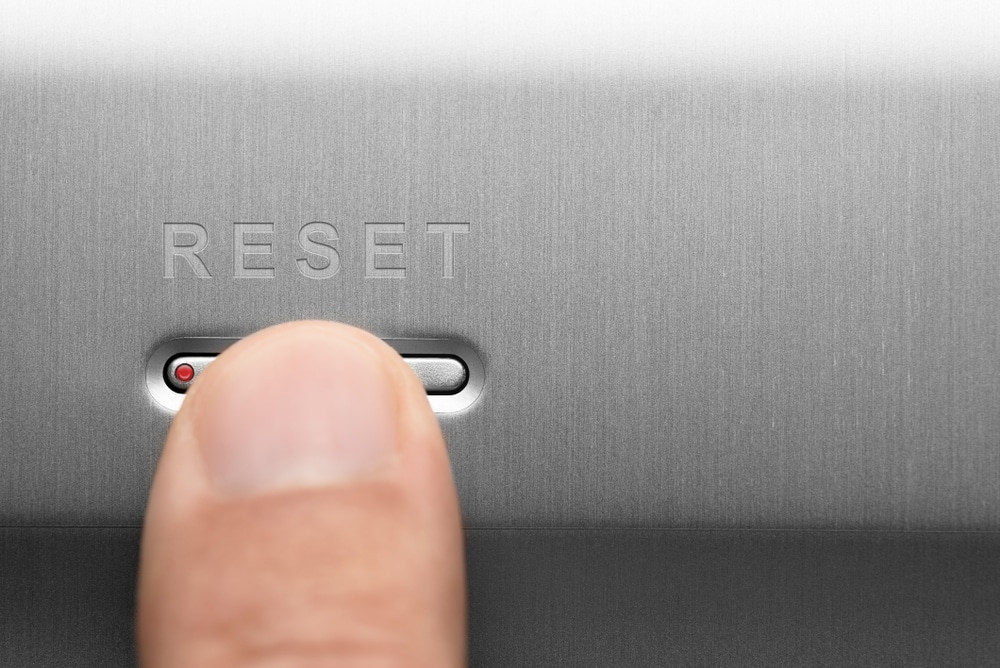
The reset routine is fairly simple, and you just have to power cycle the unit as you’re holding down on the join button.
The basic method will remain the same even if you have a different model.
So, If you wish to reset your Sonos device, here are some of the steps that you will need to follow:
- You will first need to unplug your device from the power cord.
- Now, hold down the Join button found on your device while you attempt to reconnect the power cord. Keep in mind that certain Sonos devices don’t really have a join button, for which you will have to press the play/pause and mute buttons instead.
- Keep on holding down the buttons until you start seeing a white or orange light flash out of your device.
- Once the whole process is complete, you should start seeing a flashing green light.
Now, your device should be ready to set up as the reset process is finally complete. Keep in mind that you can’t let go of the join button as the unit is powering up.
Most of the owners make the mistake of letting go of the button as they power up the device.
If you’re in this situation as well, just be sure to follow through with the proper routine and keep the buttons engaged until you get a response from the LED indicator.
That will be all that you need to get through the majority of the reset errors.
However, you might also be dealing with hardware problems with the device, as they can play into the same complications.
So, be sure to check the condition of the button as well. If you find any cracks, rough patches, or discolored sections, then your device might not respond even after resetting.
What Does Resetting Really Do?
For those of you who don’t have an idea about what a reset does, it basically helps you be able to restore all of your settings to factory default.
This means that any changes made to your device or anything stored inside its memory will be lost after the reset.
In fact, the device should return to its original factory state as its memory will be wiped out clean.
As a result, you should always keep this in mind whenever you wish to reset any of your devices.
It can be a bit annoying to manage all of the configurations from scratch.
So, you might need to spare some free time on the weekend to manage all of these configurations.
Otherwise, you will struggle to get a decent response from the sub all around the week, and the streamlining experience will be subpar.
When Should You Reset Your Device?
There can be many occasions when you need to reset your device.
Especially when you purchase a used device, you will want to reset your device as it should clear out the settings of the previous owner.
Apart from that, you can also do the process for troubleshooting purposes.
Certain issues can often lead to all sorts of errors that can be resolved through a simple reset. Therefore, it is recommended that you should know exactly how you can reset your device.
Though it is worth mentioning that Sonos does not really recommend resetting as a troubleshooting step.

According to Sonos, if you were to reset all of your products inside the Sonos system, you would be losing all of your data permanently.
Instead, this is only recommended when you are supposedly transferring ownership of the device from one person to the other.
On the other hand, if the issue is not related to the basic ownership transfer, and you can’t seem to get past some programming bugs, then a reset might be the only fix.
This is the best method that owners can use when the system doesn’t respond to any input.
Similarly, if you’re still stuck in the issue even after going through the reset routine, then there is a good chance that the sub is damaged.
There are no quick methods or easier fixes that you can use to fix a damaged sub. So, be sure to seek some pointers from the experts, and they will guide you better.
There is simply no point in going through the fix alone, as Sonos maintains one of the most robust customer care teams on the planet.
You can approach these experts with details on any issue, and they will take charge of the situation. From there, you can go about fixing the errors accordingly.
Why Does My Reset Not Work?
Certain users have also mentioned how the reset process won’t work for them even when they have made sure to follow the instructions provided by Sonos.

While this could happen due to various reasons, including a firmware issue on the device, we really recommend that you take this up with customer support.
As this could be the result of a technical fault, you should be much better off letting the team of professionals handle this for you. J
ust make sure that you stay as cooperative as you possibly can throughout the whole process. They should be able to tell you what’s wrong and how you can fix it.
In the meanwhile, you can test your luck by cleaning up the sub and making sure that there is nothing wrong with the join button.
Most of the time ignored maintenance can lead to a build-up of gunk and debris around and behind the button. So, you will need to clean it up.
This gunk will stop the input from going through, and you will not be able to get any response from the device.
So, you need to grab a can of compressed air and then spray the sub to get rid of the lodged debris. This will be more than enough to help you get a decent response from the button.
Next, you also need to clean around the button if you don’t have compressed air to blast on the unit.

It all comes down to making sure that the button is engaged as you’re streamlining the power to the Sonos sub.
Similarly, slowing down the setup routine will also do you well in this situation.
Being patient and carefully following through with each step might just be the right thing to do if there are no hardware issues.
However, if you find there to be hardware issues with the Sonos unit, then your hands are pretty much tied.
There is nothing that you can do on your end to get rid of the damages yourself, and you have two options here.
Either you can take this unit to a local repair center and have it fixed by an expert, or you can call in the Sonos dealer for a replacement.

The warranty deal here is great, and you will surely get the new system if your claim is valid and the unit is indeed defective.
The Bottom Line:
Don’t really know how to reset your Sonos Sub? Through the article, we have mentioned all the steps that you will need in order to successfully be able to reset the device.
So, if you were having a hard time getting around to resetting your device, we highly recommend that you give this article a thorough read!
Doing so should result in a quick and easy fix to your query. The process is fairly simple, and there are no extensive steps involved here.
However, if you do run into some issues down the road, then there is no harm in seeking help from a professional.
He will make your job much easier, and you will not have to spend hours of your time trying to manage the reset routine yourself.
Lastly, if you’re running into programming errors even after the reset is complete, then there is a chance that your system is defective.
There is not much that you can do about this situation, and you will have to claim the warranty or get yourself a fresh piece that does not present these errors.