In your kitchen, an issue such as a handle that won’t stay in place or a faucet that constantly drips water may be both a costly and a frustrating problem.
You are in luck because if you are handy and understand how to troubleshoot, you will be able to repair the issue on your own.
Moen Kitchen Faucet Handle Will Not Stay Position
This troubleshooting guide for a Moen kitchen faucet handle that won’t stay in place will bring you through the process of how to troubleshoot it.
So that you can get it functioning again fast and efficiently, saving you both time and money in the process.
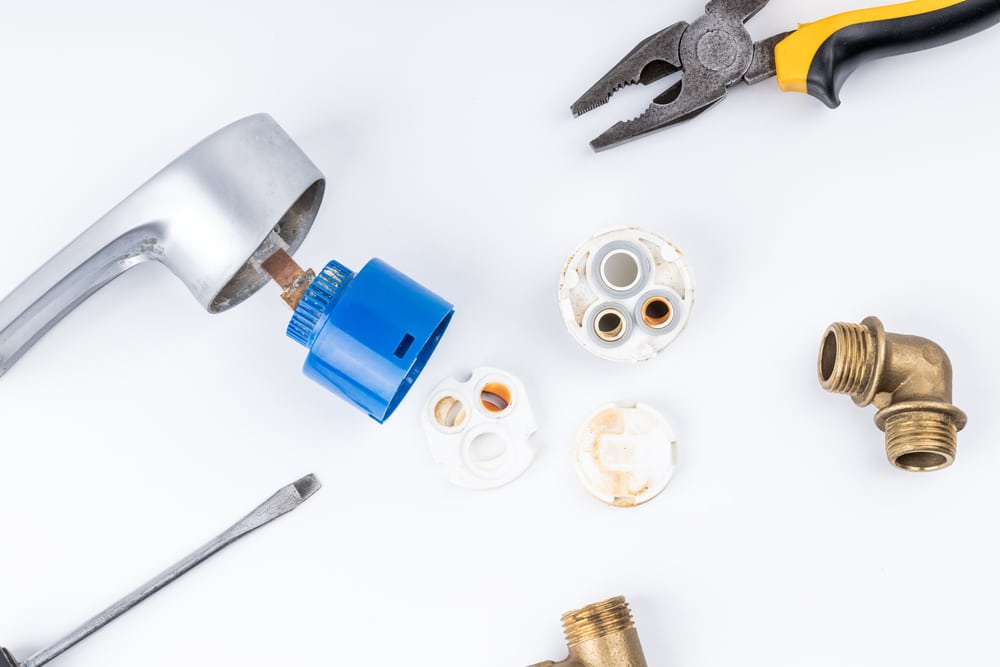
- Remove The Inner Faucet Components
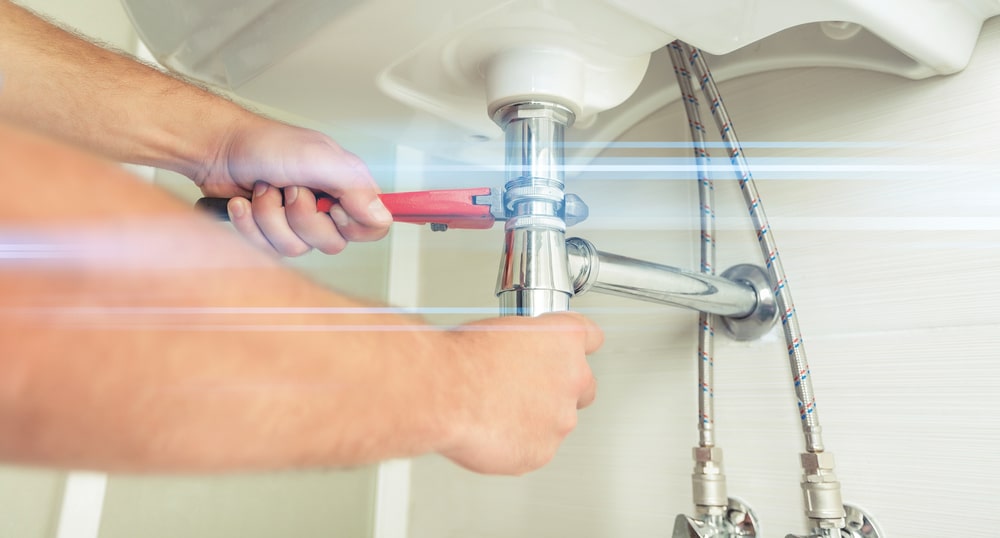
The first step is to remove the three inner faucet components, which are the stem, head, and cartridge. You’ll need a wrench for this part of the process.
First, remove the two set screws that hold the handle on either side of where it meets with the faucet body.
Then unscrew and remove the handle from both sides of where it meets with the faucet body.
Use the wrench to unscrew and remove the hose washer at the top end of the stem.
Next, use a putty knife or screwdriver (depending on how you prefer to work) to gently pry up one end of each O-ring at the top end of the stem assembly.
Once both ends have been lifted up slightly, use your fingers or pliers (if you have them) to pull them out entirely.
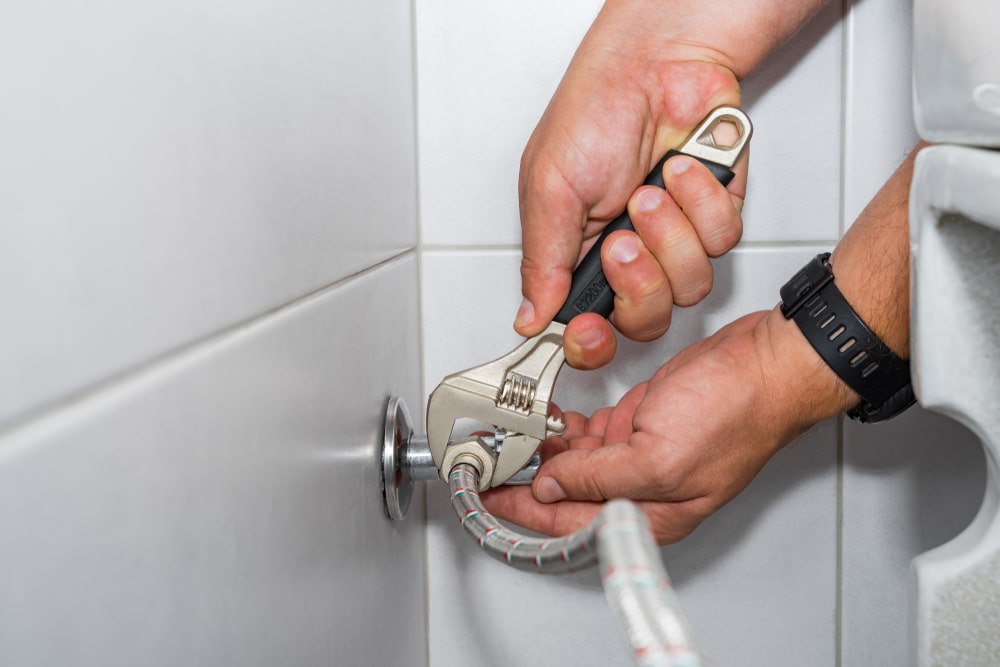
- Turn Off the Water Supply

To turn off the water supply, locate the water shutoff valve near your pipes. It will have a handle and may be labeled Water or Cold.
Turn the handle all the way in one direction until it’s tight against its seat.
You can also do this by using an adjustable wrench on the nut that is found at the base of your faucet.
Adjustable wrenches are very helpful for many plumbing tasks and you should keep a few around for emergencies.
If you don’t know how to find the shutoff valve, refer back to our guide on locating water valves under sinks for help.
Once the water has been turned off, test again to see if your moen kitchen faucet handle stays put when you move it.
Next time the problem arises, check the other connections where the pipe meets up with your sink-both on top and below-and make sure they are not loose.
Finally, take care to avoid twisting or turning too much when moving your moen kitchen faucet handles so as not to loosen them any more than necessary.
- Remove the Handle
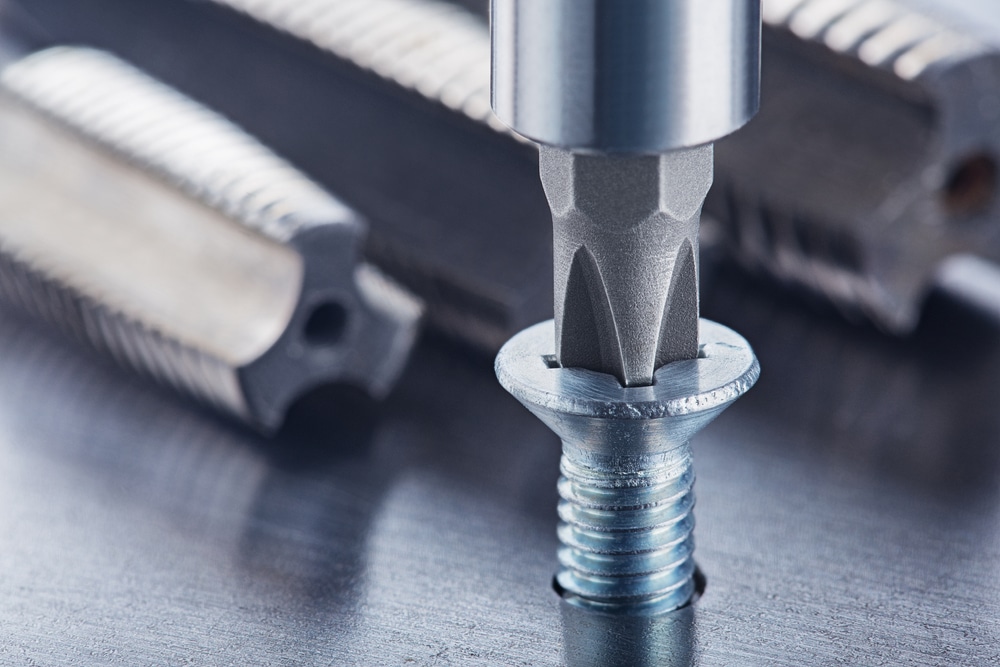
Start by removing the handle from the spout. Unscrew the screw on the underside of the handle and remove it from the faucet.
Now, unscrew and remove any other pieces of metal that make up your spout assembly.
If you notice any pipe fittings or washers, be sure to use them as replacements when reassembling your faucet.
Put the new components back together using new parts if necessary.
Tighten all connections with a wrench and then test to see if your moen kitchen faucet handles are now staying in position again.
- Check the Cartridge Assembly
If the cartridge assembly is worn out, replace it. If you’ve checked and replaced the cartridge assembly and your faucet still won’t stay put.
Remove the handle and check that the stem (the part of the faucet that connects to the stem) isn’t bent or rubbed by anything.
You can also try lubricating it with silicone grease for easier movement. Tighten all the screws on the handle.
Remove any dirt from around where the stem meets the spout and make sure there are no gaps between them.
In rare cases, if these don’t fix your problem, then it might be time to contact a professional.
- Remove the Lever
To remove the lever, take off the handle by unscrewing it. The first step is to unscrew the handle.
Once you have removed the handle, you will see two holes on either side of the spout.
There is a screw inside each hole that will need to be taken out with a screwdriver and pliers so that you can pull out the spout.
After this, you should replace the screws and tighten them using your hands or an adjustable wrench.
- Install the Replacement Part
Remove the handle from the spout. This can be done by loosening the set screw located on top of the handle with an adjustable wrench and then pulling it straight out.
Next, pull up on the stem and pop off the cap that is underneath it. Finally, use pliers or channel lock type pliers if you have them.
Unscrew the packing nut until it is loose enough to be removed with your fingers. Replace the new gasket with the old one, being sure not to mix them up.
Tighten the packing nut back down using your fingers or pliers and replace all three pieces (the spout cover, stem cap and knob).
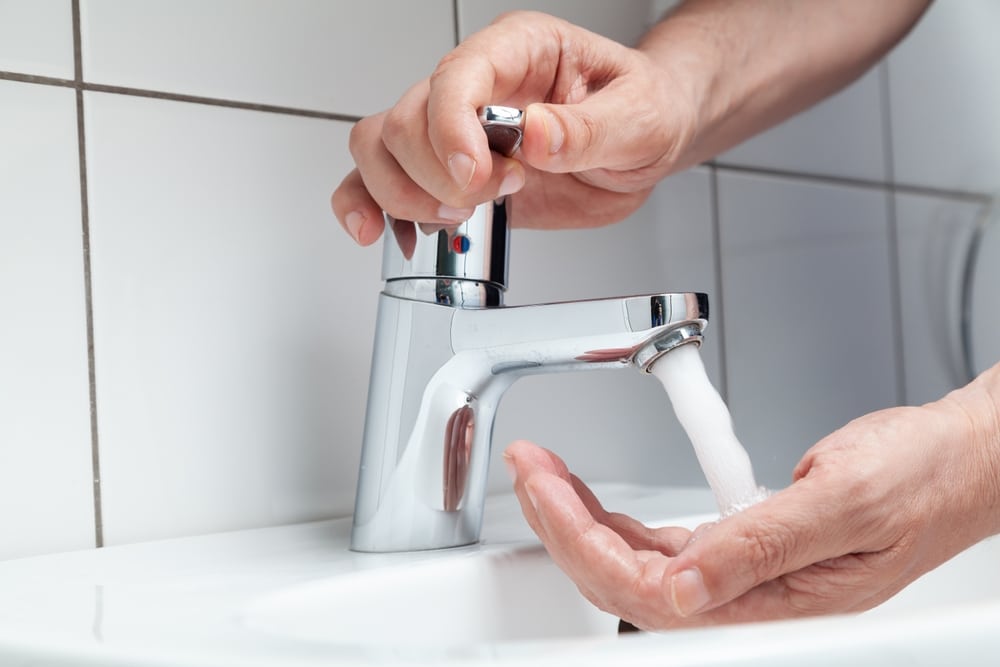
- Test the Moen Kitchen Faucet Handle
Find the handle’s lever and pull it back up. If the handle is stuck in this position, you may need to detach the faucet from the sink and then reattach it.
You may also need to adjust the handle’s pivot joint. For example, if you’re trying to move it up but it isn’t working, you might have loosened the screw too much.
If you’re trying to move it down but it won’t go, tighten that screw!
Make sure the valve underneath is turned on and then slowly turn the wheel in either direction until it releases.
Start by turning off your water supply valves, usually located at or near your kitchen sink.
Next, turn on the water at a nearby faucet and let it run for about 30 seconds to release any air trapped within pipes so they don’t burst when they are shut off later.