Luxpro Thermostats are not the most aesthetic ones out there, but they certainly pack a lot of features, and the utility of these thermostats is unmatched out there in the market.
There is no debate that the HVAC has the biggest impact on the power bill. You can limit its impact by making use of these smart thermostats.
They won’t only make sure that the temperature is optimal, but these devices will also take care of the wastage. So, try and upgrade your smart home with a thermostat.
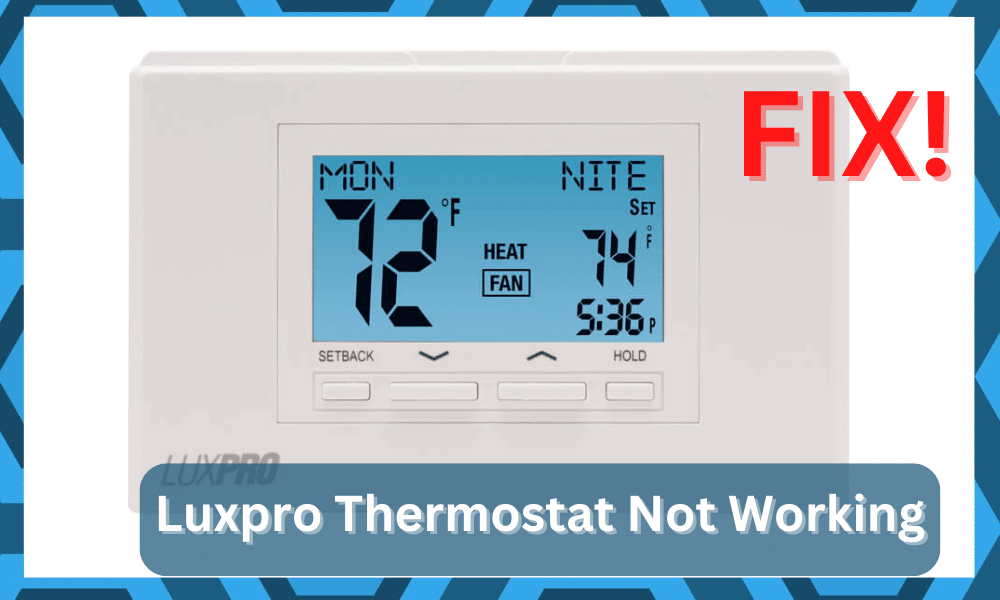
Fix Luxpro Thermostat Not Working
They are what you can call a fully loaded thermostat, as you get phenomenal durability, endurance, and performance from all the thermostats from the Luxpro.
They work great most of the time, but if there is some sort of issue with the thermostat, here is how you can fix it in no time at all.
1) Restart the Thermostat

One of the most common troubleshooting techniques that can help you out from most of the tight corners is restarting the thermostat.
This is pretty simple, and there are no complex things like taking off the batteries or something like that.
The thermostat has a big body, and underneath the screen, you can find a huge cover that has several buttons underneath.
You will need to click on the power button here, and that will turn off the thermostat.
Afterward, you can use the same power button to turn it back on, and that will fix most of the issues with your thermostat.
It might sound like a simple fix, but it is more than enough to help you through the variety of programming bugs.
So, if you’re stuck in the same issues, try using these methods. Hopefully, that will be it when you’re running into programming errors.
2) Reset

If you are unable to make it work after a restart, or the thermostat is stuck and unresponsive due to some error, that can be a worrisome thing, and you need to ensure that you are fixing it right.
Luckily, there is not any extensive reset routine here either, and all you will need to do is click on the Reset button that you can find under the same panel. It will be a small button with Reset written next to it.
Once you find the button, keep it pressed for around 5-10 seconds until the screen blinks. Afterward, the thermostat will restart once, and that will solve all the issues for you.
3) Clean it off

Another major reason that can cause you to have issues with your thermostat is that it can have dust or other particles accumulated on it that can mess up the working of your thermostat.
You can use a dry air container or a brush to clean off any sort of dust on the thermostat, and that will clear any sort of issues that you might be facing.
4) Check the wiring
There are some other factors, such as wiring, that can cause you to face issues with the thermostat. Wiring is one of the major issues, and there are multiple factors included with the wiring.
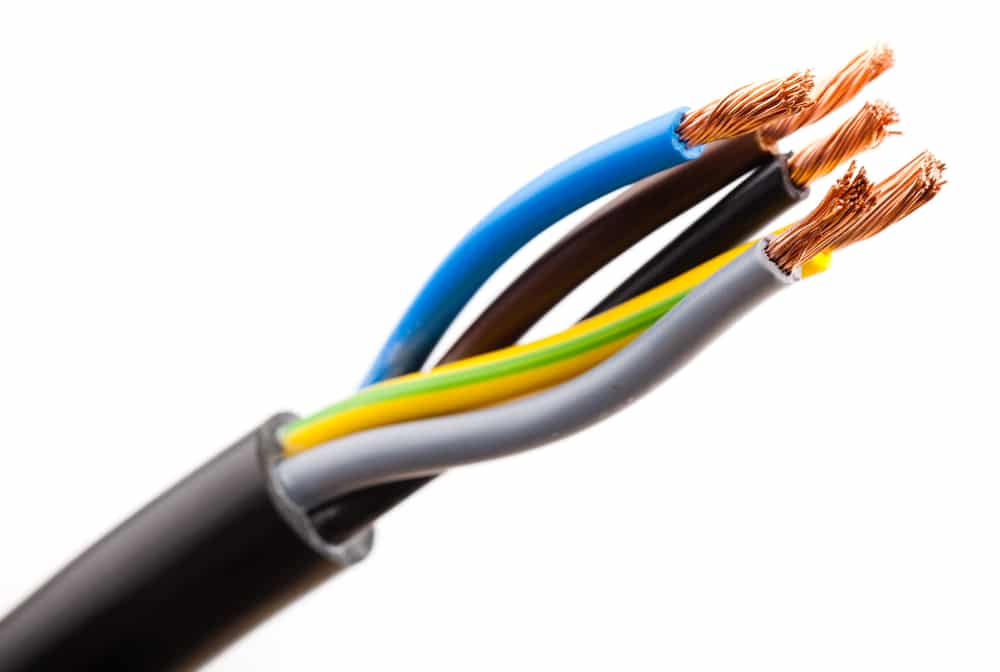
You need to ensure that all the connectors are connected properly with the terminals and that there are also no wrong connections.
Other factors like old wiring, short circuits, and things like that can get your wiring damaged, and that is not a good thing to have.
You will need to be careful about all that, and once your electrician has sorted all the wiring, you will be able to make it work without having any sort of issues with the thermostat again.
5) No Harm In Power Cycling The Unit
If the issue persists at this stage, we suggest that you power cycle the unit. This might seem like a basic method, but you are not left with other options here.
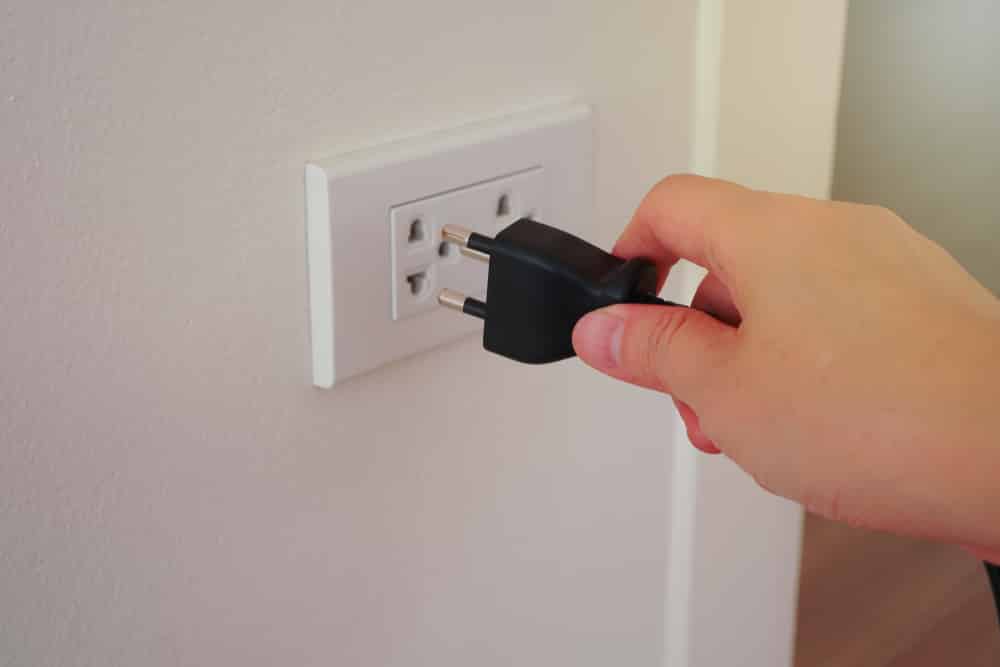
So, just remove all power from the unit and keep that removed for 20 minutes.
It is also a good idea to check for voltage-related issues by using a voltmeter or a multimeter. Either way, you are to find the issue with the power supply not being optimal.
If you do find those issues, call an expert to help you sort out the voltage problems
You can’t fix the voltage issues yourself, and you risk electrocuting yourself while trying to manage the smart system. So, keep that in mind and proceed with power cycling the unit.
Hopefully, it won’t take much of your time, and you will be able to re-engage the smart system in no time.
With that said, you can resupply the optimal power again after 20 minutes and then check the response from the device.
This time around, you should be able to secure a consistent response if you’re sure that the power going into the unit is optimal.
On the other hand, if you’re not too sure about the unit’s condition and the response is still not optimal, then you will have to check for hardware issues.
There are no other quick fixes or methods that can help you here.
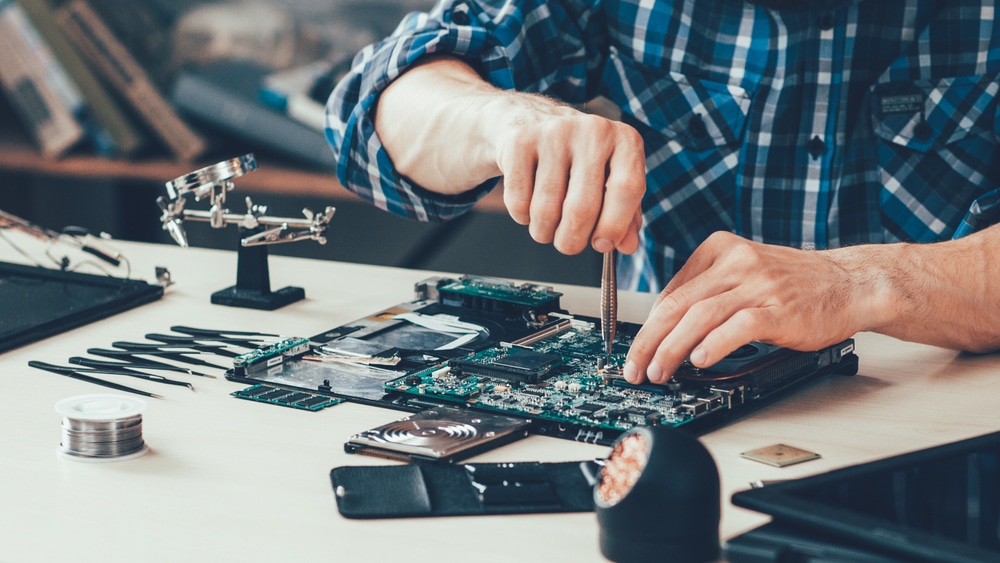
6) Check For Hardware Issues
If you do run into hardware issues, the only thing you can do is get a new one. While some owners like to take these defective units to a local repair center, that is usually not a smart aid.
So, if you’re stuck in the same error, going through with the dealer support channel is a good idea.
Most of the time, you won’t have to go through any extensive routines. You just have to explain the issue and then forward a warranty claim.

As long as you have a receipt or any proof of purchase, the verification process will be much faster.
From there, you will have the new unit within the same week. So, if you’re stuck in the same errors and not too sure about the hardware issues, just ask the dealer.
He will guide you through a few fixes step by step.
Hopefully, that will be it when you’re dealing with a defective system. After that, you can set up the new unit without worrying about any issues with the system.
7) Call the Customer Support Department
Even if the unit is in good condition, there is no shame in reaching out to official support. You need these experts to help guide you through the fix.

Sometimes, isolating the problem is harder than the actual fix. So, if you can’t seem to figure out the issue, just call these experts.
They will know how to figure out the issue, and you just have to provide them with a detailed description of the error.
The dealer will take care of the rest, and you won’t have to deal with all of these minor errors just to isolate the issue. So, keep that in mind when you can’t find the actual issues yourself.
Wrapping Up
The situation with the thermostat not working can be pretty annoying. You won’t be able to get the Luxpro thermostat working again if the hardware is damaged.

However, there is no harm in trying out the methods mentioned here if the hardware is in good shape.
You can go through the fix by readjusting the configurations, streamlining the power flow, addressing the programming errors, and reconfiguring the connection with the HVAC system.
Ideally, the issue will be fixed as soon as you’re done with power cycling and resetting the system.
However, if the unit is running into hardware issues, you will have to get a new one. You can’t rely on a broken thermostat to get through these fixes.
Hopefully, you’ll be able to get a better understanding of the situation by seeking help from an official.
It is not that hard to seek official support, and the customer care team on this brand is quite responsive. So, make sure to reach out when you’re unable to sort out this issue with the unit yourself.
When I tap it, the light no longer goes on I did change the battery
It’s Wednesday, but thermo reads Thursday
Lux pro 111 is mounted vertically on wall Digital readout also comes up vertical instead of horizontal how can I fix this
I’ve had multiple issues with this product I still don’t understand how to set the Cal/swing/delay/tlmt settings so that it maintains a low 69°- high 72° temp. The calibration keeps changing I don’t understand why or Know how to fix it the on/fan does not run consistently instead it mimicks the auto/fan . HELPPP