The Cloud Edge Camera is one of the most versatile security solutions that can be installed in your home.
Its ease of installation and the extensive list of compatibility options help users save time during the initial setup.
On top of that, you won’t have to go out of budget to include this smart camera in your existing smart system.
So, make sure to grab a Cloudedge cam if you need a compact device for your smart home.
You will find that the majority of customers are happy with its easy setup. You won’t have to hire an expert to get through the installation.
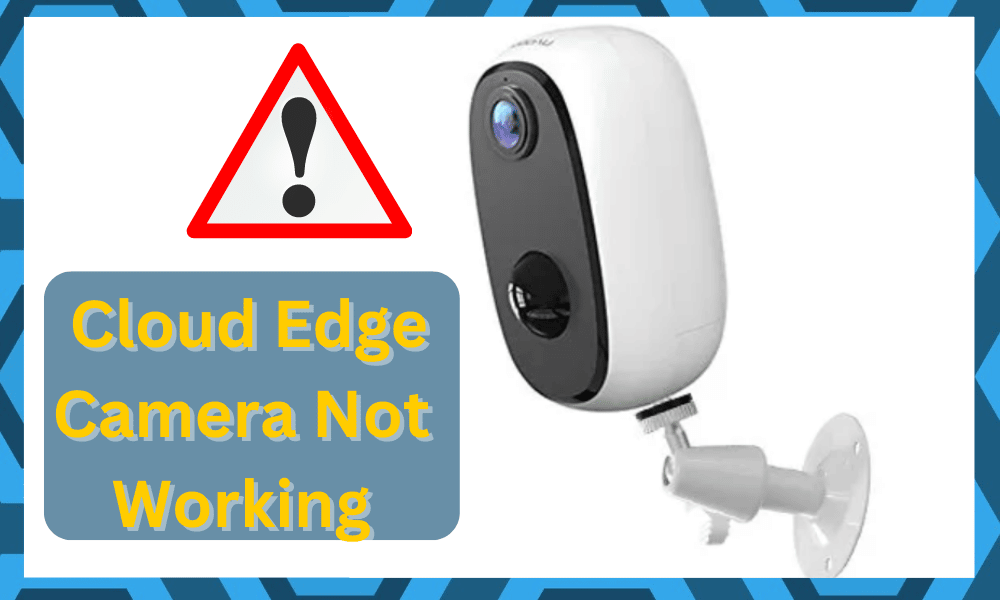
Fixing Cloud Edge Camera Not Working Properly
However, reports of the unit not working after installation are very common when the owners try to configure everything themselves.
While this device is pretty affordable and easy to install, you will have to deal with some minor problems with the Cloud Edge Camera Not working properly.
Luckily, a few quick troubleshooting steps can fix the majority of these problems. So, follow this guide to fix your Cloudedge cam.
1. Check Channel Bandwidth
If your Cloudedge camera is not working perfectly, then you’re likely dealing with channel bandwidth issues.
Even though most routers bring dual-band networks to the owners, it is still best to only broadcast the 2.4GHz network to connect the device initially.
Otherwise, the unit won’t pair, and you will keep struggling with this issue.
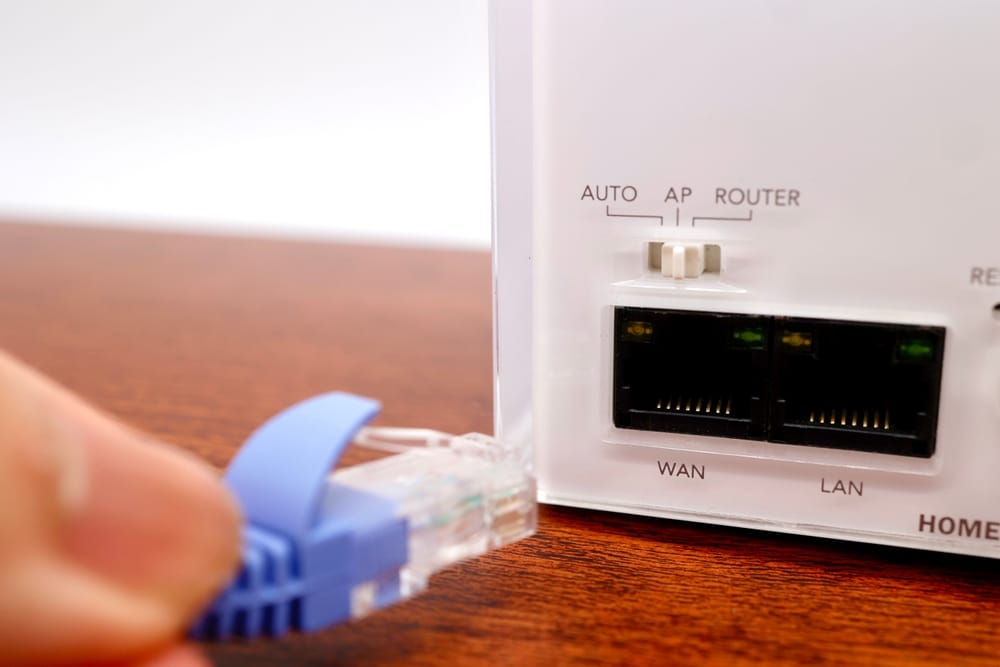
So, open up the router configurations and restrict the channel bandwidth to 2.4GHz only.
After that, you can power cycle the router once and try to connect it again with the cam. It should troubleshoot the issue with Cloud Edge Camera not working.
2. Check Dual-Band Configurations
When you’re using a dual-band router, it will project both the 2.4 GHz and the 5.0 GHz network for the owners.

While this idea sounds great, it can still create a ton of connectivity errors for your smart devices.
So, if you’re using a similar system, try and remove the 5.0 GHz network from the router. It will only take a second, and then you can proceed with the connection properly.
That will make sure that your device will only connect to this band and that there are no interferences.
Most of the time, the issue is not with the interference but rather with the credentials being the same for the 2.4 GHz and the 5.0 GHz channels. So, if you’re in the same boat, then check the credentials.
Here, you need to completely change the credentials for the 5.0 GHz channel while also removing spaces and special characters from the credentials.
That way, you will be sure what channel your smart devices are establishing a connection with.
However, the downside here is that the router will have to be reconnected with all the devices. That can take up a fair bit of your time.
So, make sure to do this on a weekend so that you won’t have to save hours out of your routine work.
3. Reset Router
Resetting the router can also help eliminate minor bugs in your system. So, if you’re sure that the router is on a 2.4GHz network, then resetting the router should remove the majority of network-related issues.
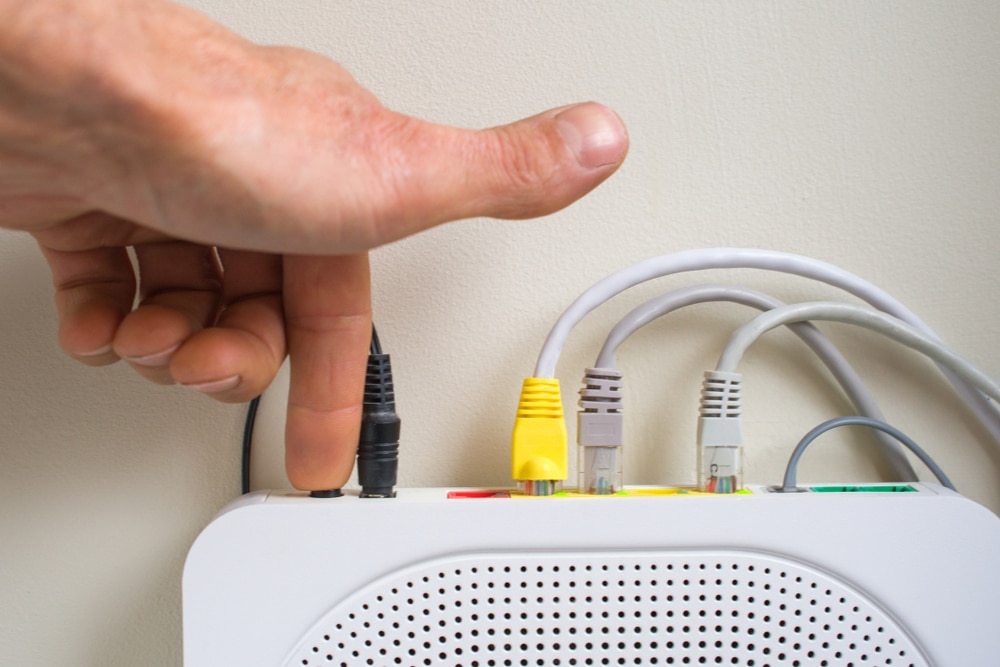
Once the router has reset, you should also try to move it closer to the device to improve the signal strength.
After that, just connect the camera to the router and try to access it from the mobile application.
However, if you’re not too thrilled about connecting all of the devices back to the router, then trying out a different router will do the trick.
Either way, you need to confirm whether or not the router is to blame here.

If you are able to connect the camera to a different network, then you’ll be sure that your current device is to blame here.
On the other hand, if you’re unable to connect the camera to this network as well, then the camera is to blame.
So, you’ll have to go through the reset routine or power cycle the camera. Either way, you have to troubleshoot the camera itself to avoid these errors in the future.
4. Power Cycle Device

The issue with the Cloudedge cam can also be related to minor bugs in the device itself. So, to get around these bugs, you should try to power cycle the camera and then connect it to the network again.
All you need to do is hold down the power button for around 10 seconds and then wait 30 seconds before turning the camera back on.
After that, you can test out the unit to see if the issue is fixed or not.
5. Clear Application Data
Sometimes updating the app or clearing the existing application data on your phone can help you fix these issues with the Cloud Edge camera not working.
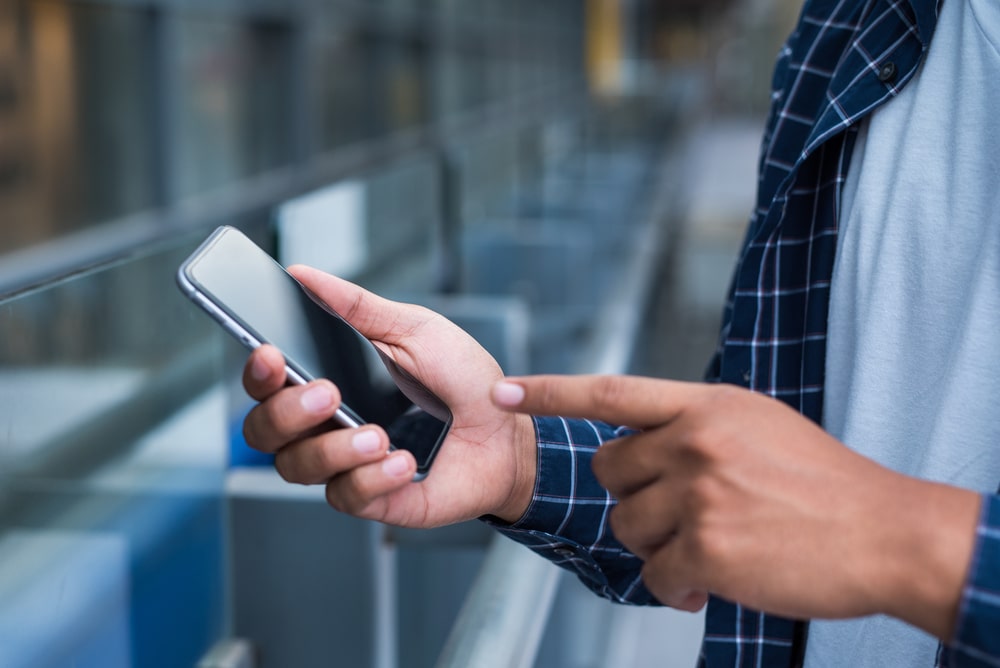
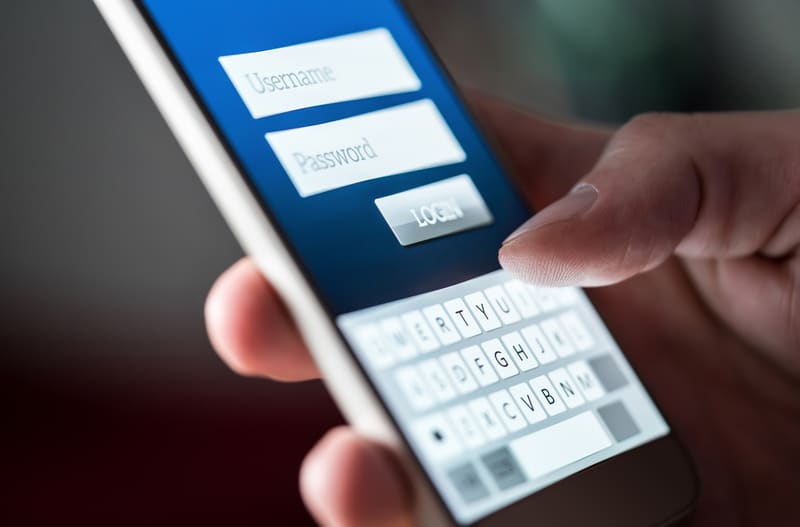
So, just access the mobile settings and head over to the storage options for your smart app. From there, you can delete all the existing data and then try to log into the device again.
Server Problems
The experts from Cloudedge customer support have also mentioned that the issues with Servers not working can cause some problems with your smart camera.
So, if the issue is not fixed at this stage, reach out to the support members and explain this issue to them.
6. Check For Hardware Issues
At this point, it is a good idea to check the camera for damage. You can never be too sure about smart devices.
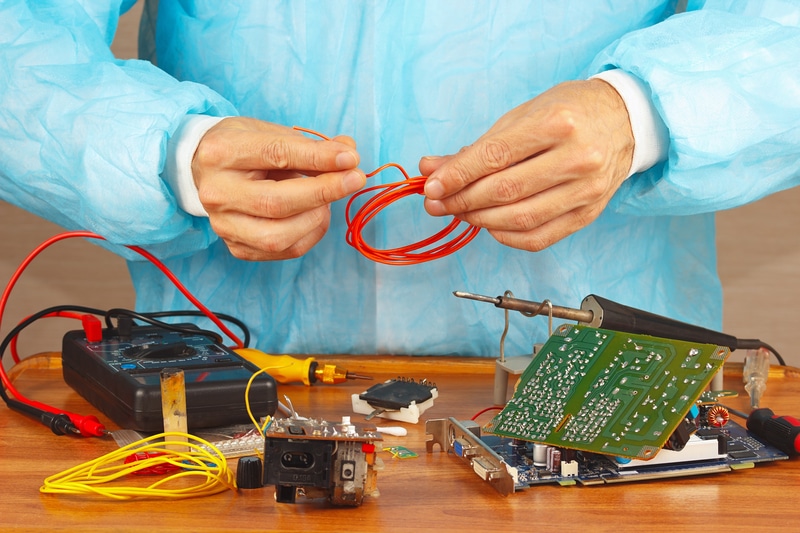
Checking the hardware status is the best thing that you can do when it comes to isolating the error.
So, if you’ve not been able to fix the camera, there is a good chance that it will be damaged. Sadly, there is not much that can be done about a damaged unit on your end.
For this reason, you should seek help from an expert or forward a warranty claim.
Either way, you need a new device to help you get through these errors. There are no quick fixes or easier methods that can help you fix the device yourself.
So, instead of wasting more time, seeking a warranty claim is the best option.
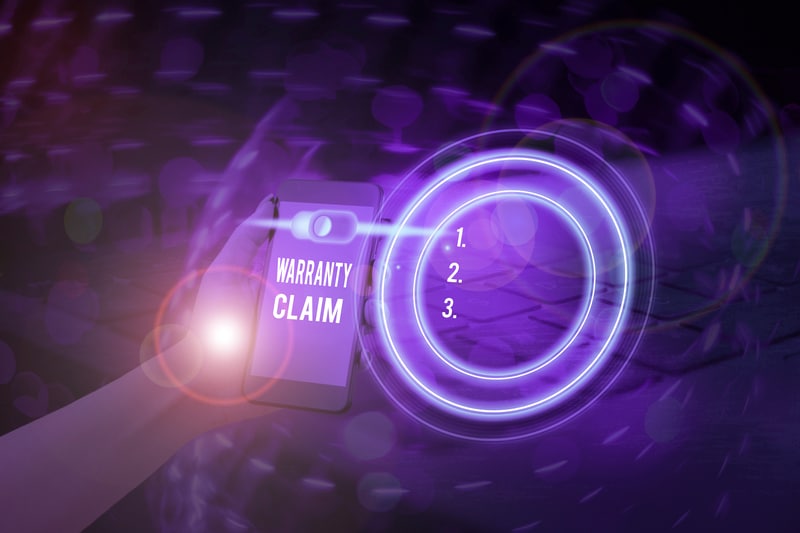
For most smart cameras, the warranty is valid for 12 months. That might be the case for your camera as well, and you’ll be able to grab the new piece within the same week.
All you need to show is proof of purchase, and that will be it.
On the other hand, if you’re not sitting on any proof, you will have to get a new camera yourself. So, keep that in mind, and try to find a receipt.
That way, the claim will be much easier to verify without any extensive routines.
Just make sure to get this one installed by a general contractor or seek help from a local expert.
That way, you won’t have to worry too much about the configurations, network, or hardware. From there, it is not that hard to get a consistent response from the security unit.
Wrapping Up

Ideally, the issue with the Cloud Edge camera not working will be fixed as soon as you power cycle this device and recheck the power connections.
However, if you’re not that lucky and the problem is more with the adjustment of the camera settings and the router.
However, if you’re not too sure about the camera hardware, the problem can get a bit stickier. You can’t really rely on any fix here to fix a broken camera.
Instead, you need help from a repair center or an official from the customer care team.
Either way, you need to get your hands on a new device. Even repairing this camera will lead to more errors down the road.
So, keep that in mind and then forward a warranty claim. If you’re lucky, getting a new device won’t be that difficult.
However, some dealers do ask for proof of payment. So, you’ll have to make sure that you’re sitting on valid proof to grab a new device.
If everything goes well, you will have a new unit within the same week.
Cannot remove failed camera from Cloud edge software. I have the latest version.