While the majority of the market share has been captured by Ring smart doorbell, many users have recently switched to Geeni doorbell because of its feature updates and user-friendly interface.
So, you’ll be served with the ideal performance when sticking Geeni.
You won’t have to spend any excessive time in the installation of this doorbell, and it will fit into your system perfectly. So, if you’re not really sold on the Ring doorbell, then picking up a Geeni doorbell will suit you quite nicely.
It all comes down to the pricing and the features you’re aiming for.
There is no such thing as one perfect unit for all owners, and you will have to go about adjusting the decision according to your budget and other requirements. Hopefully, that will help you out in the long run.
With that said, there have been a few customers that mentioned problems with the Geeni doorbell chime not working.
If you’re in a similar situation and don’t know why your Geeni Doorbell chime is not working, then the following details will help.
Geeni Doorbell Chime Not Working
- Check The Wiring
If you’re struggling with the Geeni doorbell chime not working, then there is a good chance that you’re dealing with broken wires or corroded connection points in the unit.
To inspect this issue further, you will have to remove the top cover from the chime.
Some users also prefer to rely on a multimeter to narrow down the issue, so you should follow a similar method if there are no visible damages to the wiring.
All you need to do is replace the broken wires and secure the loose or corroded connection points to streamline the flow of power in the chime.
It will be a bit complicated, but you should get a decent hang of the situation after fixing the wiring connections.
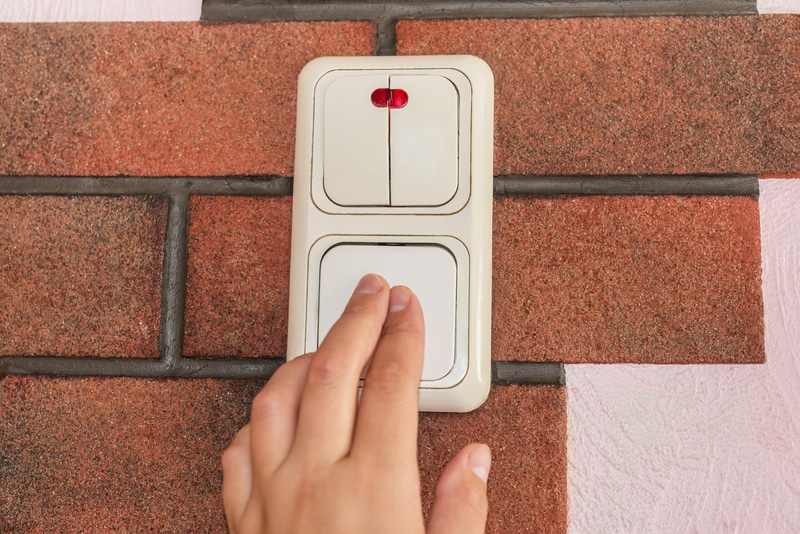
Once the wiring is fixed, you should try to engage the Geeni doorbell, and the chime will respond without further issues.
So, simply check the chime wiring, and your issue should be fixed. You can further get an expert to help you out here if you don’t have the experience.
- Check Adapter
The condition of the chime adapter plays an important role in determining the performance of your unit. So, if you’re not getting anywhere with the chime, there is a good chance that your adapter is defective.
However, before you get a new adapter for your unit, try to reconnect the adapter with the chime. If you’re lucky, the problem will be fixed at this stage, and you won’t have to purchase a new adapter.
On the other hand, if you’re still stuck in the same issue after reconnecting the adapter with the chime, then the only option left is to get a new adapter for your chime.

Make sure to contact your dealer if you’re not sure about how to source a compatible adapter for your chime. That way, you won’t have to spend as much time browsing through different stores.
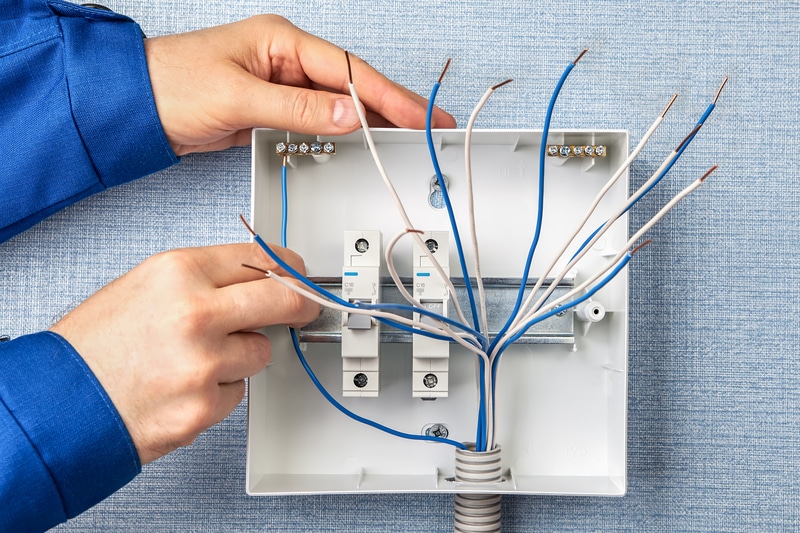
- Check The Transformer
At this point, you should just call it a day and check up on the transformer. There is a good chance that the issue is more with the transformer not pumping out enough voltage.
This is especially true if you’re living in an older home where the wiring connections were installed decades ago.
So, if that is the case for you as well, then chances are that the transformer is pumping out only 15 volts of power. This will only lead to more issues as you struggle to get a response out of your system.
The only reasonable thing that you can do here is to upgrade the transformer.
You can’t expect the system to work when the transformer is damaged, and you will have to reach out to the local technician to help you out.
Getting your electrical connections checked by an expert every six months is never a bad idea.

Even when you’re trying to save on the budget and the wiring connections are in good shape, spending a bit of cash on maintenance is a good idea.
So, be sure to hire an expert and have him upgrade the transformer for you. You’re aiming for around 24 volts, and that will serve you well when it comes to adjusting the system.
Hopefully, it will not be that much of a hassle for you when it comes to fixing the system.
Lastly, you can also go through the process yourself, but be mindful of the power connections, as it is pretty common for owners to electrocute themselves in the process.
Hopefully, you will be able to get through the situation in no time.
- Try Power Cycling The Unit
Sometimes, the issue is not related to the hardware or the wiring. Instead, you need to look at fixing minor programming bugs to get ahead of these situations.
All that you have to do is to power cycle the chime as well as the doorbell and then establish the connection again.
This will take a while, but the steps are fairly simple. So, start by removing all power from the unit and then keep both devices dead for about 60 seconds.
From there, you can supply the power one more time and then check up on the devices again. Allow them a few seconds to establish the connection.
You will be sorted out in no time when it comes to fixing the unit, and the minor bugs will be addressed right here. Fixing these bugs is usually pretty simple.
So, as long as you’re sure that the power going to the system, as well as the hardware, is in good shape, you will be sorted out.
On the other hand, you also have the option of the reset to get through these errors. However, you will lose up on all of the configurations and will have to go through the whole setup from scratch.
So, be sure to reach out to the experts, and have the professionals help you.
- Reset Doorbell
There is also a possibility that you’re running into this issue because of some bugs in your doorbell. It is not that rare for users to mess up the installation of the doorbell, and there is a good chance that you’re in the same boat.
So, the best thing you can do to get ahead of this problem is to reset the doorbell and then connect it again with the chime.
To reset the doorbell, you can use a pin and push the reset button on the doorbell.

Holding down this reset button for around ten seconds should reset the device, and you can pair it up again with the mobile phone and the chime.
Ideally, the issue will be fixed at this point, and you won’t have to concern yourself with any other solutions.
- Replace Chime
This issue with the doorbell chime can be traced back to a defective circuit on your chime.
So, if you’re sure that there are no issues with the adapter or the power supply to the unit, make sure to contact your dealer regarding the warranty policy.
If your purchase was recent, then claiming the warranty is the only option. So, make sure to involve the experts and get a new chime for your unit.
With that said, you should also reach out to customer support regarding this issue.

They will help you find out the main cause behind this issue, and you won’t have to spend as much time isolating the problem.
So, if you’re someone who is not that experienced in fixing smart units, then reaching out to the customer support members will save you a lot of time and effort.
On top of that, you will maximize your chances of fixing the device without any extra effort.
Wrapping Up
Need a decent doorbell chime? Geeni has got you covered with the best options on the market, and you will not have to deal with any challenges as long as you install it correctly.
Making sure of the basic programming and the power flow to the chime will help you around the majority of the issues.
While there is no debate that issues with the hardware can present themselves from time to time, the warranty claim should have you covered in these situations.
You shouldn’t try to fix the damaged unit yourself, and you can reach out to the dealer to give you a new one.
The good thing to know about this brand is that you can reach out to the dealer and have him help you out with a fresh piece.
Geeni stands behind all of its products and maintains a pretty robust reputation on the market. So you will not have to deal with much hassle.
All that you have to do is to inform these experts about the issue that you’re facing, and they will be more than happy to help you out.
Hopefully, you will be sorted out in no time, and the issue with the system not working properly will be fixed rather quickly.
I feel there is a number 5 that can be added. Ensure you go into the device settings and ensure “mechanical chime” is active. If not, you’ll possibly only hear the doorbell noise at the doorbell, and nothing at the chime. Once activating in the settings of the device the chime will work. It did for me in my installation.
NOTE **** The genie requires a 24 volt Transformers and the mass majority of doorbells installed the last 10 years use 14-16 volts Transformers.
Easy $15-$20 replacement in Canada
What does a 24 volt transformer do to a 14-16 volt bell?
It may make the bell a bit louder, but there would be no damage.