The dusk-to-dawn light sensors make it effortless for owners to manage the lighting requirements of their households. Small units like these are not that heavy on the budget, and they will save you a ton of cash on the power bill.
Aside from the savings in the summer, you will also enjoy better convenience from your device. So, if you have a few bucks to spare to upgrade your smart system, going with a dusk-to-dawn light sensor is not a bad idea.
These sensors are not that expensive and can adjust to the increased duration of nights during the winter. So, you won’t have to worry about going through the same configurations after every few months.
The performance of dusk-to-dawn light sensors is directly linked with the installation of these units.
If you’re not experienced, then it is a better idea to hire a general contractor to help with the installation of these lighting solutions.
However, if you don’t have the budget to hire an expert, the following solutions will help you when the dusk-to-dawn light sensor is not working.
How To Fix Dusk To Dawn Light Sensor Not Working?
- Clean Device
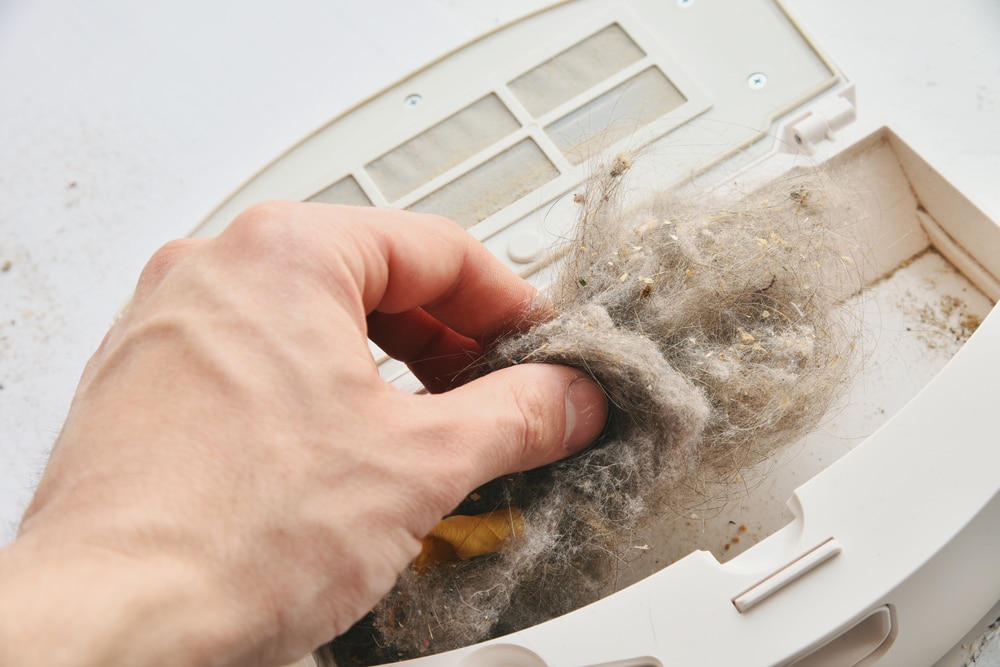
The most common reason behind the dusk to dawn-light sensors not working can be linked to the maintenance requirements of the unit.
It is clearly mentioned in the owner’s manual that the sensors have to be kept clean in order to work with the day and night cycles. So, if the sensors are covered with dirt, you won’t get any response from the unit.

Here the only solution is to clean the sensors and then wait for the day and night cycle to check the system performance. Ideally, this should fix all problems with the sensor if you’re not dealing with hardware issues.
Ignoring maintenance is never good for any smart device. Even if you’re using the most premium brand on the market, ignoring maintenance will only hold you back in the long run.
So, keep that in mind and try educating yourself on the proper maintenance techniques.
That way, you won’t only notice a better response from the sensors, but their lifespan will also increase by a good margin.
From there, you can adjust the performance of these units one more time. Hopefully, that will be it when you’re dealing with Dusk To Dawn light sensors.
- Remove Shade
For the sensors to work perfectly, they have to be installed in an open location where the light can easily penetrate the sensors.
Many owners make the mistake of installing the sensors in an obscure location. This creates problems with the photocell sensors, and you won’t be able to get the unit working again until the light is allowed through the cell.
So, just try to find another spot for your sensors that has no shade or obstructions blocking the light throughout the day. Otherwise, you will keep struggling with this sensor issue.
Finding the right spot is never easy, and you have to keep track of a lot of things.
It can sometimes take hours of your time to troubleshoot issues with the shade. However, seeking help from an expert will streamline this problem.
All you’ll need to do is to reach out to a local contractor and have him inspect the system for you.
He will not only install the device for you but will also make sure that you are familiar with all of the maintenance requirements.
That way, you won’t have to get a new sensor for years, and this device will keep performing over the next couple of years.
So, be sure to reach out when the issue is a bit difficult. You might just save yourself from hours of hassle.
- Reset Device
Sometimes bugs in the system can create similar problems in your dusk-to-dawn light sensors.

You can fix this issue pretty easily by power cycling the unit once. All you have to do is remove the power for a few seconds and then resupply it.
There are no extensive steps involved in the reset procedure, and simply removing the power connection for a few seconds should be enough to get the dusk-to-dawn light sensors working again.
This process might seem simple, but it has proven to be effective for countless owners.
So, if you’re not too sure about the programming of the unit but the hardware is in good shape, follow through with this method.
It will surely address all minor issues with the unit programming. From there, you can adjust the response from the sensors yourself.
It will barely take a few minutes to go through this routine, and you won’t have to go through any other step.
- Check Fittings
Loose fittings can also play a major role in the performance issues with dusk to dawn light sensors.
If there is no response from the sensors even after resetting the unit, try to check the quality of the fittings installed in your setup.
Either these fittings will be loose, or there will be dust and debris lodged in the fittings. So, try to fix the fittings properly and clean up all extra debris to avoid these issues in the future.
Just make sure to remove the power from the main source before you mess with the fitting.
That way, you won’t have to think about damaging the device, and you can streamline the power after the device is in its proper place.
- Fix Wiring
Damaged wiring is another reason behind the dust-to-dawn light sensor not working properly.
Over time, connection points can get corroded, and the wiring can get bent out of shape. So, if there are any damaged sections in your unit, try to fix the wiring, and that should eliminate the problem.
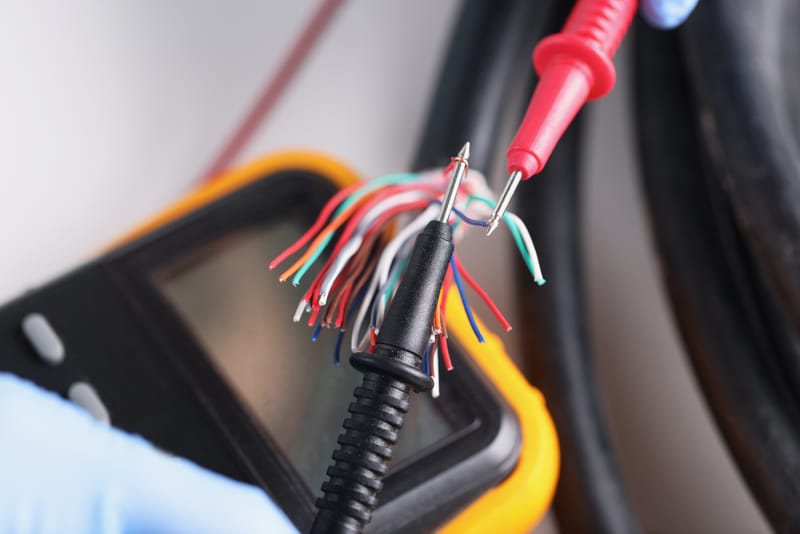
If the wiring has visible damage, then the only thing you can do is completely replace the wiring connected to the sensors.
It will take some time, and you should try to seek help from a general contractor to avoid excessive problems with the wiring management.
However, you have a bit of experience dealing with damaged connections, there is no harm in trying to use a cleaning agent to get through this issue.
You can rely on any rust remover from the market or, better yet, make one yourself.
Either way, you can use diluted vinegar options to gently rub away the rust.
Make sure to be gentle with the connection points and remove the residue with a clean cloth after you’re done. That should help you streamline issues with the power connections.
However, if you’re in a situation with frayed sections and broken wires, then you’re quite unlucky, the only fix for broken wires is to get them replaced.
Fixing or patching broken pieces is never a good idea. So, keep that in mind if you’re struggling to find a suitable fit for your smartphone.
- Replace Sensor
If the device is not fixed at this stage, then there is a huge possibility that you’re dealing with defective sensors.

Unfortunately, there isn’t much you can do about the defective sensors except replace them entirely. So, reach out to the dealer to source compatible replacements and install them in your setup.
Depending on the model you’ve bought, there is a chance that the warranty policy will cover sensor damages.
So, make sure to inquire about the warranty status and forward a claim if your purchase was recent. That will help you save a fair bit of money, and you will be able to get the desired performance from your dusk to dawn light sensors.
On the other hand, if the warranty has expired, then you can still ask these experts for specifics.

They will tell you how to maneuver through minor programming errors or connection-related problems. So, be sure to reach out in any condition, and these experts will try their best to help you.
Wrapping Up
There are a ton of things that can go wrong with the installation of dusk-to-dawn sensors. Sadly, it is not recommended for owners to install these units themselves if they have no prior experience with smart lighting.
So, if you’re in the same boat, seeking help from a local contractor will help you avoid all of these pointers. On the other hand, if you’re not that sold on spending some cash on hiring fees, then details will guide you better.
In the end, it all comes down to the final condition of the unit, and you can go through these fixes to get the optimal response from the device.
So, keep that in mind and try out these pointers. Hopefully, you won’t have to hassle much with the smart system, and they will start responding right away.
Just be sure to also engage the experts. They will make the troubleshooting process much easier, and you won’t have to go through every single one of these fixes to get everything in order.