Even though the Deebot vacuum devices are a great option, they still tend to run into issues every once in a while. Whenever that happens, you will need to know how you can troubleshoot these problems.
Most of these issues can be linked to ignored maintenance. There are just too many owners that don’t give any attention to the maintenance of these units, and you will find that to be the issue with your system as well.
From emptying out the dustbin to cleaning the sensor and freeing up the brushes, you will have to do a bit of work every week to get an optimal response from the cleaning robot.
There are no other methods around it, and you will have to spend the time here.
Similarly, a common complaint that we have seen many Deebot N79s users make is that the device keeps beeping on the charger.
This is why today, we will be taking a deeper look at all the possibilities of why this may happen.
So, in case you are also wondering how you can get this issue fixed, then here is what you should know:
Fixing Deebot N79s Beeping On Charger:
- Cleaning Your Deebot
One of the many reasons why you could have your Deebot suddenly start beeping is when it gets too dirty.
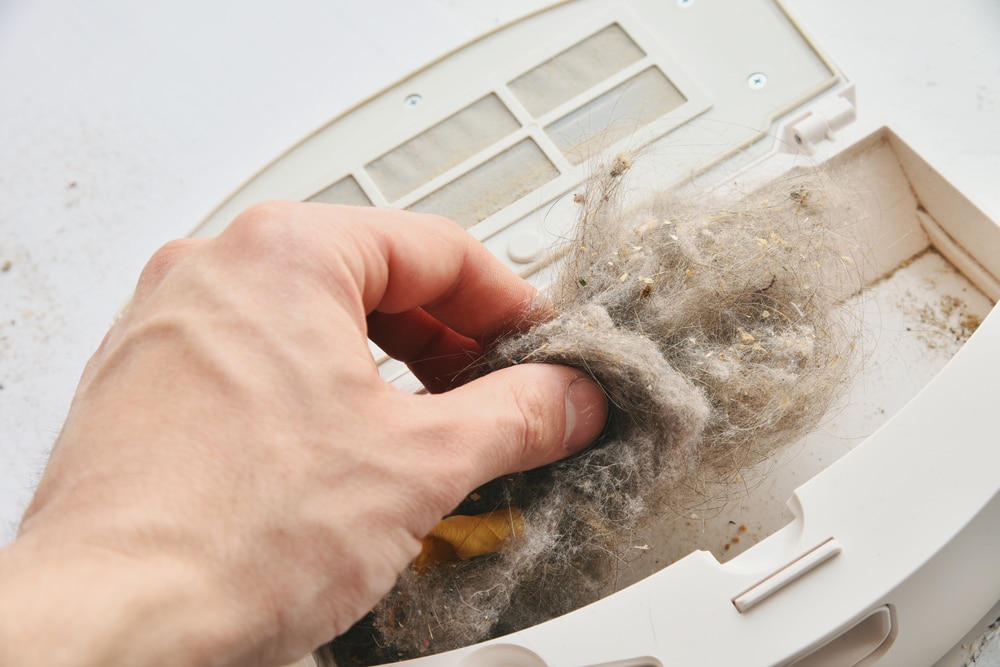
If you notice the beeping sound even when you are not charging the device, then it is possible that your robot might be in need of cleaning.
Start with removing any kind of debris or hair near the driving wheels of the robot. Once you have cleaned that area, you can move on to cleaning the sensors of your device.
Ensure that you aren’t too rough when dealing with the sensors, as they can get damaged.
- Completely Discharged Battery
If it’s been a while since you have last used your robot, then your battery might have gotten completely discharged.
In such cases, the battery can go offline. Furthermore, the battery won’t charge until it has been activated again.
In order to activate your battery, you will have to manually put your Deebot onto the charging station and keep it on charge for 3 minutes before you remove the device.
Keep repeating the process 3 more times before finally charging the device in the normal way.
- Checking the Contact Pins
If the device detects any kind of fault during the charging process, it may start giving beeping sounds as an indicator to tell you that something might be wrong.
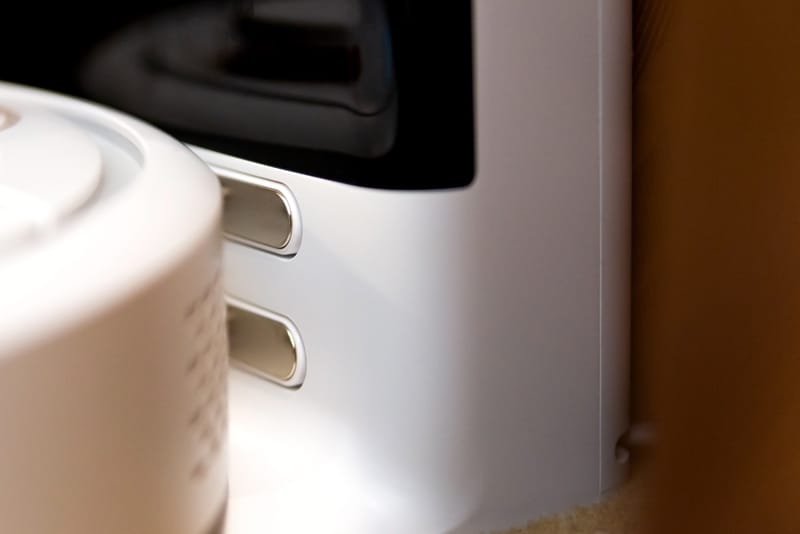
As a result, we recommend that you start by checking the charging contact pins and making sure that these aren’t dirty.
Just in case, try cleaning both pins and remove any dirt that you may find. Once these are cleaned, you can then try charging your devices again.
- Inspecting the Charger
As explained above, there is the possibility that your charger might have been acting up. Hence, we suggest that you start checking the power source and make sure that your charger is in fully working condition.
Also, inspect the charging station and make sure everything is in order.
- Check Voltage Supply
At this point, you need to check on the voltage supply from the source to isolate the issue.
Your dock or the unit might not be at fault here, and you have to check up on the power connections to figure out the issue. There are just too many reports where owners were dealing with a damaged outlet.
If you’ve not serviced the power connections in a few months, then now might be a good time to do so.
Ideally, you need to set some money aside every six months to hire an expert for the maintenance of the power connections.
You can reach out to any local experts, and they will make sure that the power from the source is optimal.
Furthermore, you will not have to worry about electrocuting yourself while trying to set up the system. So, be sure to keep that in mind as you try to adjust the system.
It all comes down to how you’re planning to adjust to the situation. So, be sure to get the power outlet checked, and then that will be it when it comes to the charging issues. Most of the time, the issue will be fixed right here.
You can also choose to try out a different outlet if you’re looking for a quicker response from the unit.
That way, you will know for sure whether the issue is with your cleaning robot or with the outlet. From there, fixing it will come easy to you as you adjust the alignment and fix the hardware.
- Adjust the Alignment Of the Dock

The alignment of the dock relative to the cleaning robot will also lead to these issues from time to time.
You need to make sure that the contract points on the robot and the terminals on the dock are properly engaged. There should be no gap, and the power should flow easily from the charger.
It all comes down to securing an optimum power flow from the charger to the robot, and there are no extensive steps involved here.
All that you need to do is to spare a few moments as you try to adjust the system manually.
If that fixes your situation, then you will have to check the location of the dock. The floor might be a bit slanted, and you will need to adjust the dock.
You can rely on some cardboard pieces here to fix the alignment, and that will most likely be it.
From there, you can check up on the devices one more time to figure out the issue.
There aren’t any more steps involved here, and you just have to streamline the power connections here. Hopefully, you will not have to deal with the same complications again.
- Check For Hardware Issues
At this point, there is a good chance that there are hardware issues with the unit, and you need to check up on the base of the cleaning robot.
If you do find visible cracks, frayed sections, and discoloration at a particular section, then your unit might be damaged.
It can be incredibly hard to fix a damaged robot by yourself, and you will have to reach out to the dealer.
So, if you can’t seem to get the issue fixed, just call the dealer, and he will help you with a replacement as long as you have a valid warranty.
Sadly, the warranty verification can take a bit of time, and you will have to provide your dealer with a receipt or any valid proof of purchase to speed up the process.
From there, you will be eligible to get the new unit within the same week, and you won’t have to bother with any more of these fixes.
On the other hand, if you’re not sitting on a valid warranty, then checking the battery should be your next step. The battery can deteriorate over time, and you might just be running into the same errors.
- Battery Fault
If the issue still seems to persist, then it is likely that you have a faulty battery.
Unfortunately, the only thing that you can do in this case is to get a full replacement for your battery. On the bright side, getting a replacement battery shouldn’t cost you that much.

Besides, batteries for these devices are easily available on the internet, so you should be easily able to order one for yourself.
- Seeking Help From Support
In case you still haven’t been able to get your issue resolved, then at this point, it is much better that you get in touch with the support team.
While they should ask you a bunch of questions, including queries on the beeping sound, be sure to let them know everything.
Also, do mention the things that you have already tried. This way, the support team should suggest further steps that can be followed in order for you to get rid of the annoying beeping sound.
The Bottom Line:
Is your Deebot N79s beeping on the charger? Even though there can be many reasons why you can have your device start beeping, you will have to rule out every possibility in order to get rid of it.
If you wish to learn more about how you can troubleshoot this particular beeping error, then all you have to do is to give the article above a thorough read.
Doing so should result in a quick fix! However, if you’re not lucky with any of the fixes here, then you are in possession of a damaged unit.
The only thing that can be done about a damaged unit is to claim a warranty.
You can reach out to the official support team or the dealer to send you a new unit. That is assuming that the warranty is still valid and you didn’t damage the unit yourself.
So, be sure to reach out and provide the dealer with valid proof of purchase. He will verify your claim on his end, and you will be given the new piece after the verification is complete.
It will take a few working days at max, and you will have a fresh piece to work on within no time.