Cleaning is a common practice that happens almost everywhere. Sometimes it can be a bit of work, but with proper gadgets, cleaning can become quite time-efficient and easy.
So, if you want to save up on time and need some cool units to help you out, investing in a cleaning robot is a good idea.
Deebot vacuum cleaners come in handy while performing such tasks.
Speaking of which, Deebot N79 robotic vacuum cleaner is a viable option for users when it comes to cleaning.
It has long been dominating the market when you’re talking about scheduling features and mapping.
Still, the initial configurations can be a bit hard to handle.
Moreover, you will still need to be mindful of the basic maintenance and cleaning cycles as you’re trying to optimize and adjust the system.
That way, you will not have to deal with much hassle down the road.
However, minor technical faults with robotic gadgets are fairly normal. That being said, one particular problem that a lot of users have concerned about is that their device gives a red light on auto.
Just in case you are hit with the same problem, here are some ways to fix the Deebot N79 red auto light.
How to Fix Red Auto Light On Deebot N79?
- Specifying the problem:
The first step to troubleshooting is identifying the problem. In most cases, when the auto light turns red in Deboot n79 vacuum cleaners, it is a sign of power getting too low to go back.
On the other hand, if the gadget shows a series of beeping lights, then your device has run into a problem that needs to be fixed. This can be done by listening to the number of beeps the device shoots.
- Power source connection:
It is very likely for a vacuum cleaner to stop working or show an alarm when the power connection is not solid.
The main reason for a poor power connection is fluctuating voltage or a malfunctioning socket.
Similarly, when you see a red light on an auto, you may want to check if the socket is working properly or not, and you should also check whether the voltage is steady and consistent.
- Charging issues:
A static red light on the vacuum cleaner indicates that the power is getting low and it is close to shutting down.
Speaking of which, the device needs to be charged, or it may shut down abruptly, which does not do good for the battery’s health.
So the next time you see a red light on an auto, you should consider charging the battery, or you will put your device battery’s health at potential risk.
- Cleaning the main brush roller:
Oftentimes, the vacuum may go into places from which it has contact with debris, hair, and dust, which may cause a malfunction in the device’s performance.

These impurities hold onto the roller, which makes the device dysfunctional.
In such a case, you should check the main brush roller for any tangled hair or debris and clean the wheels and brushes thoroughly. This should make your device start working properly.
- Cleaning the sensors:
Vacuum cleaners have sensitive sensors which may glitch due to the accumulation of dust over them. Take a dry cotton swab and run it over the sensors very lightly to clean off any dust from them.
This will free the sensors from any impurities, and the device should run smoothly.
- Check The Charging Base
At this point, you ended up checking up on the charging base to isolate the issue.
Most times, the issue is more with the charging base, and you need to check up on that to isolate and fix the issues. So, when you can’t seem to figure out a fix, just adjust the charging status.
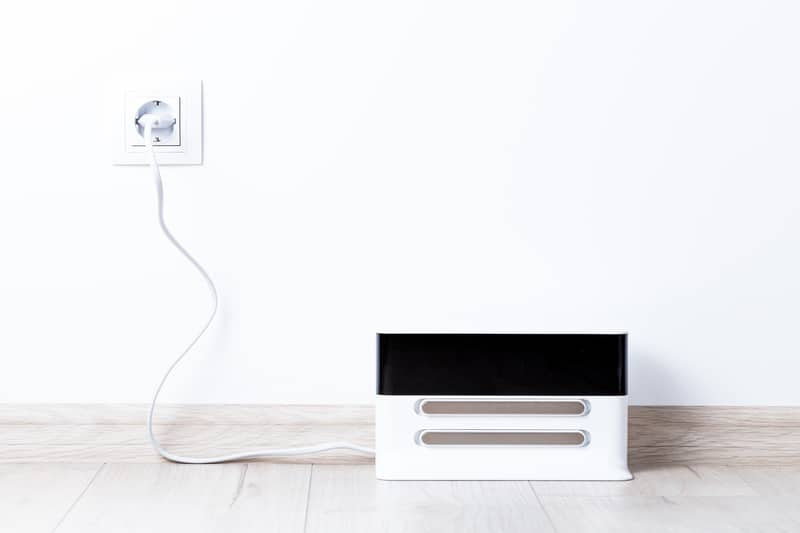
Make sure that there is nothing wrong with the wiring and that the power going into the system is optimal.
From there, you can also check up on the position and ensure that the unit is not placed on a slanted floor. This will create an imbalance, and the power won’t flow into the robot.
So, if you are not that sure about the location of the charging base, it is not a bad idea to find a new spot.
All that you’re trying to do is to make sure that the charging base is getting enough power and the power is going into the robot.
This is especially true when you’re not that sure about the outlet and the power connections in your house that have not been serviced for a few years.
So, your best move here is to test out other outlets as well and try to call the local technicians for help.
There are simply too many reports of owners electrocuting themselves when trying to adjust the performance of the system.
So, there is no need to take this risk, and you should just hire the experts to help you out. Yes, they will charge you a bit, but their surety of performance is much better.

From this point, you can have an expert sort out the power connections once every six months.
That will also improve the lifespan of your appliances, and you will never have to worry about fire hazards that stem from corroded connections or poor wiring.
- Clean Contact Points
Next, you should also check up on the contact points. If you’re sure that the charging base is in good shape, then the issue is more with the wiring.
These issues can be quite hard to deal with, and you have to either blast the unit with compressed air or wipe away the debris.
If you keep track of the maintenance, then a few cleaning cycles should be enough to help you out.
However, if you’re not able to get any response from the system, then you will have to get help from a local repair center.
All that you have to do on your end is to make sure that the contact points are in good shape and that the power is able to flow into the system from the charging base.
Other than that, there are no extensive issues, and warping away the gunk on the contact points will help you out.
Most of the time, figuring out these errors is not that hard of a job.

However, if you’re not able to get any perspective on the situation on your own, you should hesitate to reach out to the officials working the support channel.
They will be more than happy to assist you with these issues.
- Reactivate the battery:
Until this step, if the problem still remains, then you may have to manually reactivate the Deebot battery.
For this purpose, you have to place your Deebot N79 on the charging dock and disconnect the power after 3 minutes of charging. Repeat the same process three times, and this should reactivate the battery.
- Replacement battery:
Although the Deebot battery does not require frequent replacements, if the above-mentioned points do not make your device functional, it may have a battery issue.
This means that the device’s battery health is minimum and worn out. Cleaning time is shortened when the battery reaches the end of its service life.
Older batteries can cause device failure or slow performance; hence it is advised to replace the main battery as well as the component batteries for the best performance.

You can order a replacement battery for Deebot so that your device may run smoothly.
Deebot auto light turn red? This usually means that your device is showing issues with the battery, charging, or dirt removal.
In such cases, it is recommended that you attempt to troubleshoot. The above article contains all the necessary steps that you will need to follow in order to get the problem completely resolved.
Wrapping Up
The situation with the Deebot N79 red light can be a bit hard to handle at first.
However, this issue is almost always related to the power side of things, and you can check up on the power going to the system to sort out the issue.
All that you will need to do is to check on the charger, the battery, and the contact points to isolate the error.
It will not take you a long time to figure out all of these issues, and managing the system will come easily to you. So, if you’re stuck, be sure to keep track of these pointers.
However, there is one more possibility that the hardware is damaged. If that is the case, you will have to reach out to the official support team or the dealer to help you get a fresh piece.
All that you will need to do is to explain your end, and the dealer will help you out with a new unit.
The warranty-claiming routine is not that extensive. As long as you’re sure that you didn’t break the unit, simply explaining the situation and seeking guidance from the officials will have you sorted out.
So, be sure to reach out and have the experts address your complications.