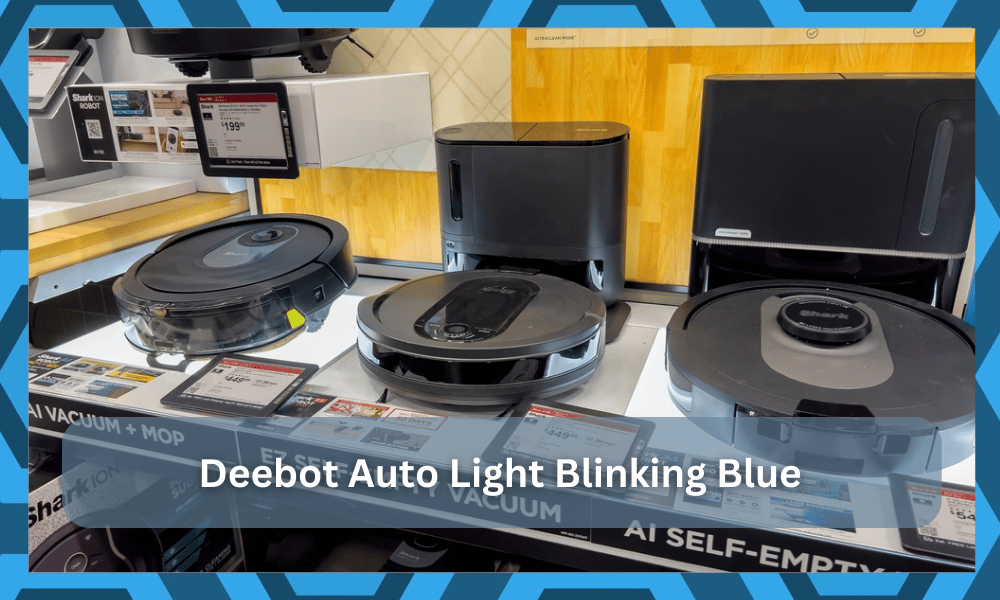
A smart vacuum robot is a great device that comes in handy, especially if you find tasks like cleaning to be a chore. While there are plenty of popular choices that you can choose from, Deebot is a great option that plenty of users like to go for.
You will find that the market is dominated by this brand, and there aren’t many brands that can even come close to replicating the value offered here.
So, if you’re not sure about which unit to purchase, going with the Deebot is not a bad idea.
The only thing that you should ensure here is to educate yourself on the basic maintenance requirements.
You can’t expect the unit to perform if there are hardware issues with the system. So, be sure to adjust your system accordingly, and you’ll enjoy long-term efficiency from this brand.
Otherwise, there are certain issues that you will likely find when using such devices.
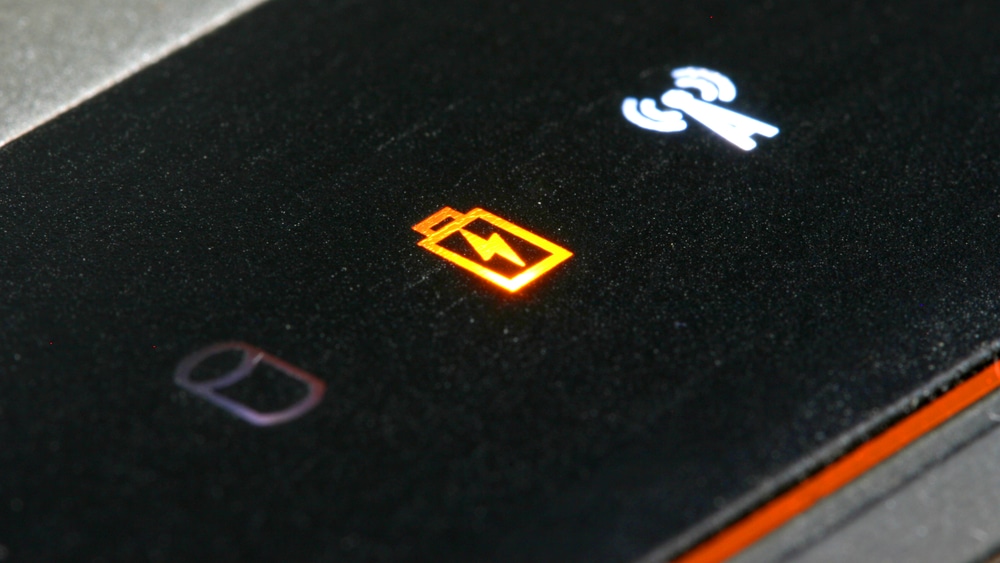
That being said, one particular problem that a lot of users have reported having is that their Deebot gives a blinking blue light on auto. So, in case you are also experiencing a similar issue, then here is what you should know:
How to Fix Deebot Auto Light Blinking Blue?
- Inspecting the Blue Light
If you are worried about seeing a blue light on the auto screen, then you should start checking the lights first.
If you are just charging the device and end up seeing a flashing blue light, then that probably means that your device is charging.
In such cases, there is nothing to worry about, as the flashing blue light is an indicator for showing the charging status of the device. Though if you are to see something else, then there are plenty of things that you will have to check.
- Charging Contact Issue
If the blue light is blinking in a weird manner, then there is likely something wrong with the charging of the battery of the device.
Though if that is the case, then you should start by checking the charging contacts of both the device and the docking station.
Oftentimes, debris or dirt can accumulate in such places, which may cause interference during the charge.
To prevent this from happening, you will have to make sure that you check both the contacts and try to clean them to make sure it starts charging normally again.
- Check Alignment
Next, you need to check the alignment of the contact points with the charging station. It is not that common for owners to run into issues with the contact points not aligning.
If you think that the floor is not level, then the robot will have issues with the docking routine.
You can test out this suspicion by picking up the robot and adjusting its alignment on the docking station manually.
If that fixes the issue, then you will be sure that the alignment is to blame here. The only thing you can do about that is to fix the level and then adjust the robot.
It will take you a few attempts, and you can rely on cardboard pieces below the robot to fix the adjustment.

There are no other methods or fixes that can be helpful in this condition. So, be sure to keep that in mind when you can’t seem to figure out the exact problem.
You need to also check that there are no obstructions around the docking stations and the unit is properly engaged. Otherwise, you will keep running into the same problems without getting anywhere with the process.
- Inspect Base
Inspecting the base will help you with further perspective on the situation as you try to figure out what exactly is wrong with the system. If the base is damaged or something is stuck below the unit, you should try to clean it out first.
That will likely fix the majority of errors that you might face with the system.
However, if that is not the case and you still struggle with the same issue, then it might be time to call for a replacement. There is no point in trying to fix a damaged unit, and you will have to call the official support team here.
It all comes down to how you’re planning on addressing the issue. So, be sure to claim the warranty if you do find the unit to be damaged. You’re not liable for any delivery issues and can get a new unit from the dealer.

Hopefully, you will not have to go through any extensive verification, and the dealer will verify everything on his end. From there, you can make use of the new system in no time as you try to upgrade the smart unit.
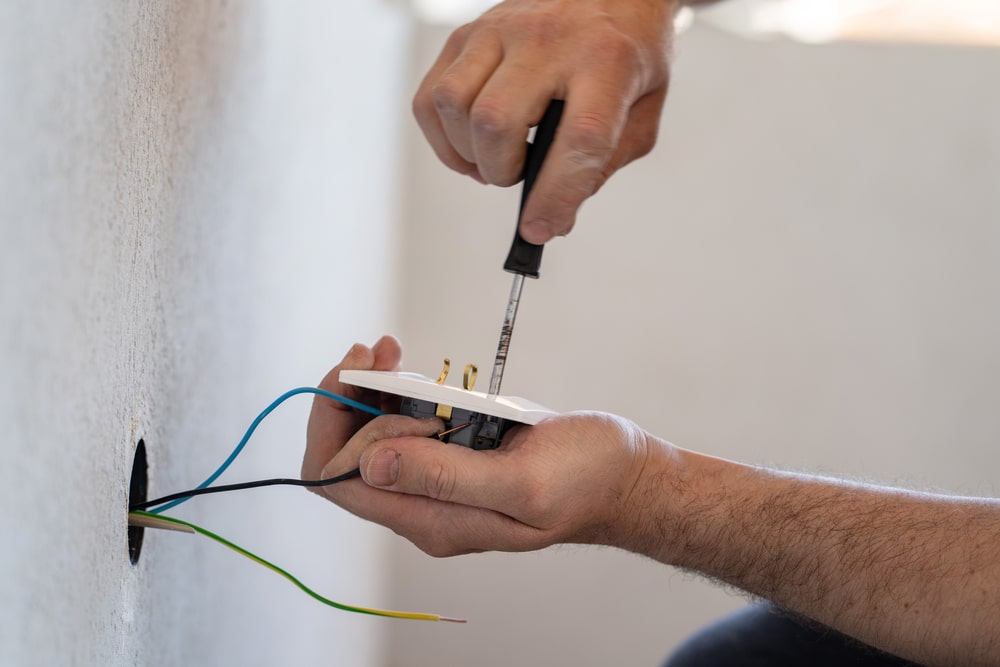
- Checking the Power Source
Apart from checking the contacts, another thing that you will need to check is the power source itself.
There is a good chance that you might be suffering from a voltage or similar problem. In such cases, you won’t be able to charge your device, and it may end up putting your device in potential danger.
So, you should most definitely start by checking the power source and making sure that there is nothing wrong with it.
We suggest that you hire a professional to help you with the system. There is a good chance that you might electrocute yourself while trying to fix the source.
So, to avoid that outcome, you need to reach out to local technicians and explain the issue to them.
They will make sure that you will not have to deal with the same errors again, and the unit will be fixed shortly. All you have to do is to explain the situation, and the technician will help you with the power.
Even most phenomenal units can fail in front for power issues, and that might be the case for your cleaning robot as well. So, instead of blaming the robot, you need to be mindful of the maintenance of the electrical connections.
That will likely give you more perspective on the situation as you try to fix the unit. Ideally, you should get the electrical connections serviced once every six months.
That will not only keep your appliances in good shape, but you will also notice a better response from the battery.
Hopefully, these details will help you get ahead of the power issues and you can reach out to the official customer care team for Deebot for further details.
Leaving this job to the professionals is usually a good idea when the basic fixes are not helping you through the situation.
- Battery Issue
At this point, if you are still facing the same issue, then you will have to get your batteries checked.
It is possible that you might be experiencing a battery problem due to which you are unable to get your device up and working like it’s supposed to.
However, if that is the case, then we’re afraid there really isn’t a way that you can get a battery repaired.
In fact, even if you were able to get it repaired somehow, it would just end up running into another issue sooner or later. So, the best course of action would be to get a completely new battery.
Also, it is important that we mention how most users were actually troubled with their battery because they hadn’t used the device for a long time. In such cases, the battery gets discharged or offline and will need to be activated again.
- Seeking Professional Help
If you still haven’t had any luck in resolving the issue so far, then the only thing that you can do is to get help from a professional.
You can either get the robot fixed or try contacting support for additional help. Either way, you should have a much better chance of getting the issue fixed.

The Bottom Line:
Deebot auto light blinking blue light? While a flashing blue light usually means that your device is charging, there can be cases when the blue light may get a bit weird, showing issues with the battery or charging.
In such cases, it is best that you attempt to troubleshoot.
The above article contains all the necessary steps that you will need to follow in order to get the problem completely resolved.
As long as the robot itself is not damaged, fixing it should come easy to you. It will barely take 10 minutes in most conditions, and you will not have to struggle much.
Other times, you will have to go through a few additional methods to figure out the exact issue with the system. It all comes down to how you’re planning on addressing this situation.
So, be sure to keep that in mind as you try to adjust the system.
Hopefully, you’ll have an effortless experience trying to adjust the system. Moreover, if you do find there to be hardware issues, then claiming the warranty is the only real option.
There are no other methods or quick fixes that can help you fix the system.