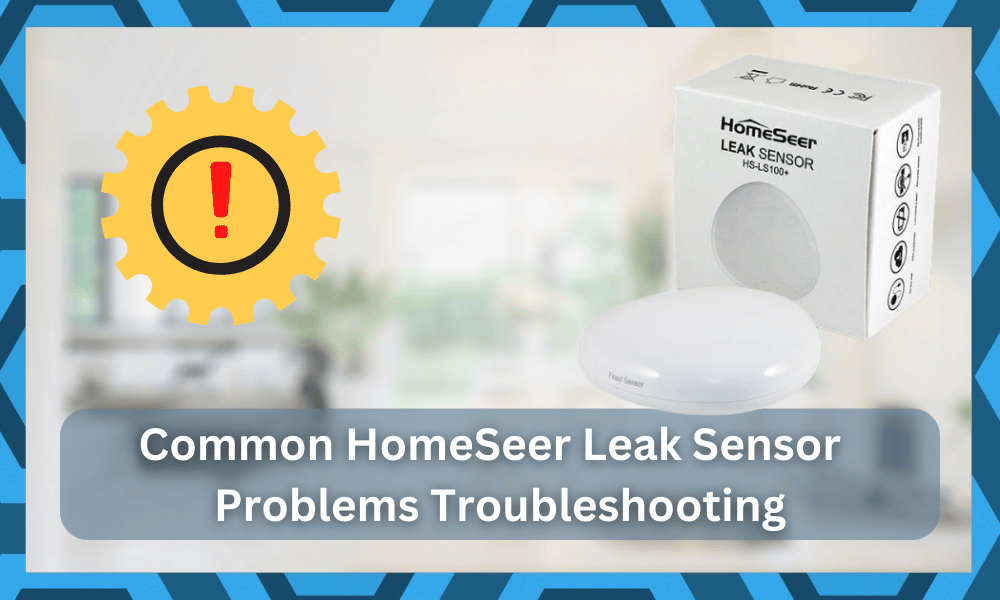
HomeSeer leak sensor is designed with the Z-WAVE technology that sends commands to the hub if it detects overflowing or leaking watering.
It can be mounted on a wall with the cable probe mount, or you can put it on a surface without securing it as well. In addition, it has S2 encryption to ensure advanced security.
It can be connected with Z-WAVE hubs for easier control and has lithium metal construction to ensure durability. Also, it works well with the battery as well as the main power cords for your ease.
However, it’s an electronic device, which makes it prone to different errors. So, to help you out, we have common HomeSeer leak sensor problems troubleshooting in this article!
Common HomeSeer Leak Sensor Problems Troubleshooting
- Leak Sensors Turns Off Automatically
The water leak sensor has to work constantly to make sure the water isn’t wasted. However, if the leak sensor is turning off automatically, it usually indicates a power issue.
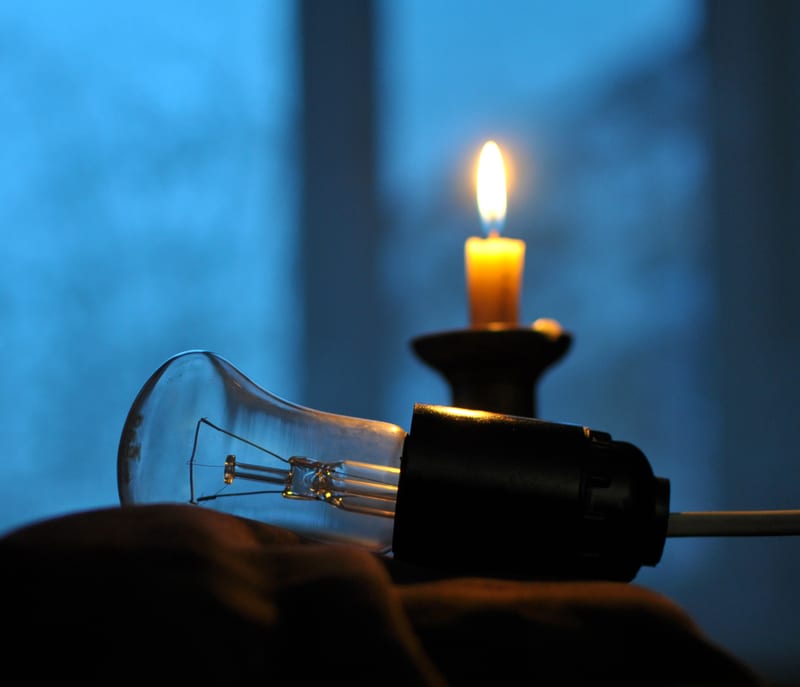
Battery
In case you are using a battery to power up the sensor, likely, the battery isn’t installed correctly. For this reason, you should take off the sensor’s cover and adjust the battery.
On the other hand, if you haven’t replaced the sensor’s battery in months, it’s time to purchase a new battery and install it. If you want something more cost-effective, opt for rechargeable batteries.
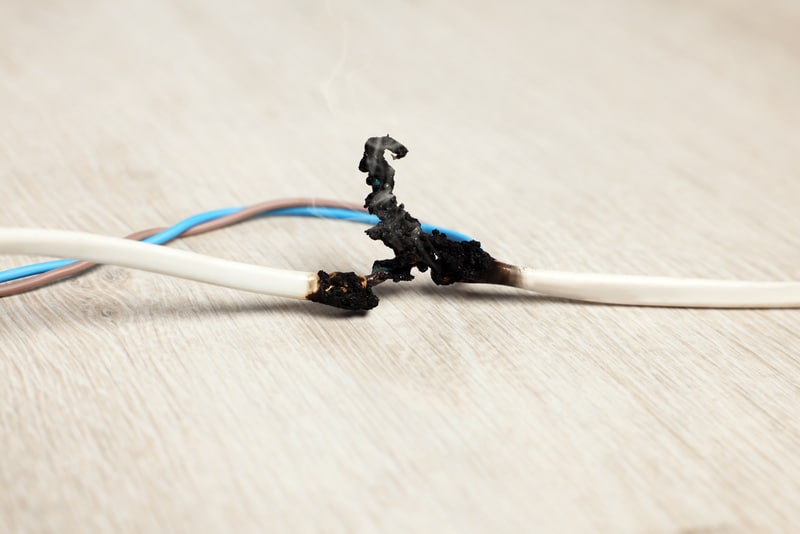
Wires
If there is nothing wrong with the batteries, you have to check for loose or broken wires, particularly around the power box.
This is because the wires around this area are essential for transmitting electric signals. So, if you locate loose wires, use a professional tool to tighten the wires.
On the contrary, if the wires are frayed, melted, or damaged, get the new wires installed and connected.
Reset
If wires and batteries are working properly, it’s recommended that you reset the sensor. For this purpose, you’ve to remove the sensor from the mount and press the power button for a few seconds.
When the blue light on the sensor turns off, it indicates that the sensor has been reset. So, just turn on the sensor and try using it.
Pipes
In case these solutions don’t work, there are chances that the water pipes in your property aren’t sealed. This is because if the pipes aren’t sealed, excessive exposure to water can damage the sensor.
This is why we recommend checking the water pipes and ensuring they are all sealed. If the seals are damaged, they should be fixed.
- Sensor Is Not Connecting To The Internet
HomeSeer is a smart leak sensor, which means it can be connected to any Z-WAVE hub with the help of the internet. However, if the sensor won’t connect to the internet, it will be hard to make changes to its settings.
IP Address
Usually, the sensor doesn’t connect to the internet when there is a second device connected to your Wi-Fi with the same IP address.
In most cases, it happens when you have connected gaming consoles to the same Wi-Fi network. For this reason, we recommend that you check the IP address that’s assigned to the connected devices.
If any connected device has the same IP address as the sensor, you have to change the IP address manually or get assistance from the internet service provider.
Wi-Fi Connection
When you have to control the sensor with the help of a smartphone app, the phone and sensor must be connected to the same Wi-Fi. So, check the internet that you are connected to and make the required changes.
Software Update
If a software update is available for your sensor and you haven’t installed it, the internet connectivity can be negatively impacted. This is why you should look for a software update.
For this purpose, you have to open the sensor’s settings and open the device management tab. From the update tab, you have to download and install the software update.
On the contrary, if downloading the software update doesn’t work, we recommend that you reset the sensor by pressing the power button for a few seconds before you try reconnecting it to the internet.
- Sensor Is Not Detecting A Water Leak
The sensor is designed to send prompt notifications/alerts to the users whenever it detects a water leak in the house.
However, if there is a leak in your house, but the sensor isn’t updating you, it’s likely a connectivity issue (it might not be connected properly), or the battery level might be low.
Position
First of all, if the water sensor is installed too far away from the water pipes, it won’t be able to detect a water leak.
For this reason, you have to check the sensor and move it closer to the pipes. In addition to this, the sensor must not be facing the air vents or lights as it can impact the detection.
In addition to this, make sure that the sensor is not exposed to sunlight. Also, the distance between the sensor and the water pipe should be at least one meter to ensure proper detection.
Power Cords
If the sensor is already positioned correctly, it’s likely that the power cord is loose and isn’t providing sufficient power to the sensor.
In case the power cord seems loose, you have to reconnect it tightly. In addition to this, if the power cord has damaged insulation, it’s better to get a new power cord to ensure the seamless transfer of electric signals.
Warm Up
Last but not least, if you turned off the sensor and it’s unable to detect the water leaks, we recommend that you warm up the sensor.
That’s because if the leak sensor remains off for 24 hours, it will take ten to fifteen minutes before it starts working and detecting leaks.
When the sensor doesn’t have to work for some time, it will automatically turn on, and the sensor will be disconnected from the internet.

The simplest solution is to reset the sensor as well as the hub – when you reset the hub, you should follow the on-screen prompts to complete the process.
However, if you don’t get the on-screen prompts, you need to reset the sensor by removing the battery. Once the battery is removed, wait for five seconds and reinstall it into the battery compartment.
Reinstalling the battery will help resolve the connectivity issues, so the sensor won’t turn off accidentally and cause internet connectivity errors.
On the contrary, if these solutions don’t work, it’s recommended that you contact the customer care team.
- LED Indicator Is Turning Yellow
The LED indicator will remain green when the sensor is operational and working properly. However, if the LED is turning yellow, it indicates a low battery level.

If you are using rechargeable batteries, you can choose to recharge the batteries.
On the other hand, if you have non-rechargeable batteries, it’s time to replace the batteries. If you haven’t changed the batteries previously, you can consult the manual to see which batteries are recommended.
However, if there is nothing wrong with the batteries, there is chance that there is hair or dust in the battery compartment.
So, open the battery compartment and use a microfiber cloth to clean it before you reinstall the batteries.
- The Smartphone Is Not Connecting To The Sensor
It’s common for people to connect the sensor to their smartphone to optimize remote control and adjustment of settings.
However, if the smartphone is not connecting to the sensor, you have to make sure both devices are connected to the same Wi-Fi connection.
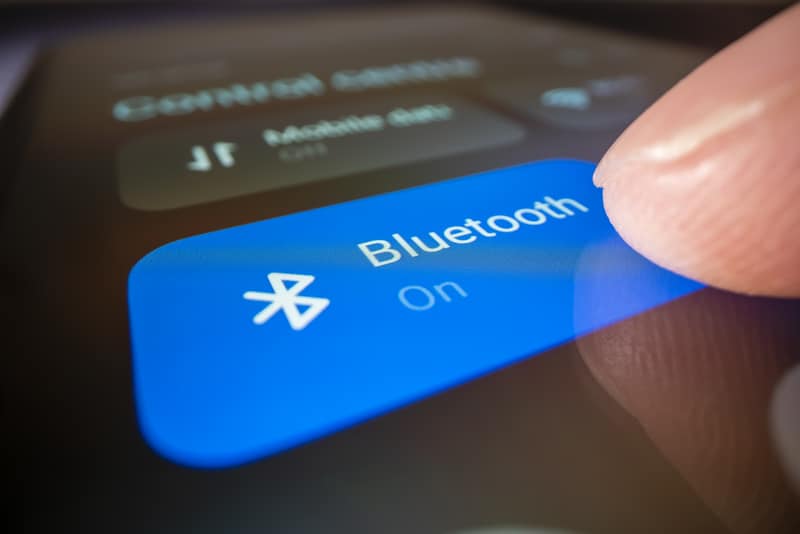
In addition, before you initiate the connection, you must turn on Wi-Fi as well as Bluetooth on the smartphone!
- Sensor Is Sending Incorrect Notifications
HomeSeer leak sensor is known to provide accurate and on-time notifications about water leaks. However, if the sensor is sending incorrect notifications, it will be troublesome.
To fix the notifications-related issue, try the following solutions;
Location
First of all, you have to check the location where you’ve installed the sensor. This is because if the sensor is placed in a sunny area, the signal transmission will be impacted, hence the notification issue.

Make sure that the sensor is not exposed to heat or direct sunlight because it negatively impacts the sensor’s working capacity.
Batteries
When the battery level of the sensor is too low, it will behave erratically, including incorrect or false notifications.
So, if you use the sensor regularly and haven’t replaced the batteries in months, it’s recommended that you discard the old batteries and install new ones.
Also, you can invest in rechargeable batteries to save costs.
Proximity With Appliances
If you have installed the leak sensor too close to other home appliances, it can interfere with the signals and frequency.
In most cases, it happens when you install the sensor around the microwave, router, or refrigerator. So, change the location of your sensor and move it away from these appliances.
However, if these three solutions don’t work, it means that the sensor is damaged, and you’ve to purchase a new one. In case the current sensor is under warranty, claim a free replacement.